


|
|
|
|
by Editor Lourens Durand
Edited and published by Yvette Depaepe, the 7th of October 2022
“Our lives at times seem a study in contrast … everything seen in absolutes of black & white. Too often we are not aware that it is the shades of grey that add depth & meaning to the starkness of those extremes.” ~Ansel Adams~
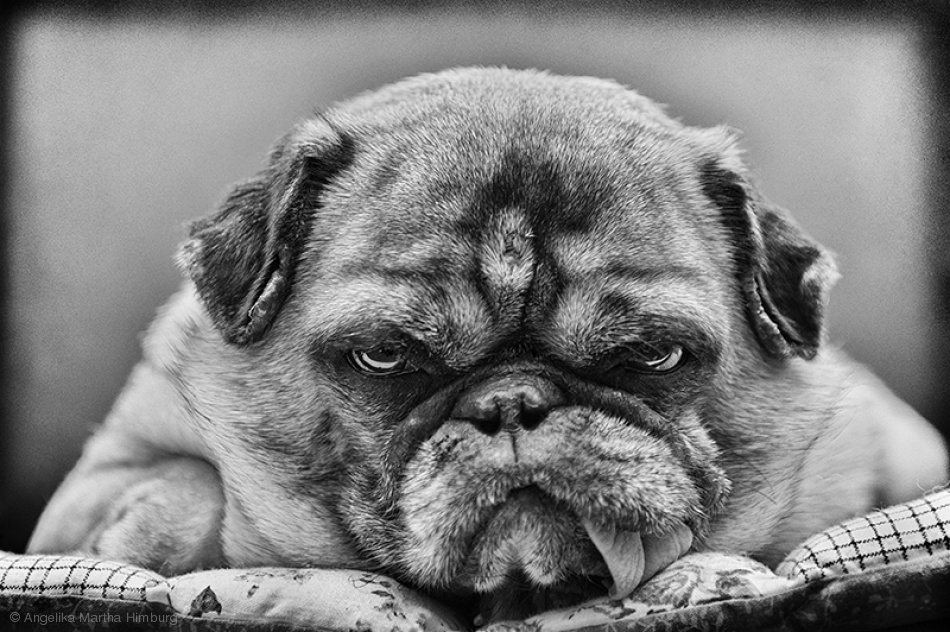
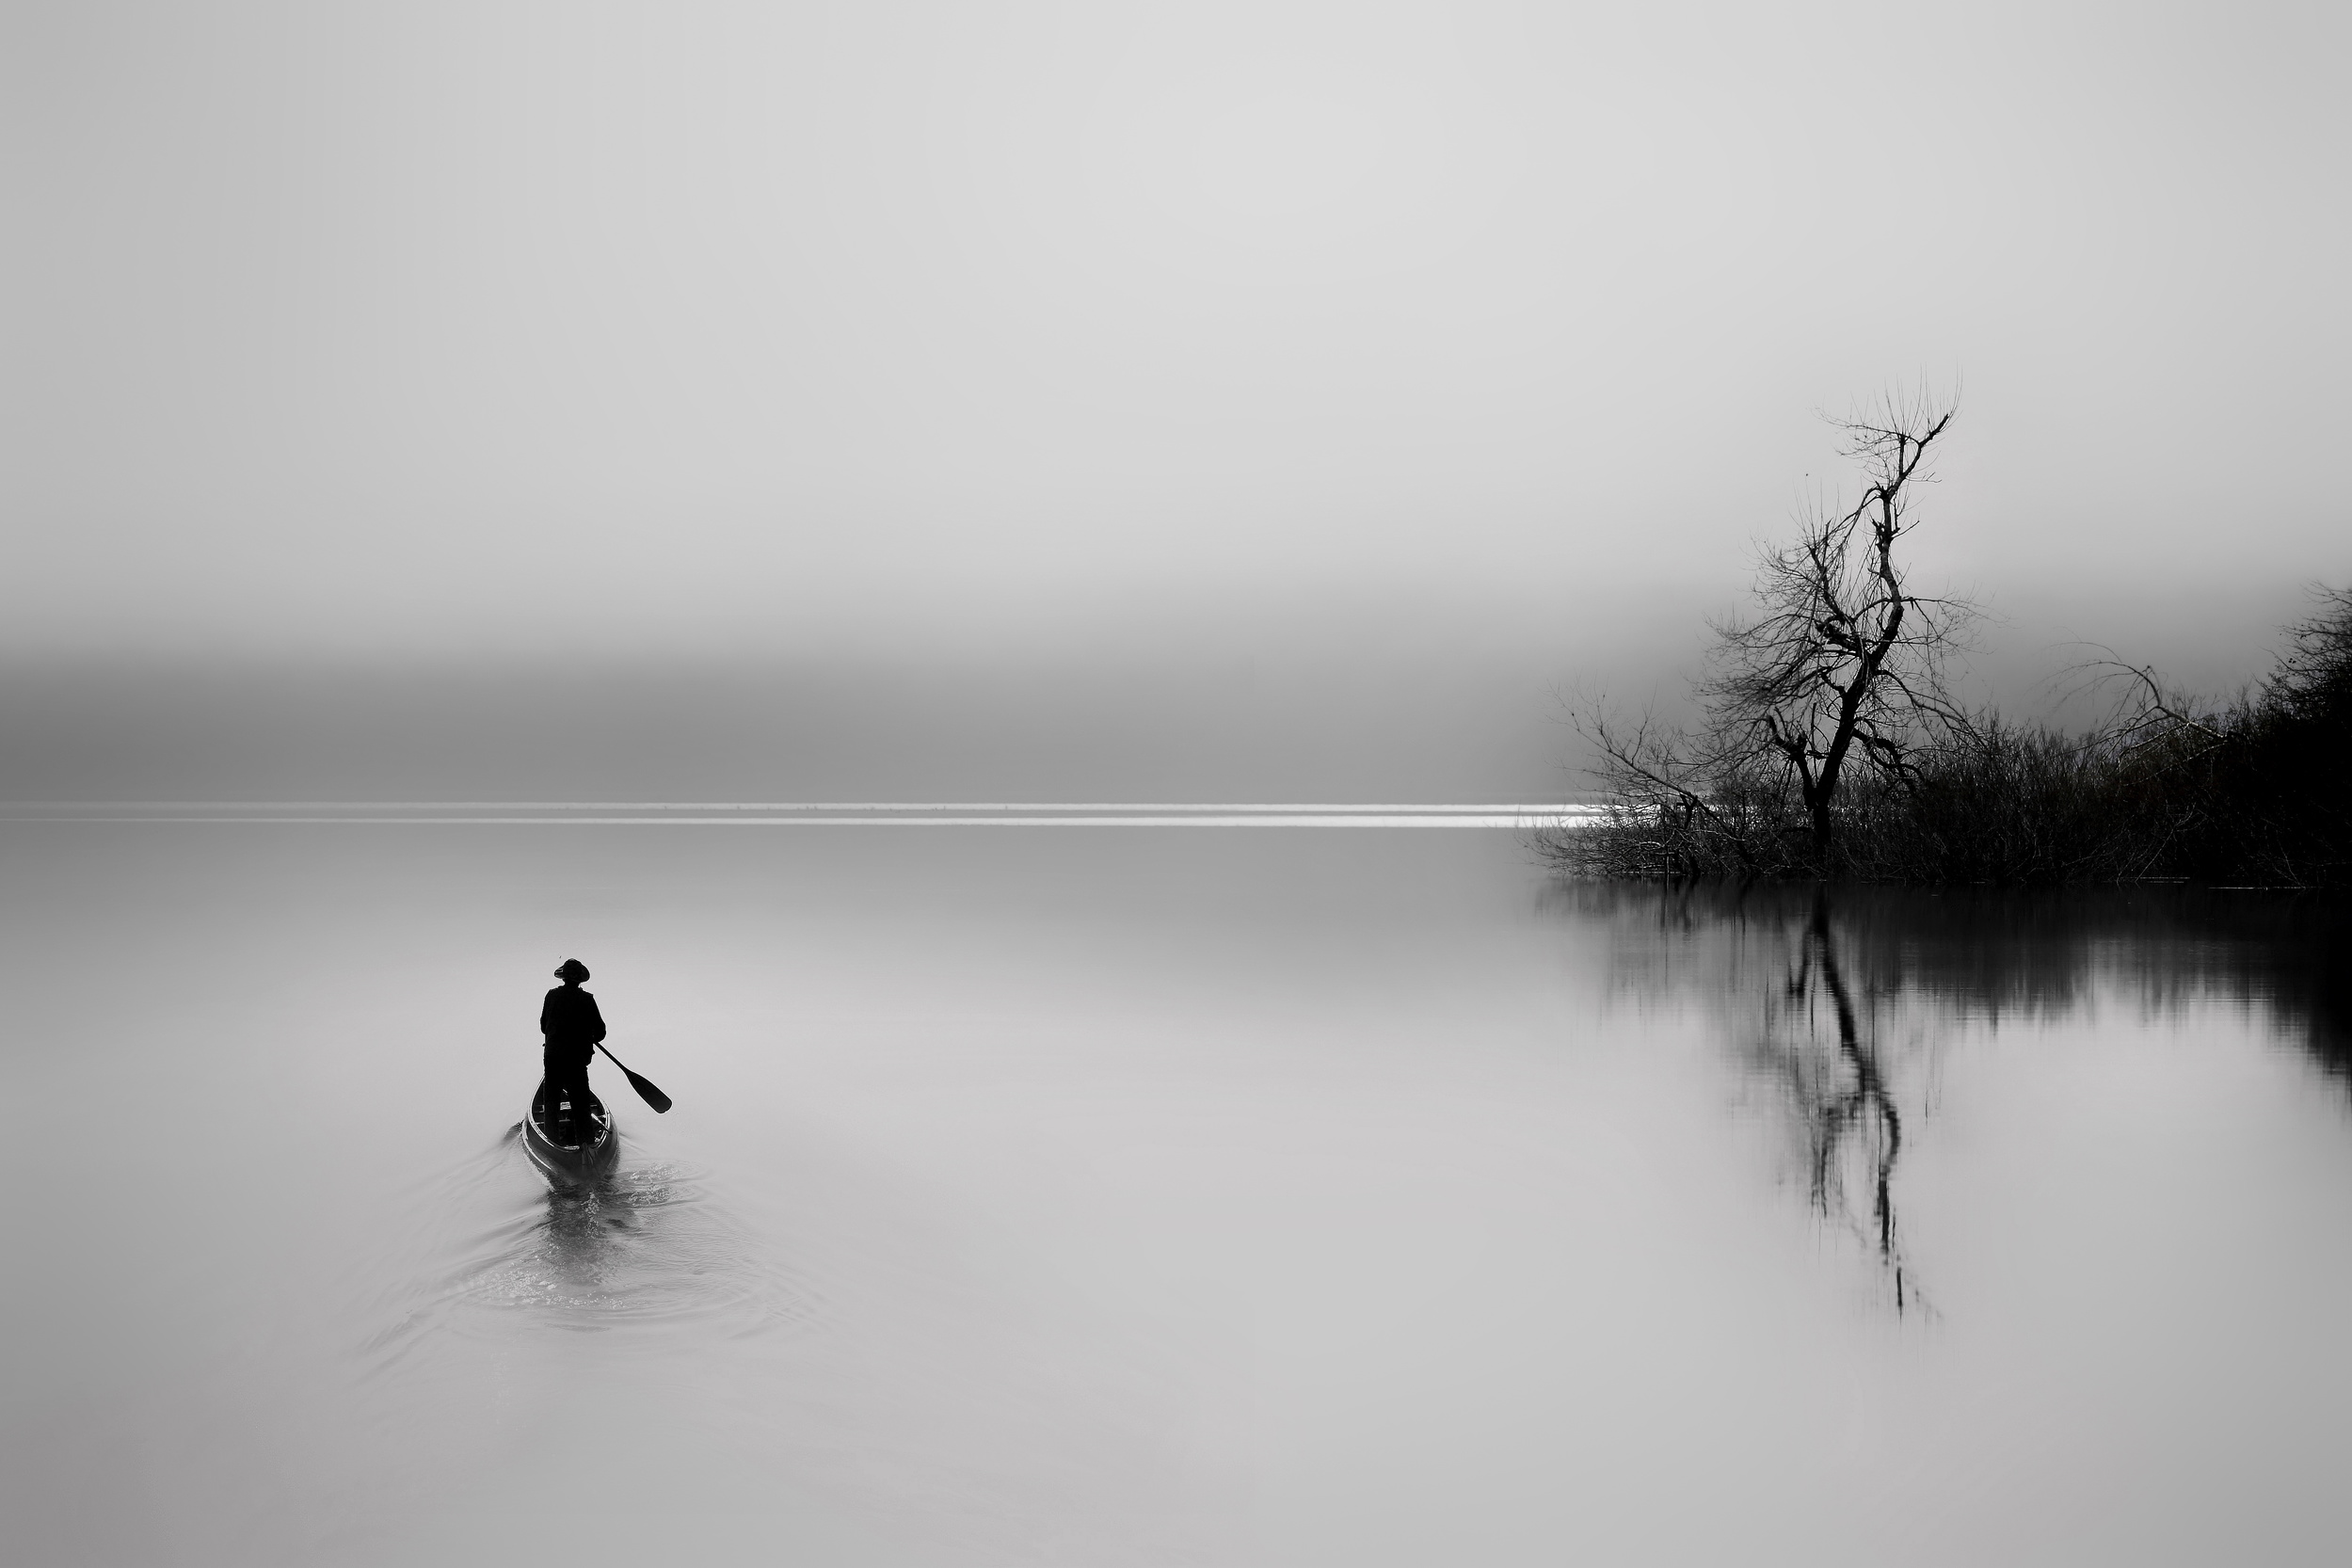
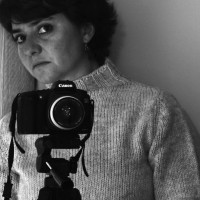
'The Boss' by Angelika Martha Himburg
When photographing in black and white, it is best to previsualize the scene and relate it to Ansell Adams’ zone system, with zone 0 as pure black, 5 as middle grey, and 10 as pure white, and then attempt to capture all of these tones in a single shot. It is best, therefore, to think and shoot in black and white but, if you are shooting in RAW, your image data is stored in full colour. In any case, we often have to start with a colour photograph and then convert it to black and white in post-processing.
However, this conversion from colour to black and white is only the first phase. We often (most of the time) need to process the converted image further to perfect and refine the necessary wide range of tones from shadows and highlights to create the maximum emotional effect.
There are several tools available in Photoshop to assist with both of these phases.
First Step – CONVERSION
There are many methods for doing the initial conversion to black and white, but here are some of the more popular ones:
Photoshop Raw Presets
Photoshop RAW has a number of Black and white presets which, although not ideal, will get you close.
Third-Party Presets
There are a number of third-party presets, such as Silver Effex Pro and Infinite Black and White, that can be pretty useful (at a cost)
Gradient Map
Calculations
One method that really works well:
Second Step – LOCALISED REFINING
Now that the basic conversion into black and white has been done, it is time for the fine-tuning and refinement of your photo, turning what may be a flat, uninteresting image into a winner. The secret to this phase is to use layers and masks to fine-tune localised areas of the photo – multiple layers and masks are the secrets to success here.
Curves Adjustment Layers and masking are particularly effective, using a combination of layers to highlight or darken specific areas of the photo to optimise the blacks, whites, and multiple shades of grey – as many layers as you like, each one targeting a specific area, each one adding to the overall effect. Curves may also be used in conjunction with levels adjustment layers and masks, localised brightness, texture, clarity, and graduated filters, dodging and burning… each of these can enhance the photo.
The more layers the more control over localised tone optimisation.
Of course, the original photograph (whether in black and white or colour) has to be well composed and well lit – post-processing cannot rescue a bad photo – but, with a little patience and well-aimed refinements, a good photo can become great.
There is a huge representation of superb black and white photographs on 1X.com, and it has been difficult to make a selection here, as the standard is so high. Whichever processing techniques have been used by the authors, the results have been fantastic, so enjoy!
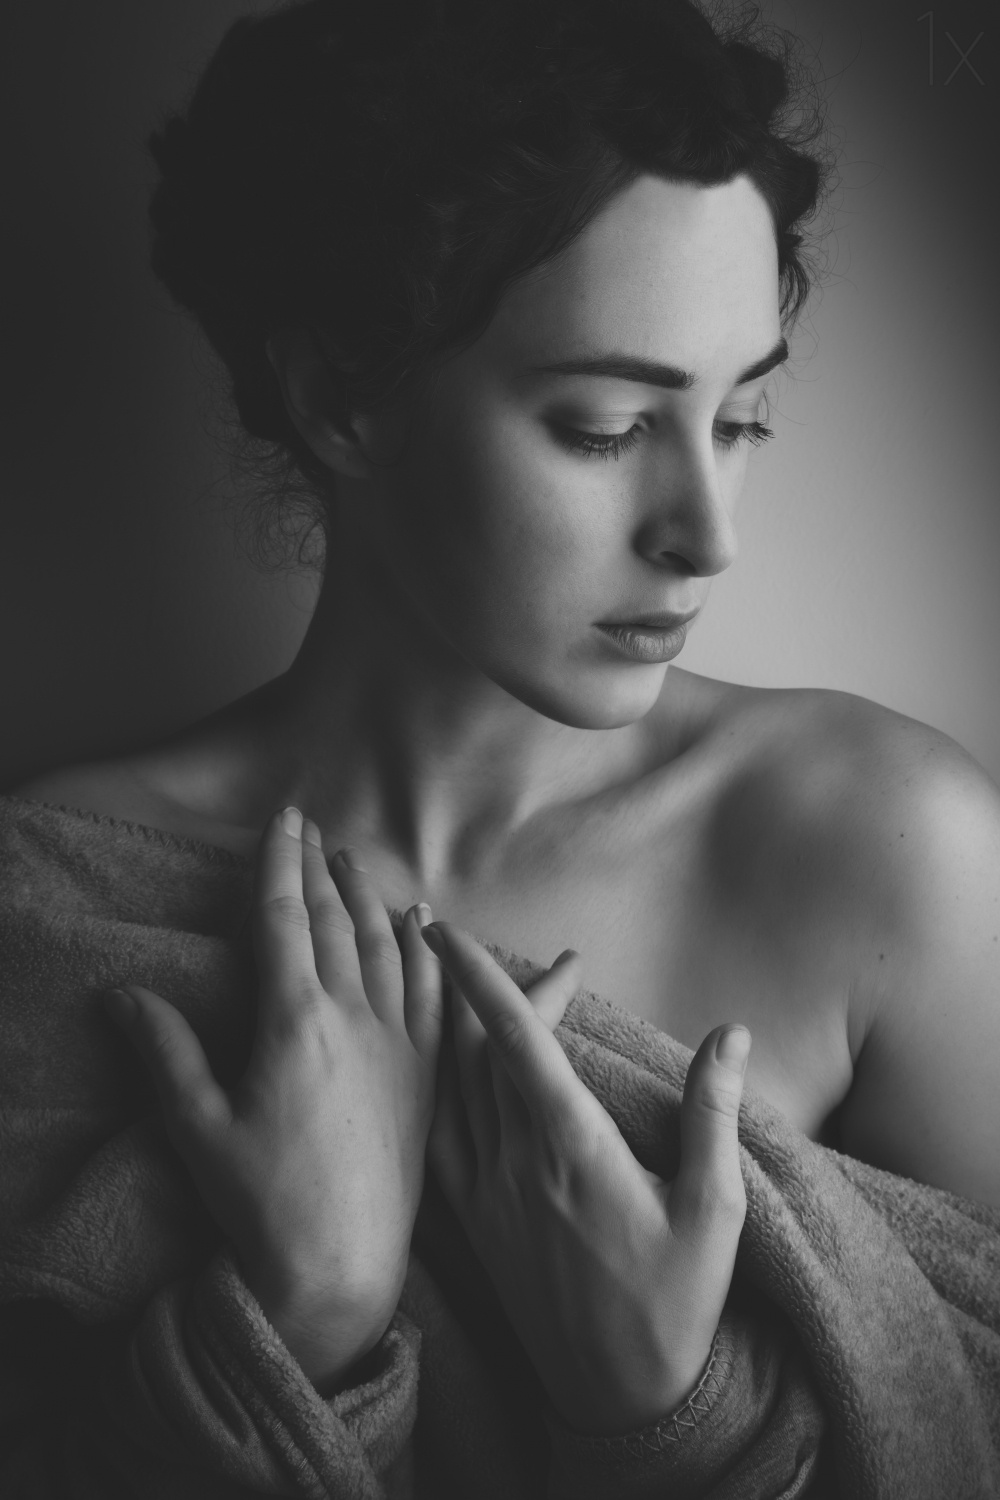
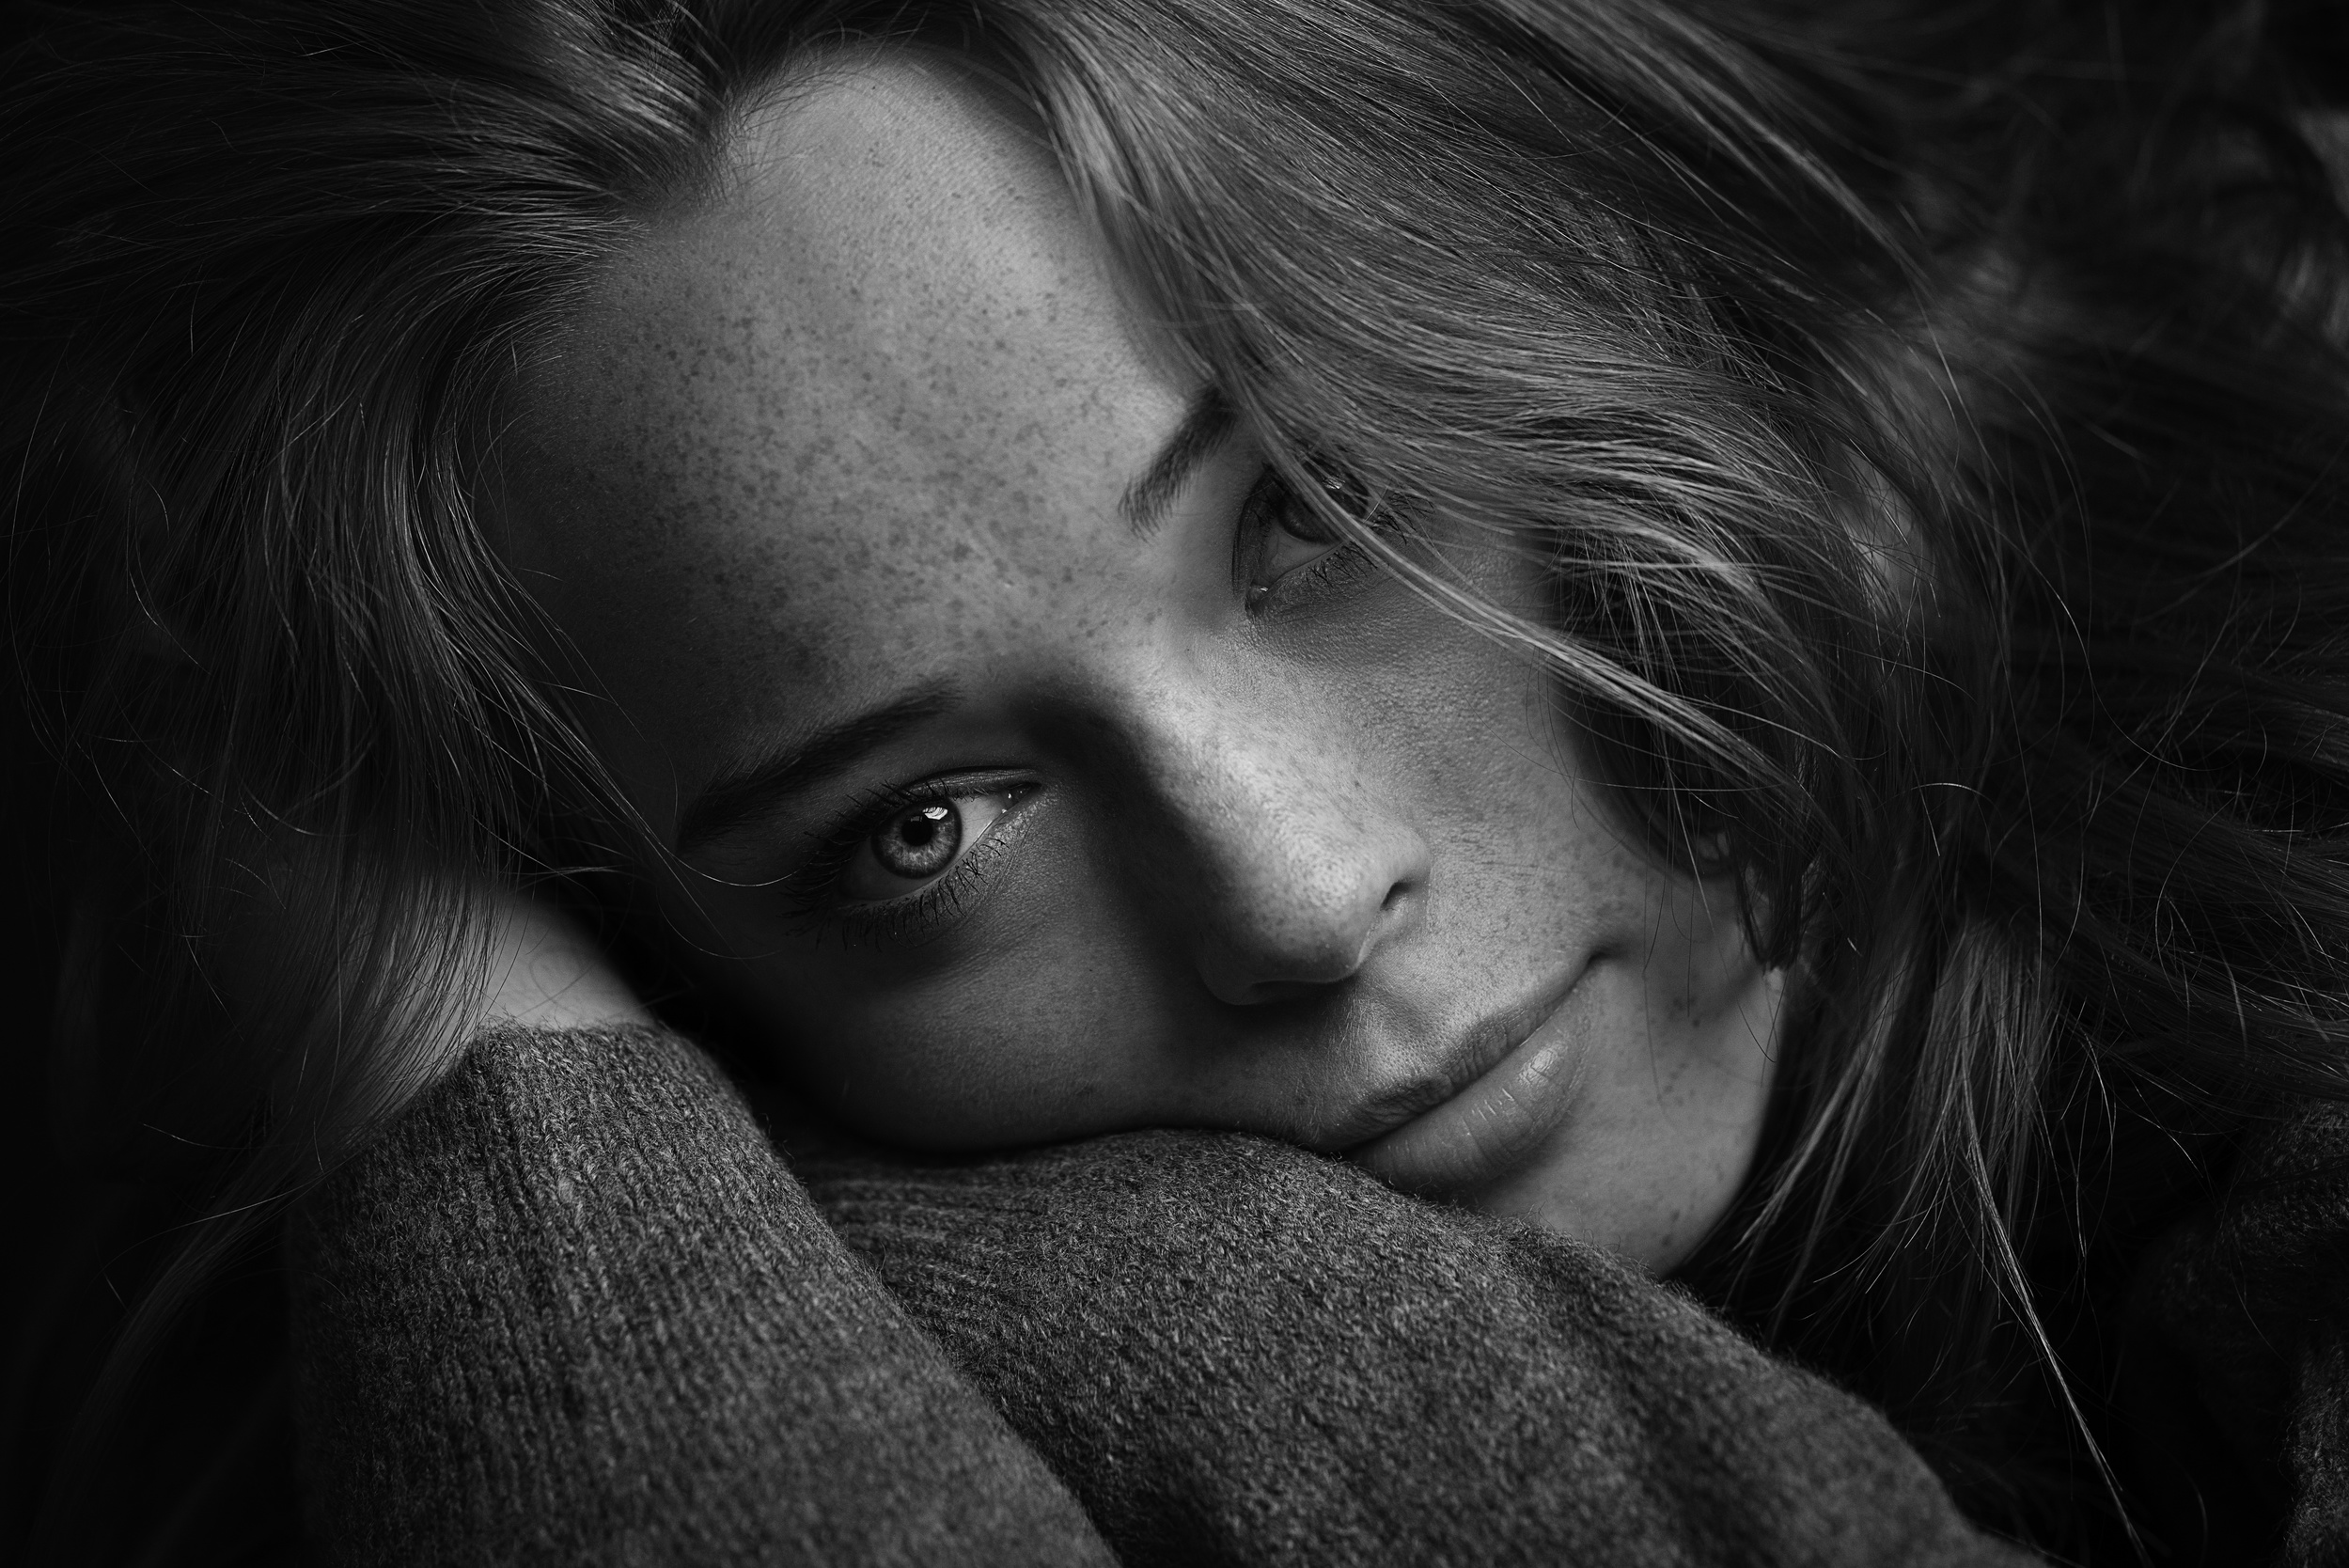
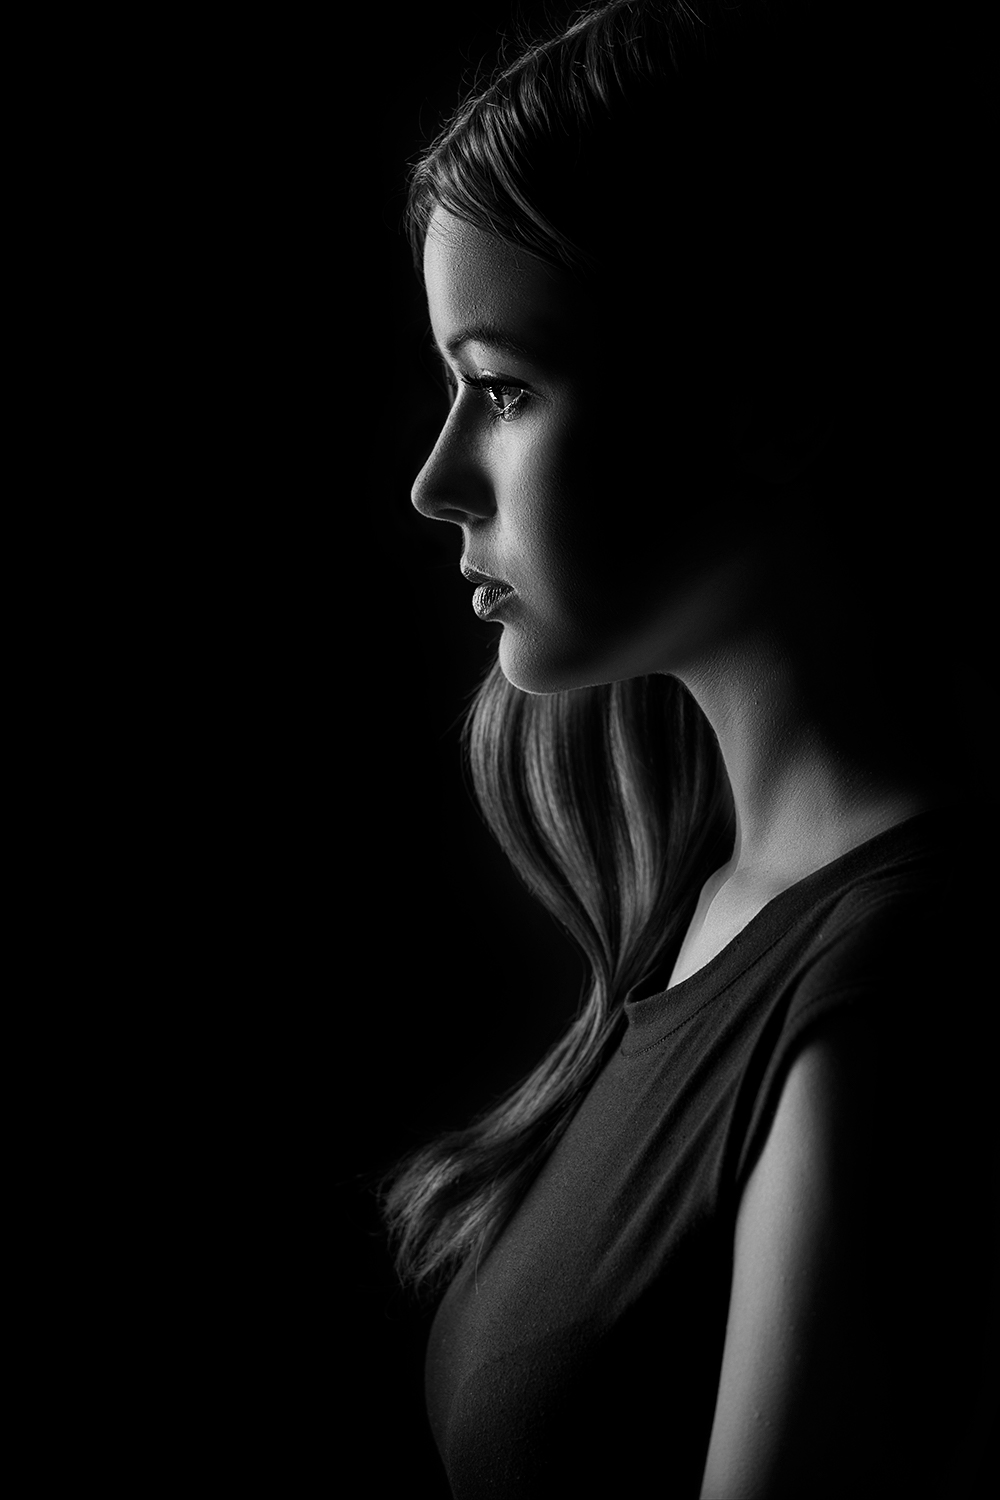
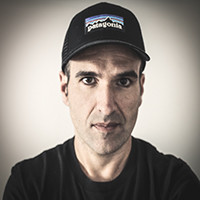
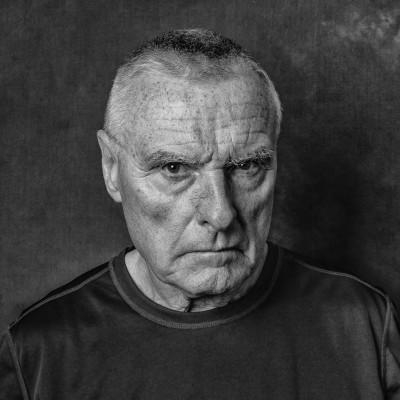
'Portrait' by JAE
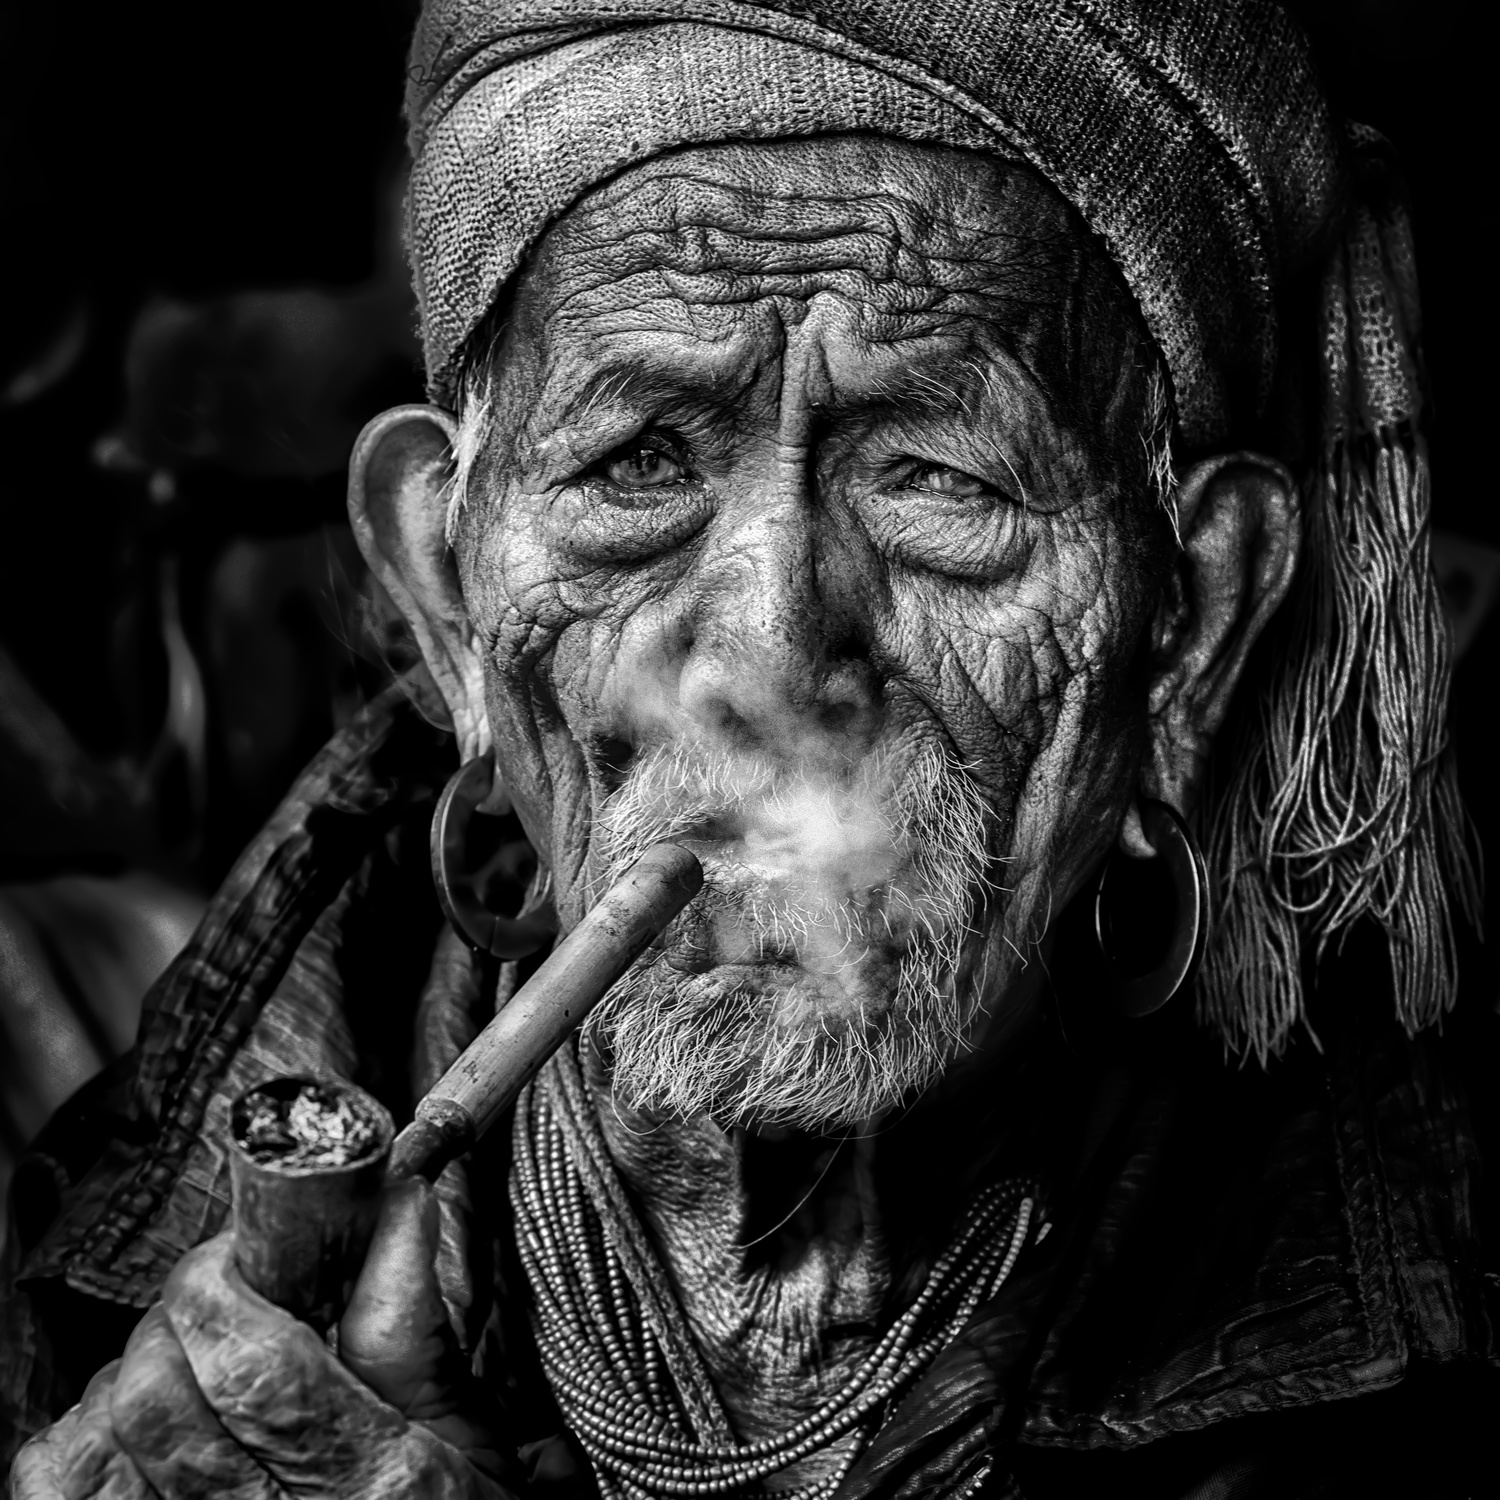
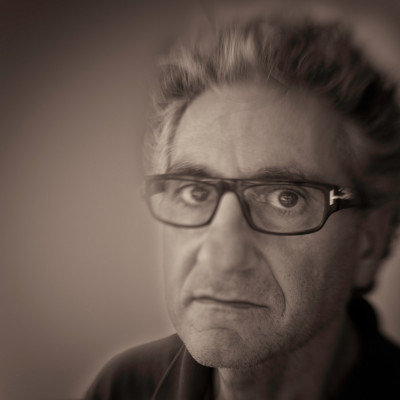
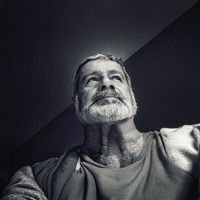
'Elderly smoker' by Sergio Pandolfini
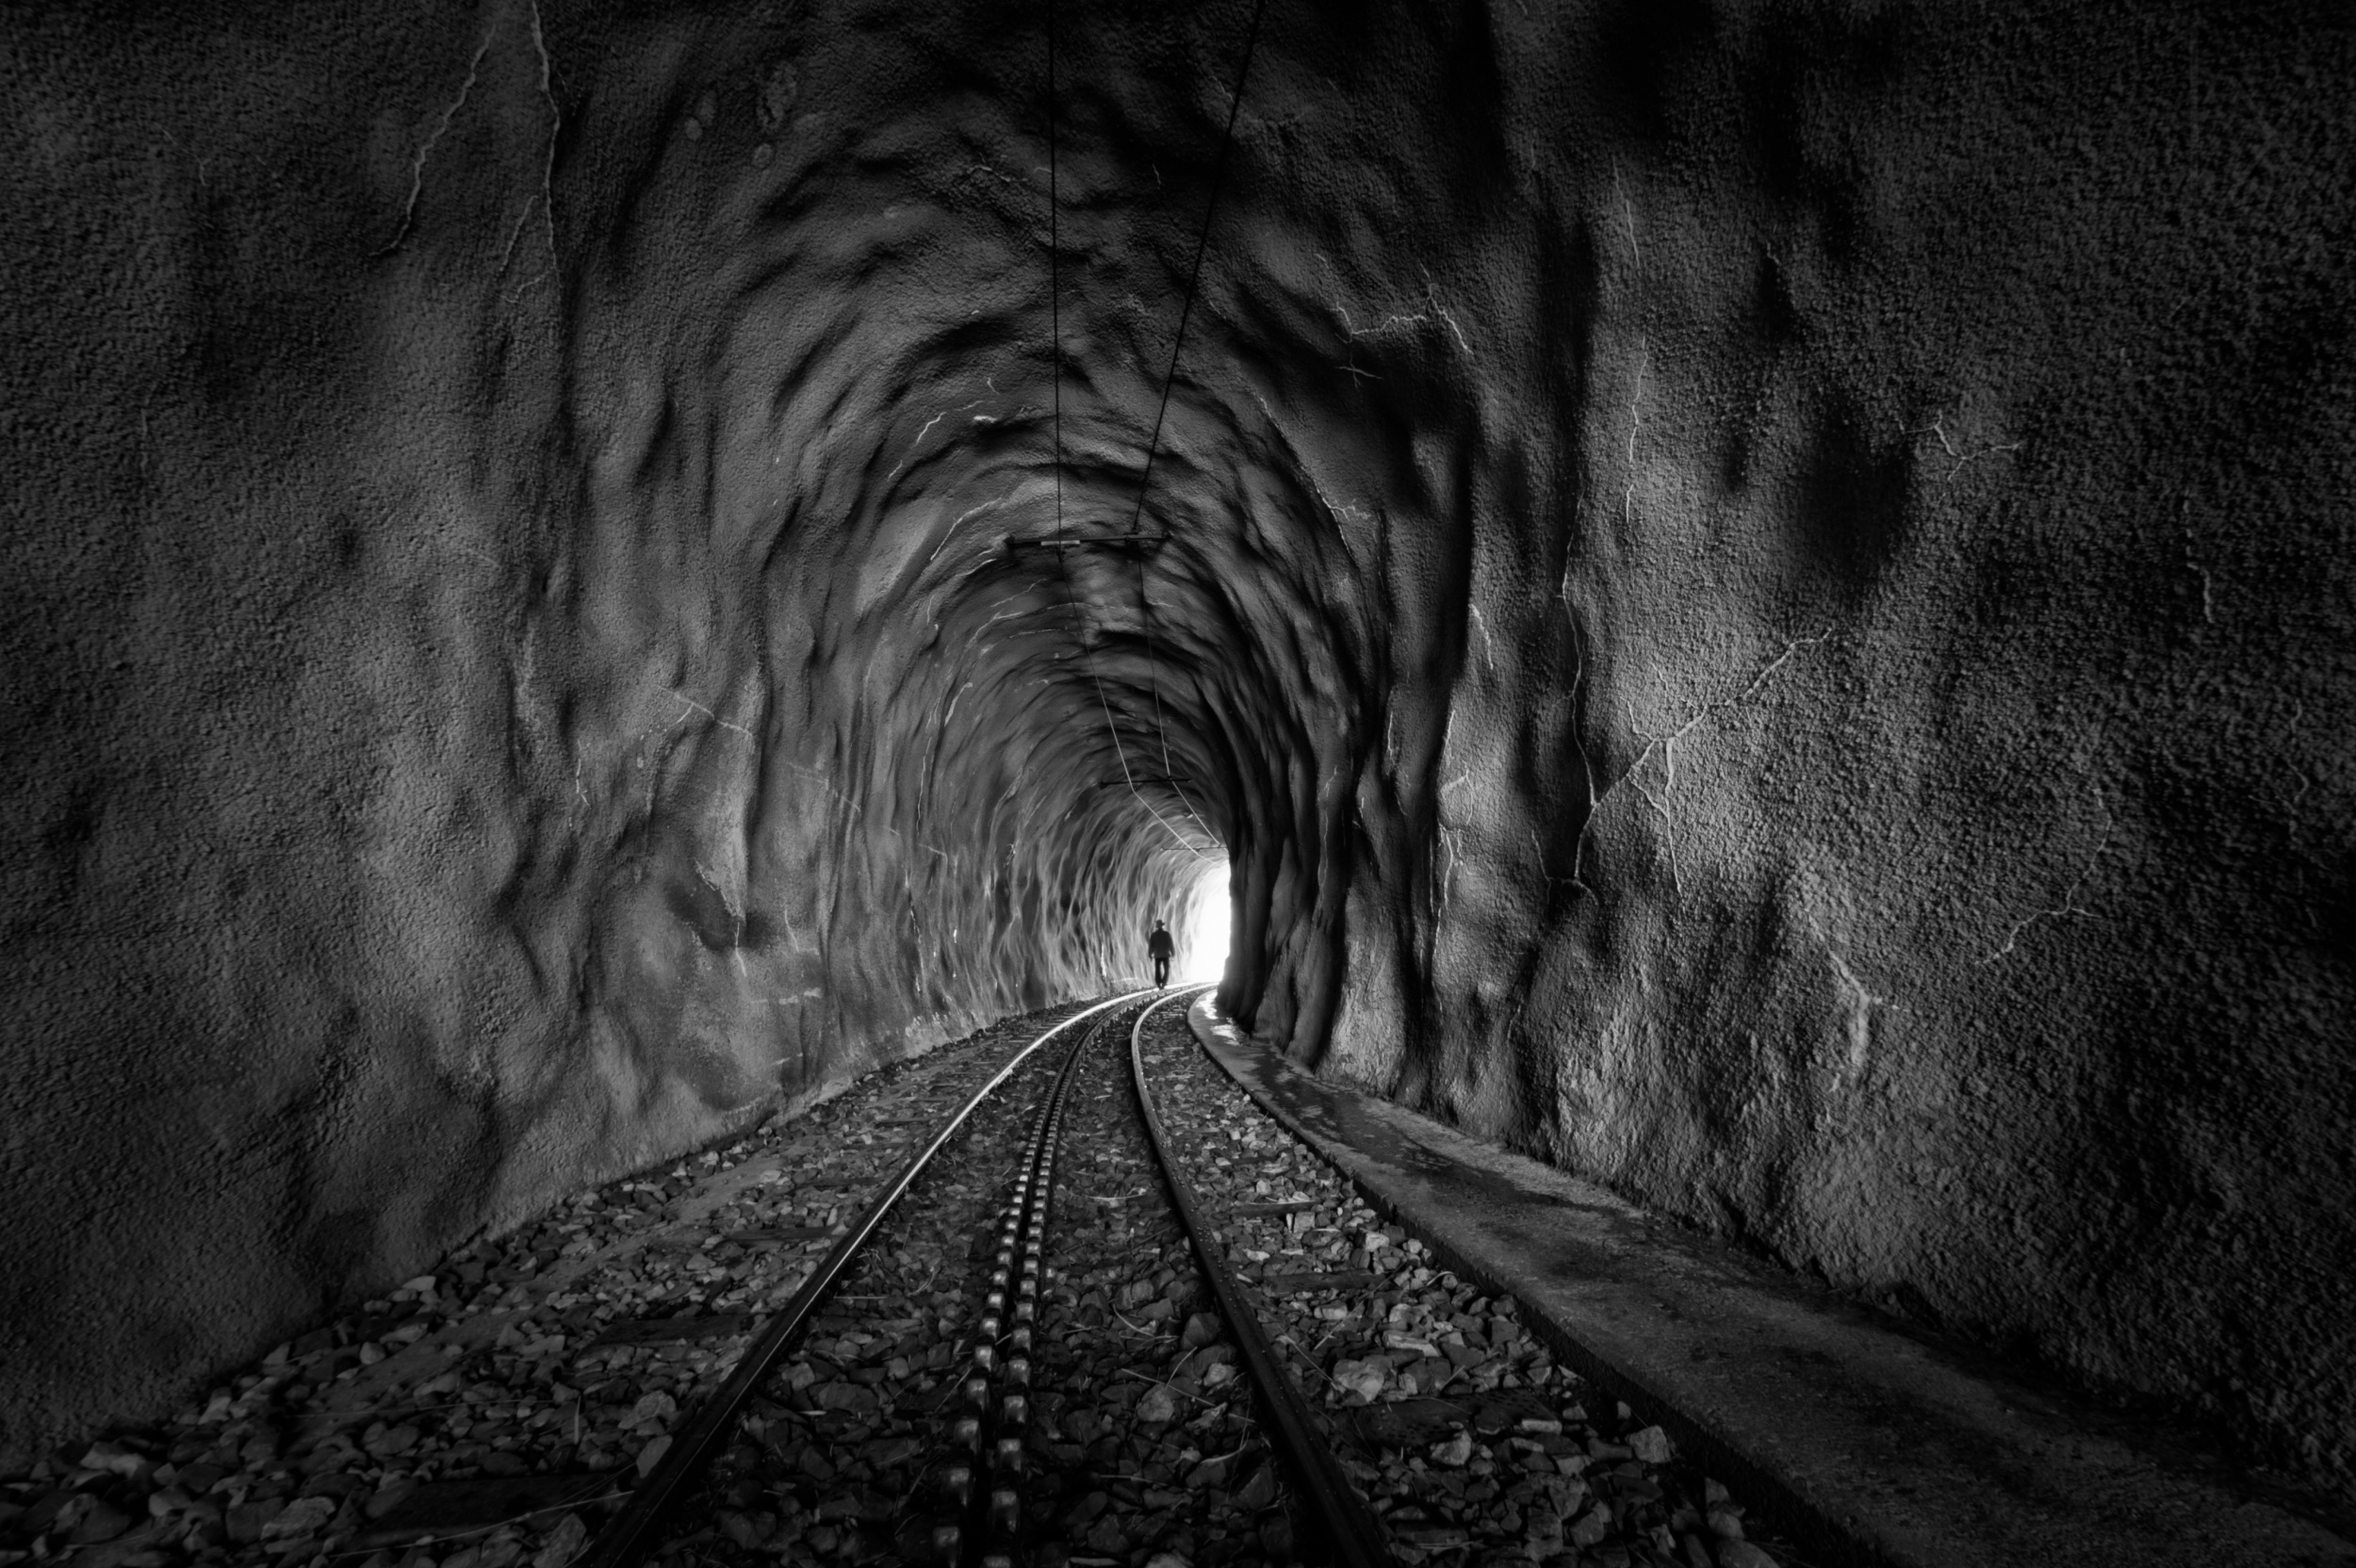
'In the bowels of the mountain-BW' by Vito Guarino
'Gypsy girl' by Sergio Pandolfini
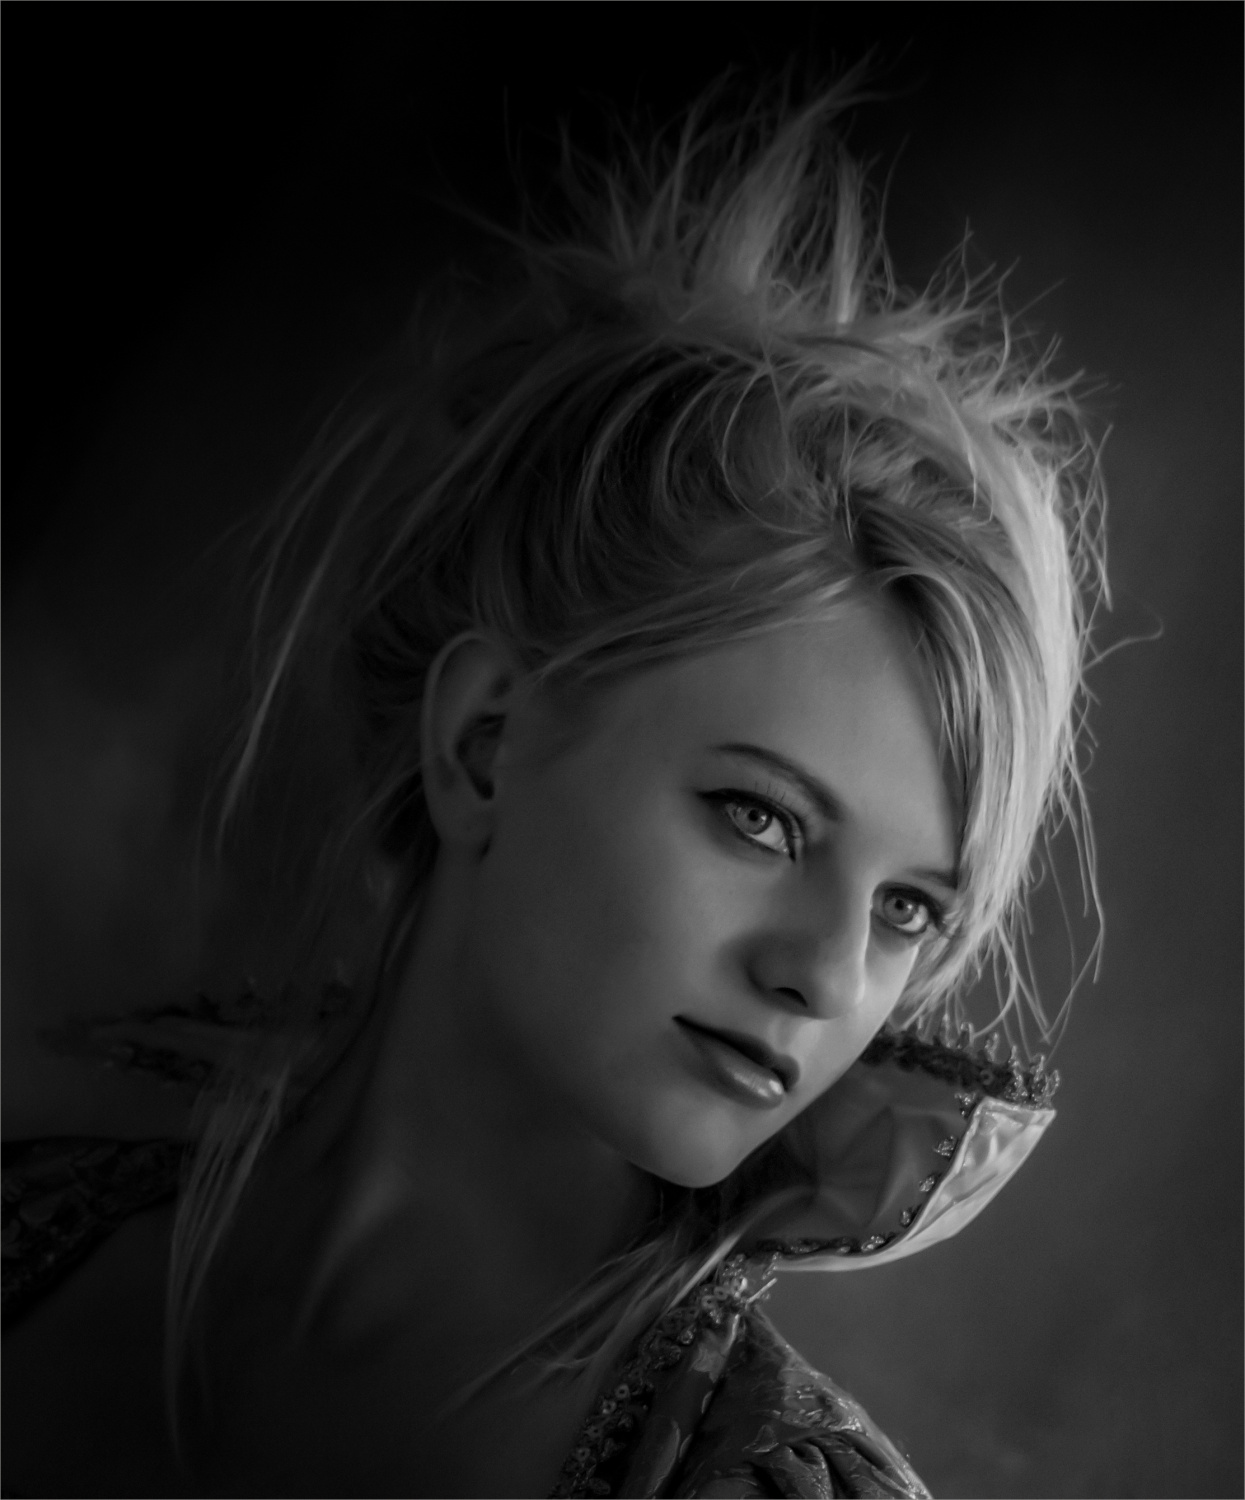
'Blondie' by Lourens Durand

'Lanthanum' by Holger Glaab
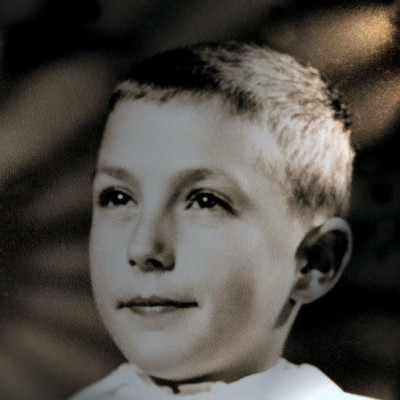
'Ronnie' by Zachar Rise
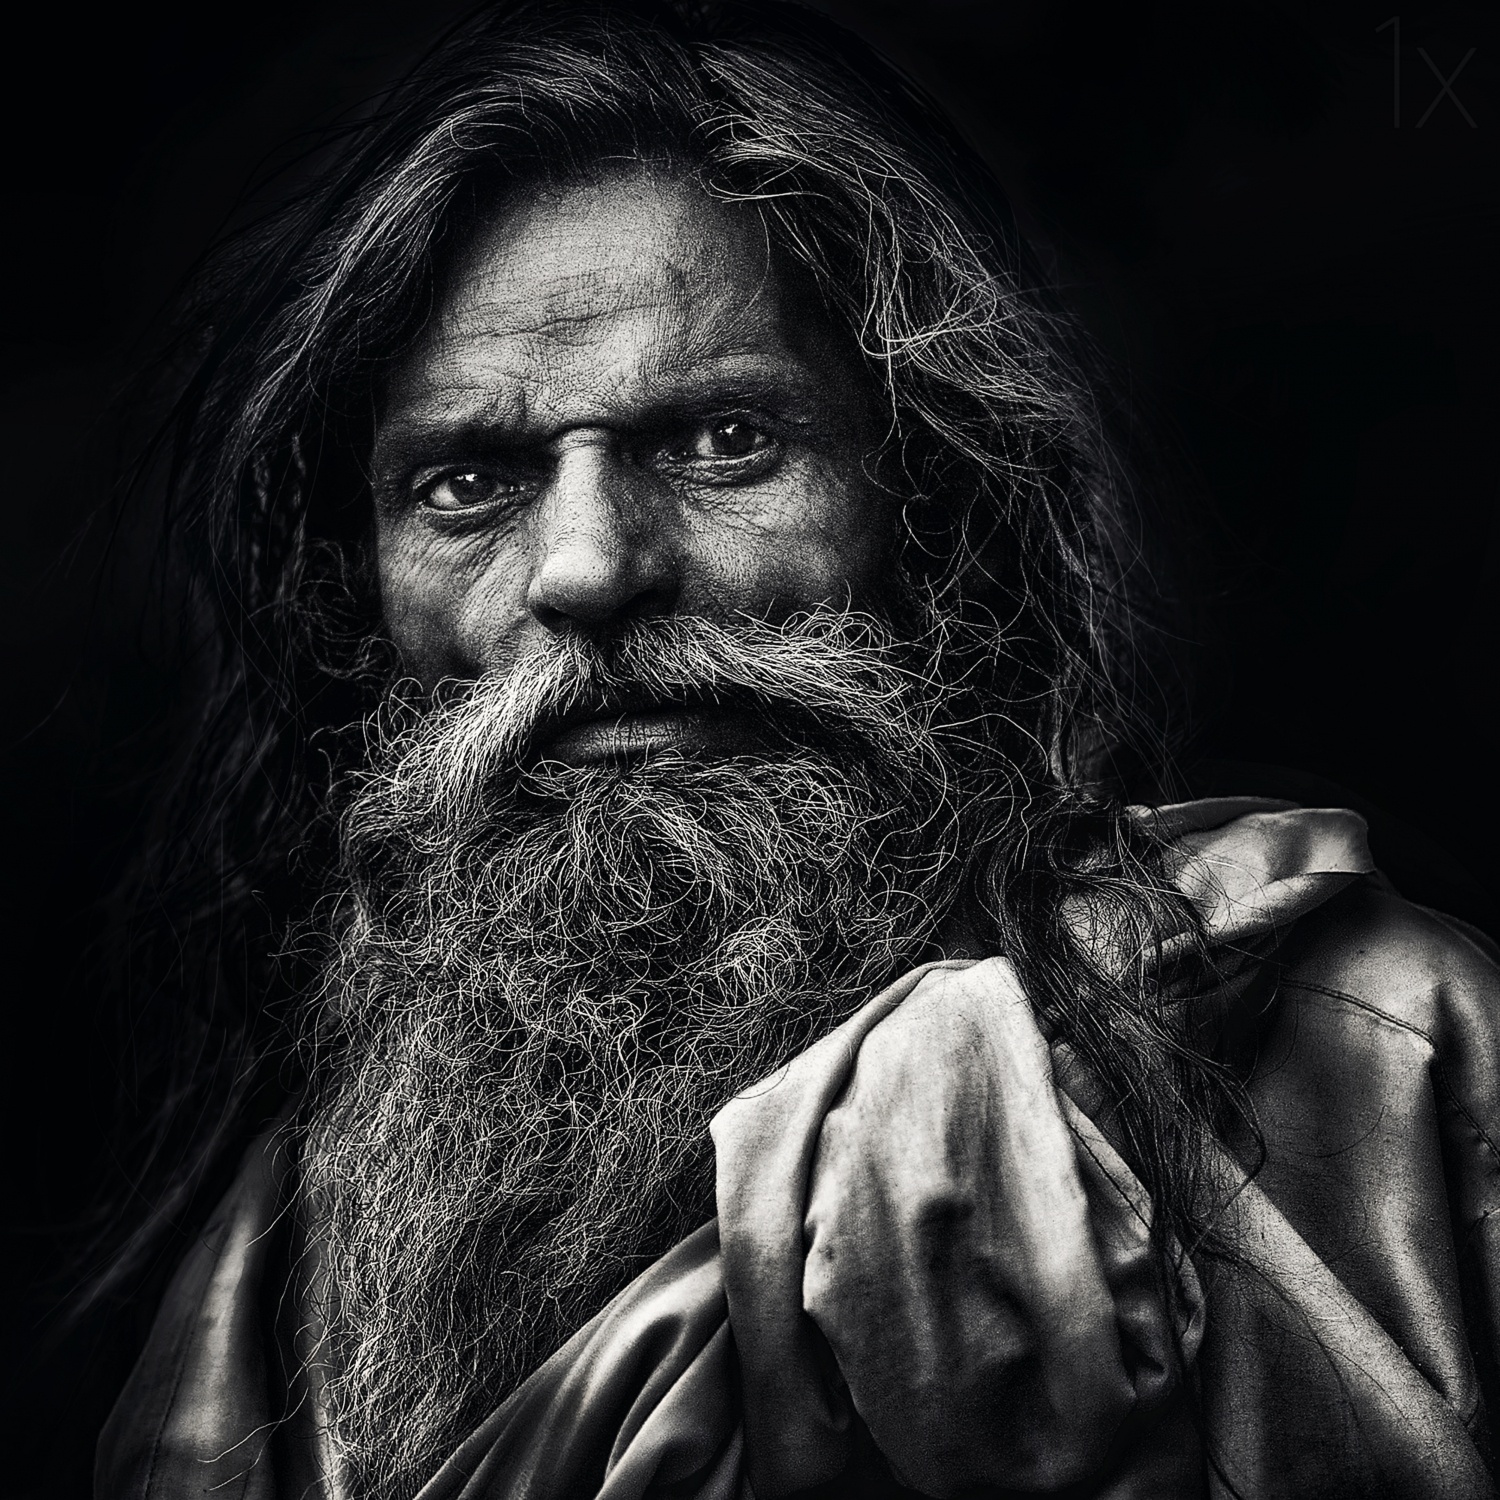
'the man from Agra' by Piet Flour
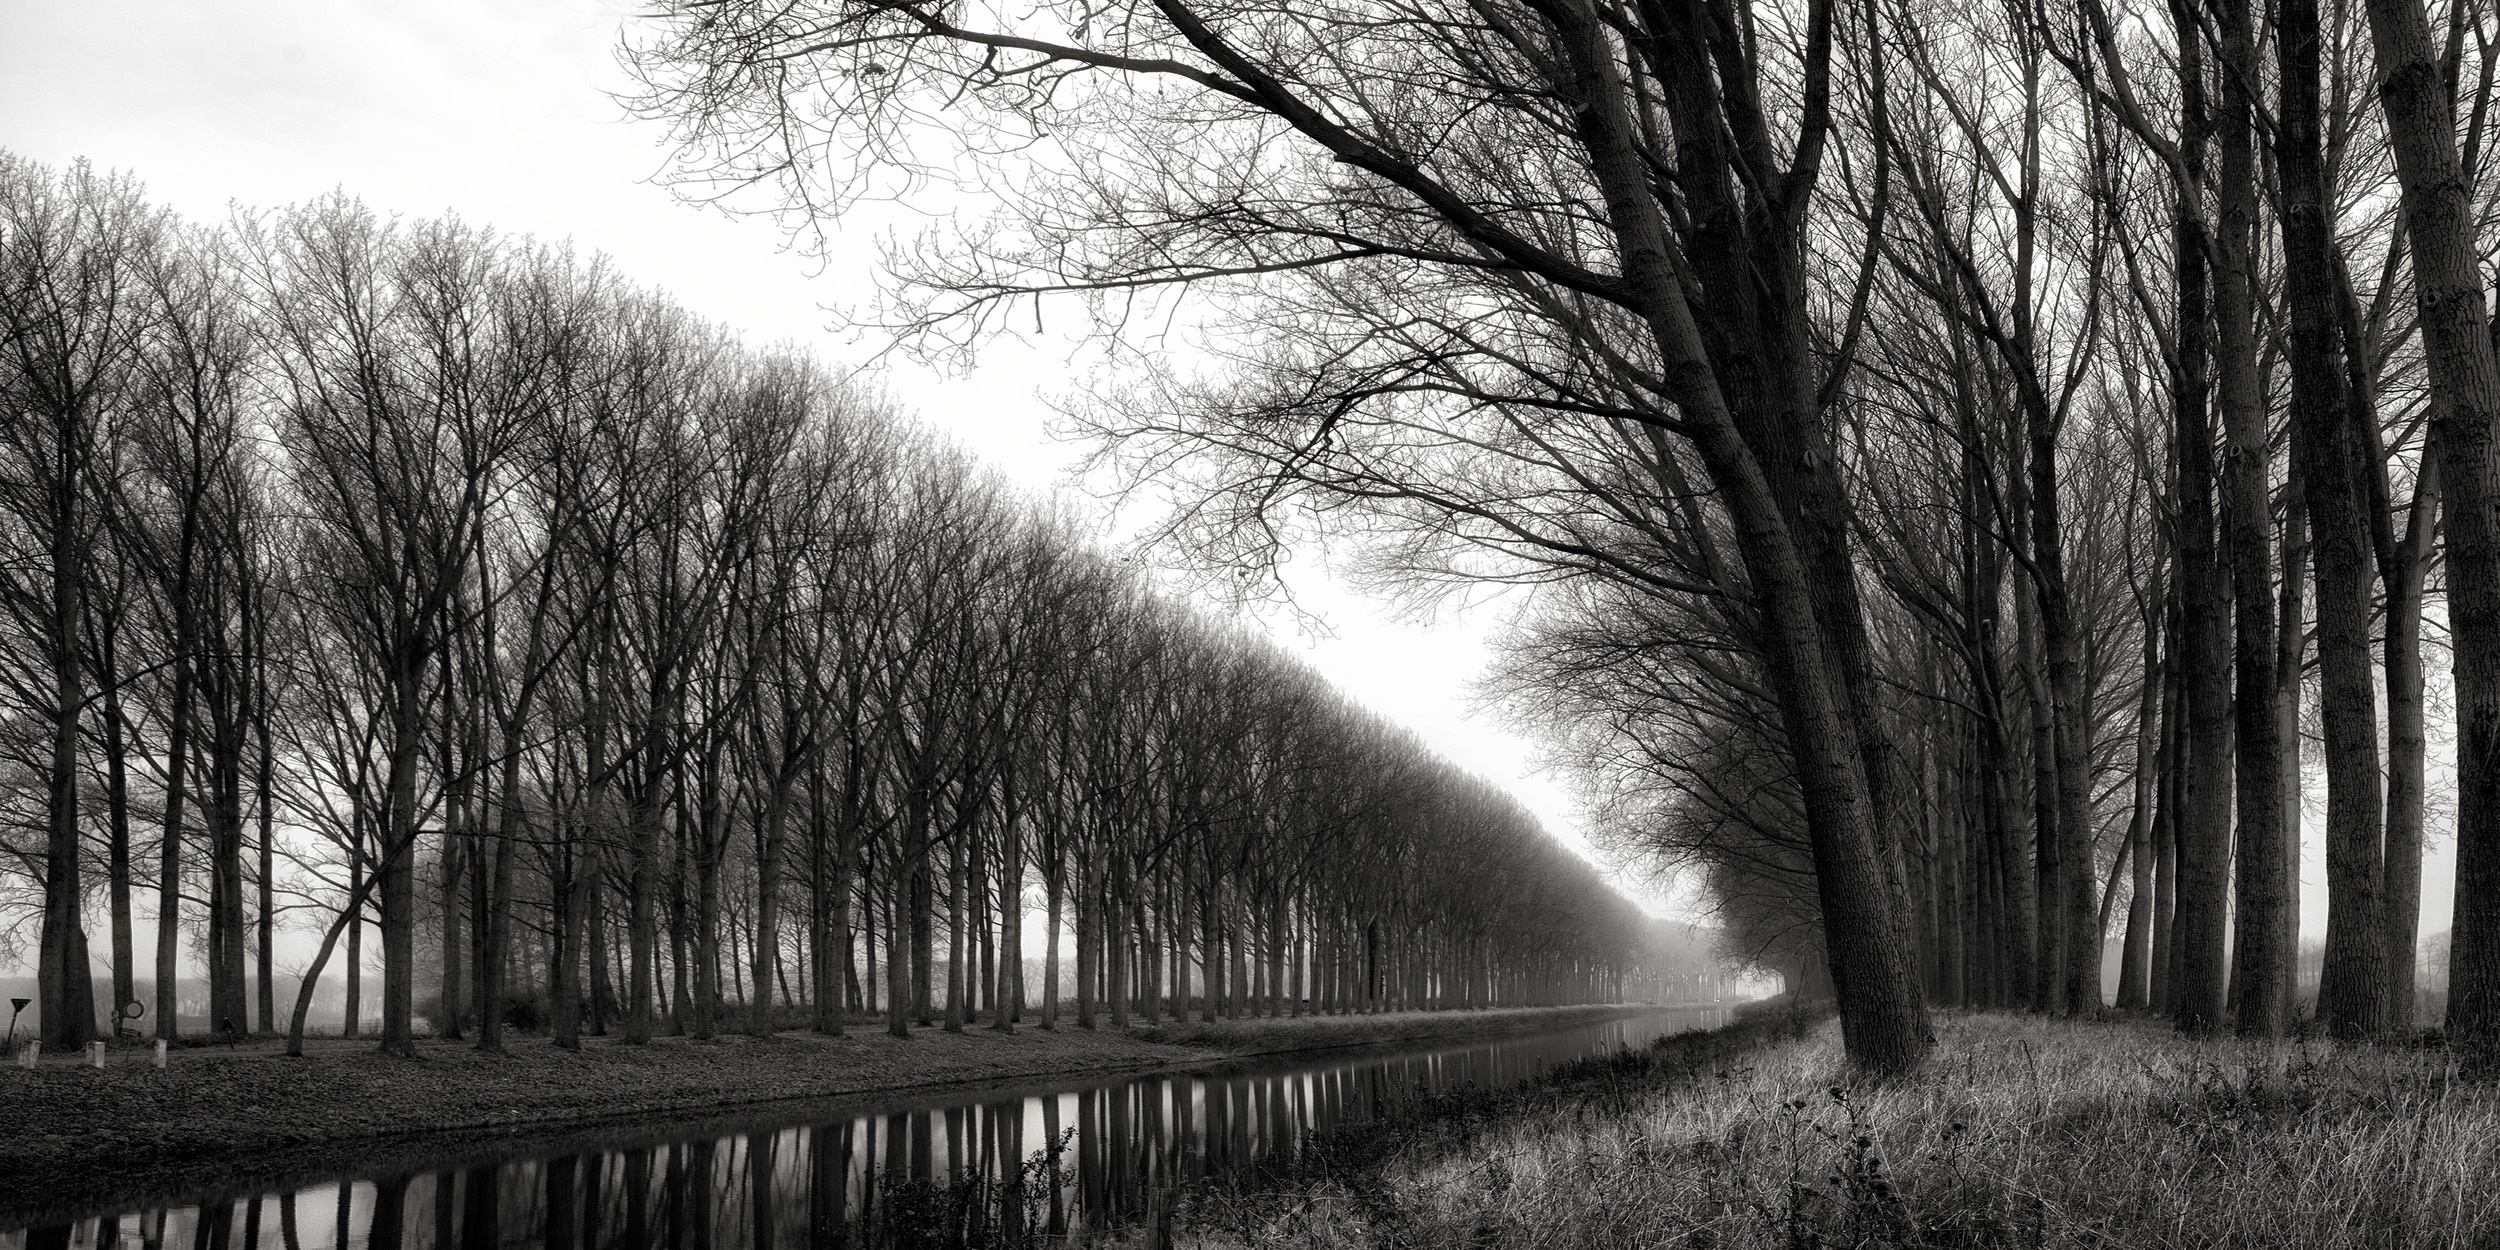
'Brussels lace' by Sophie Voituron
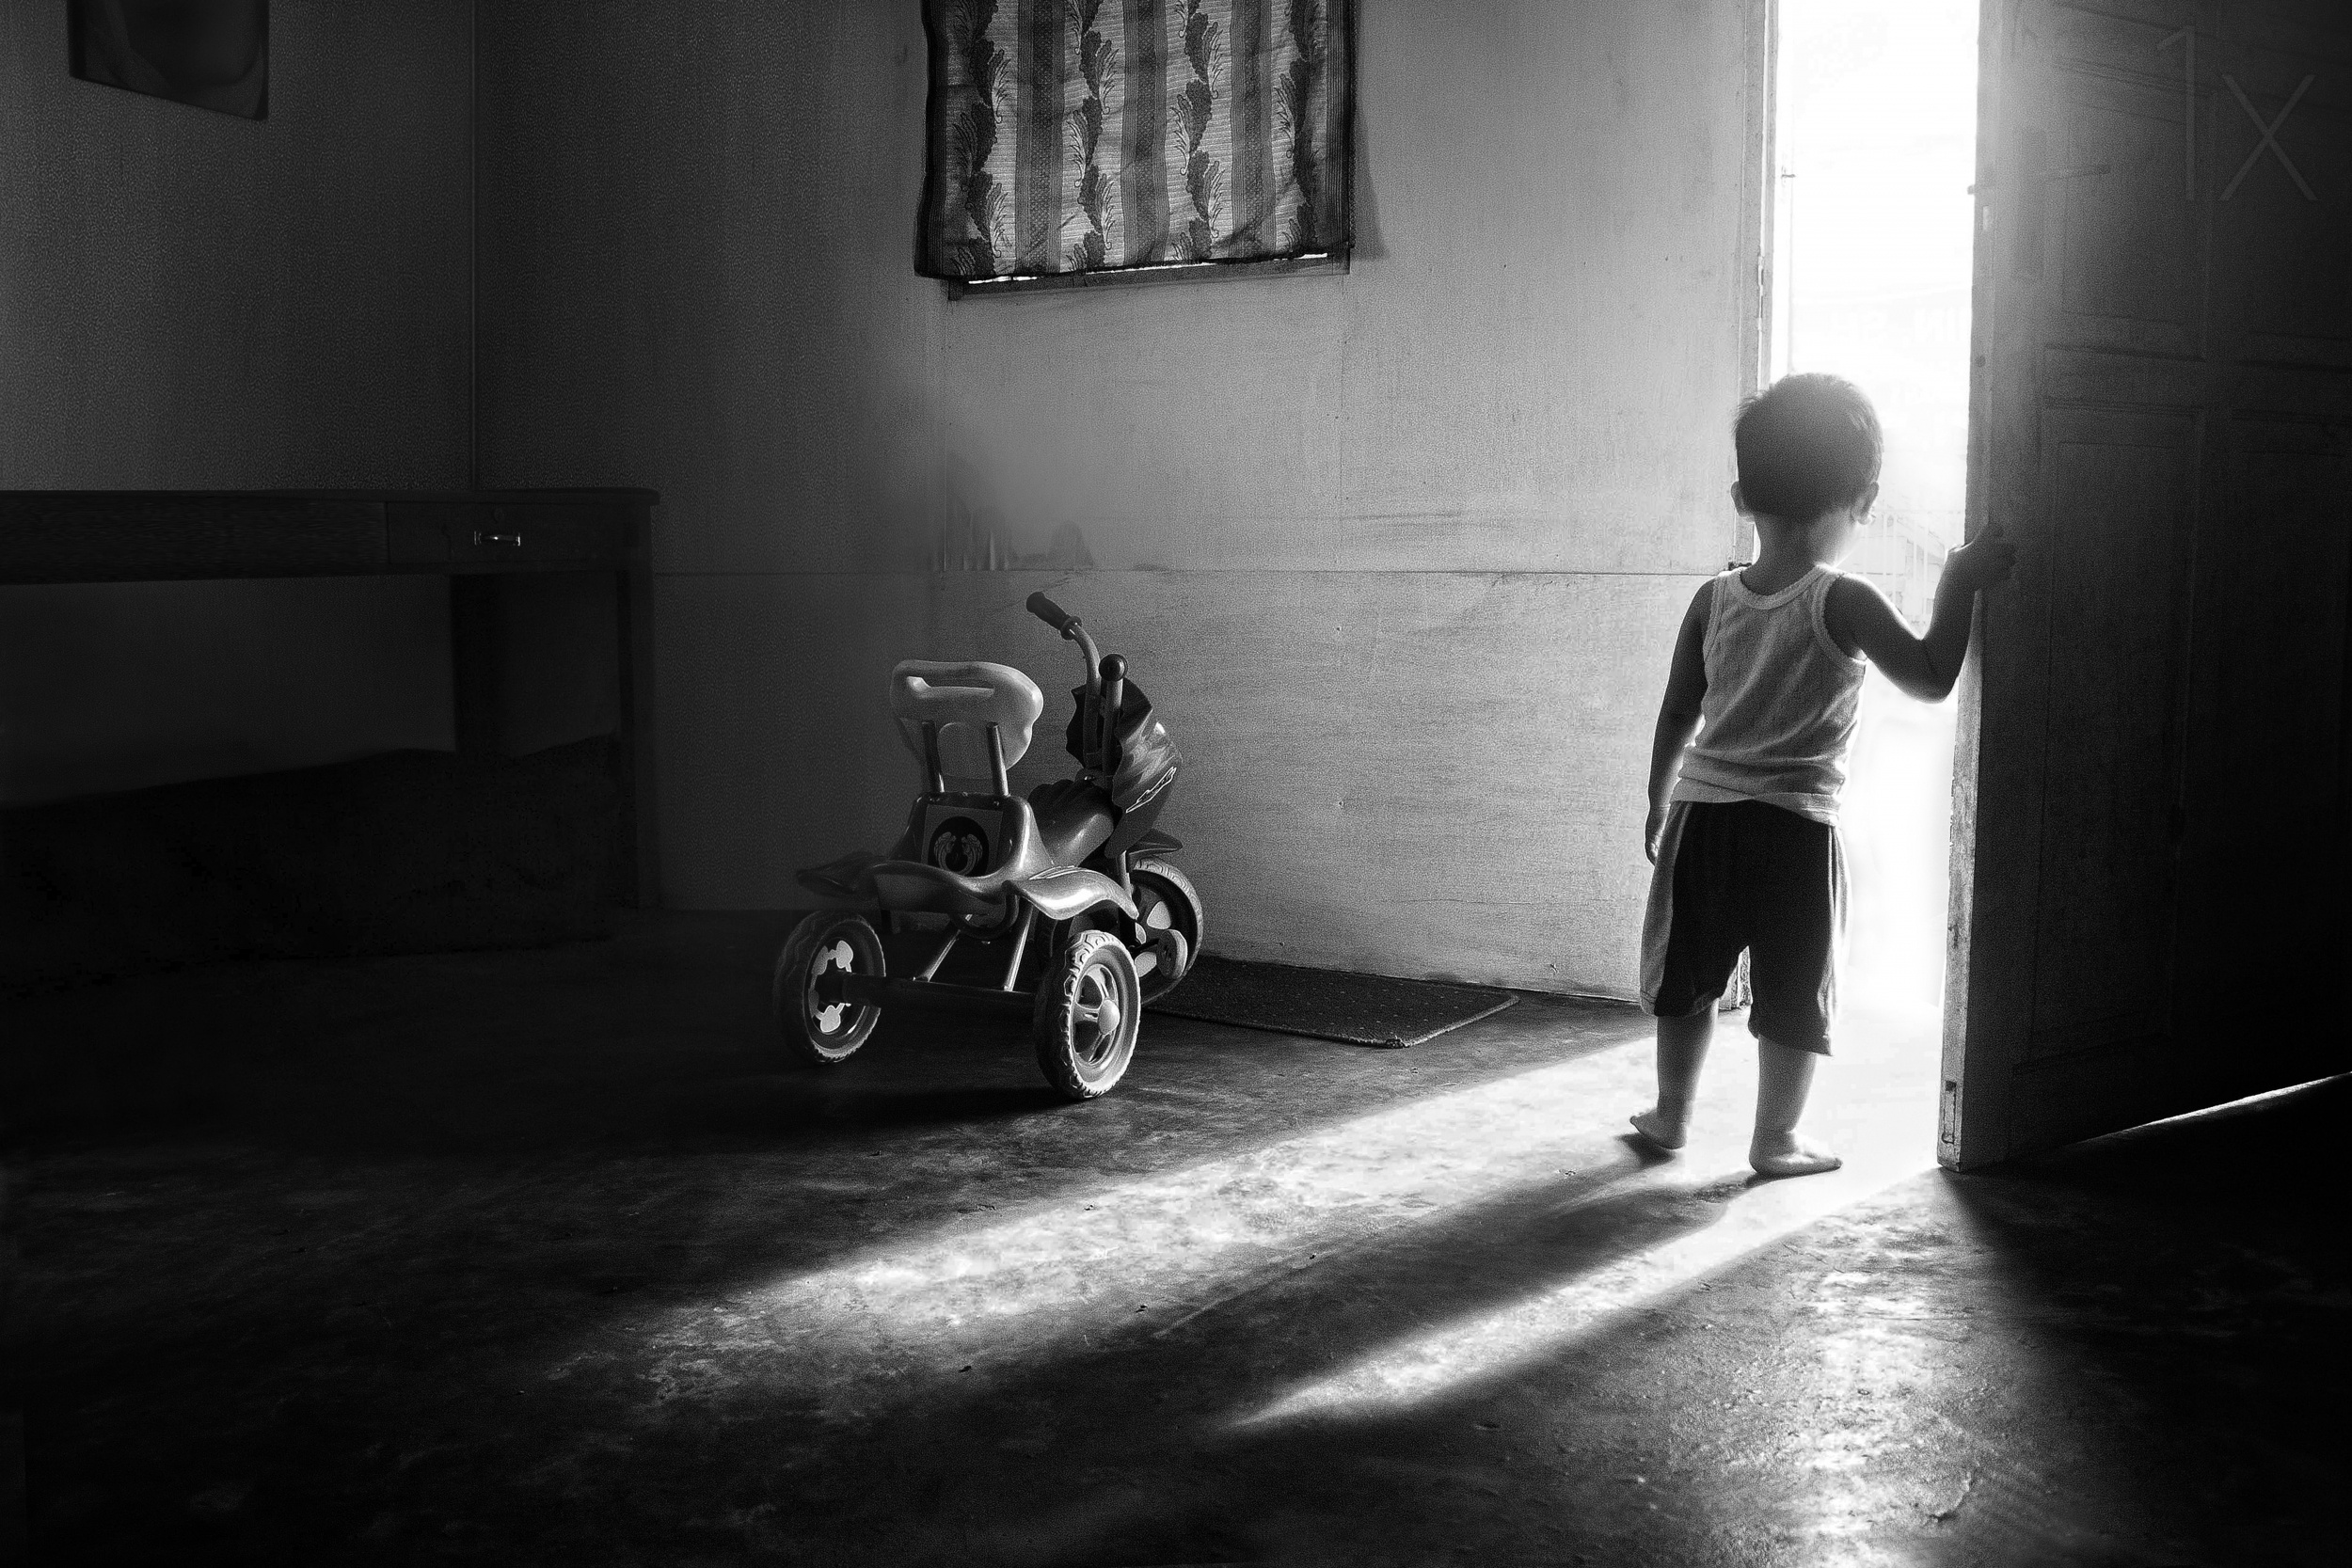
'going to play' by Ivan Valentino
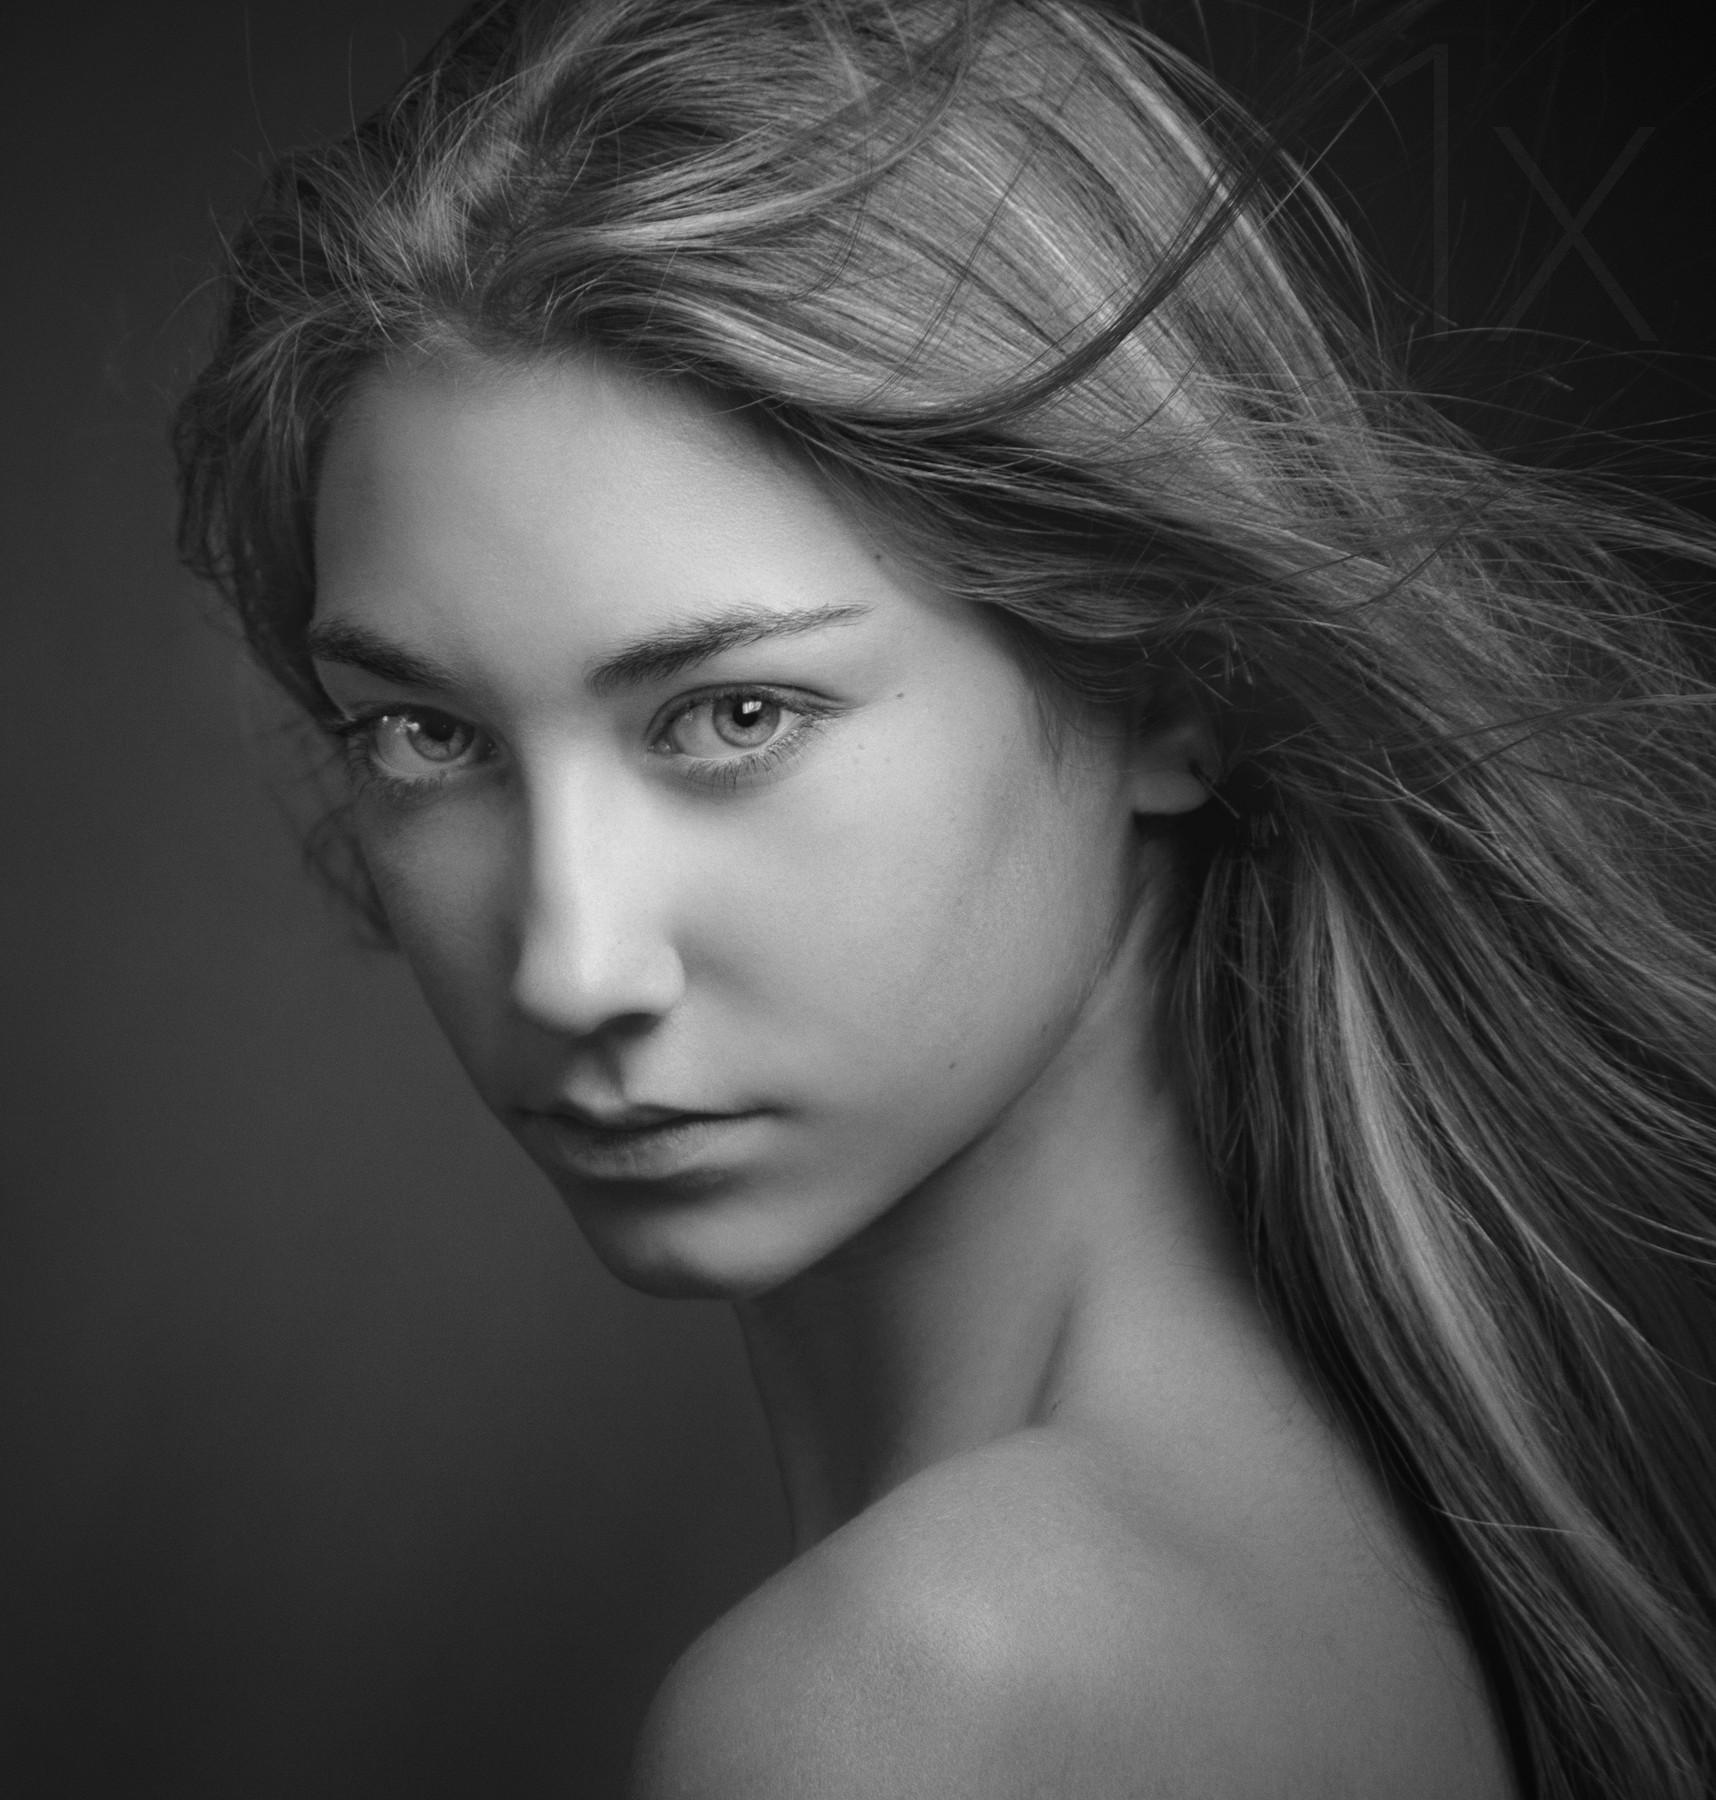
'Ann-Robin XI' by Nick van Dijk
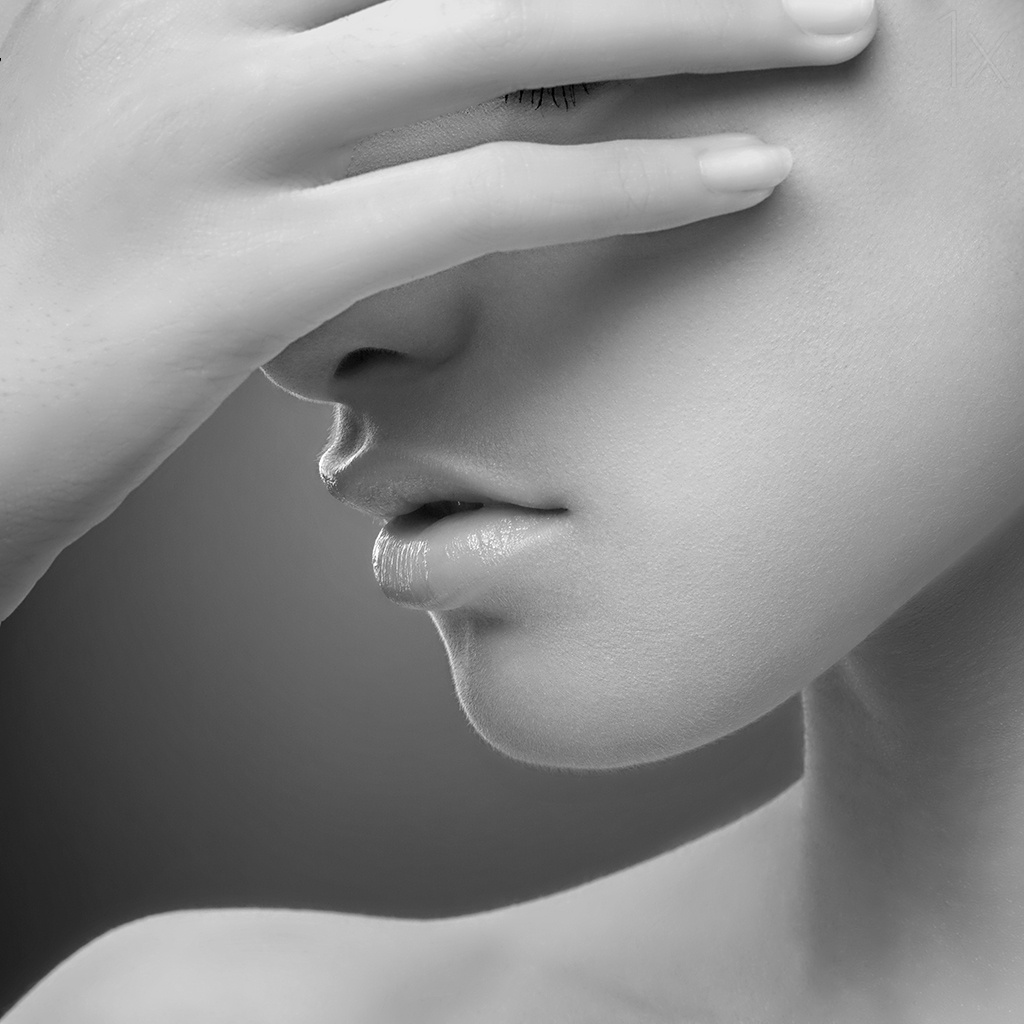
'E' by Widi Hardhanu
'Cristina' by Roberto Bressan
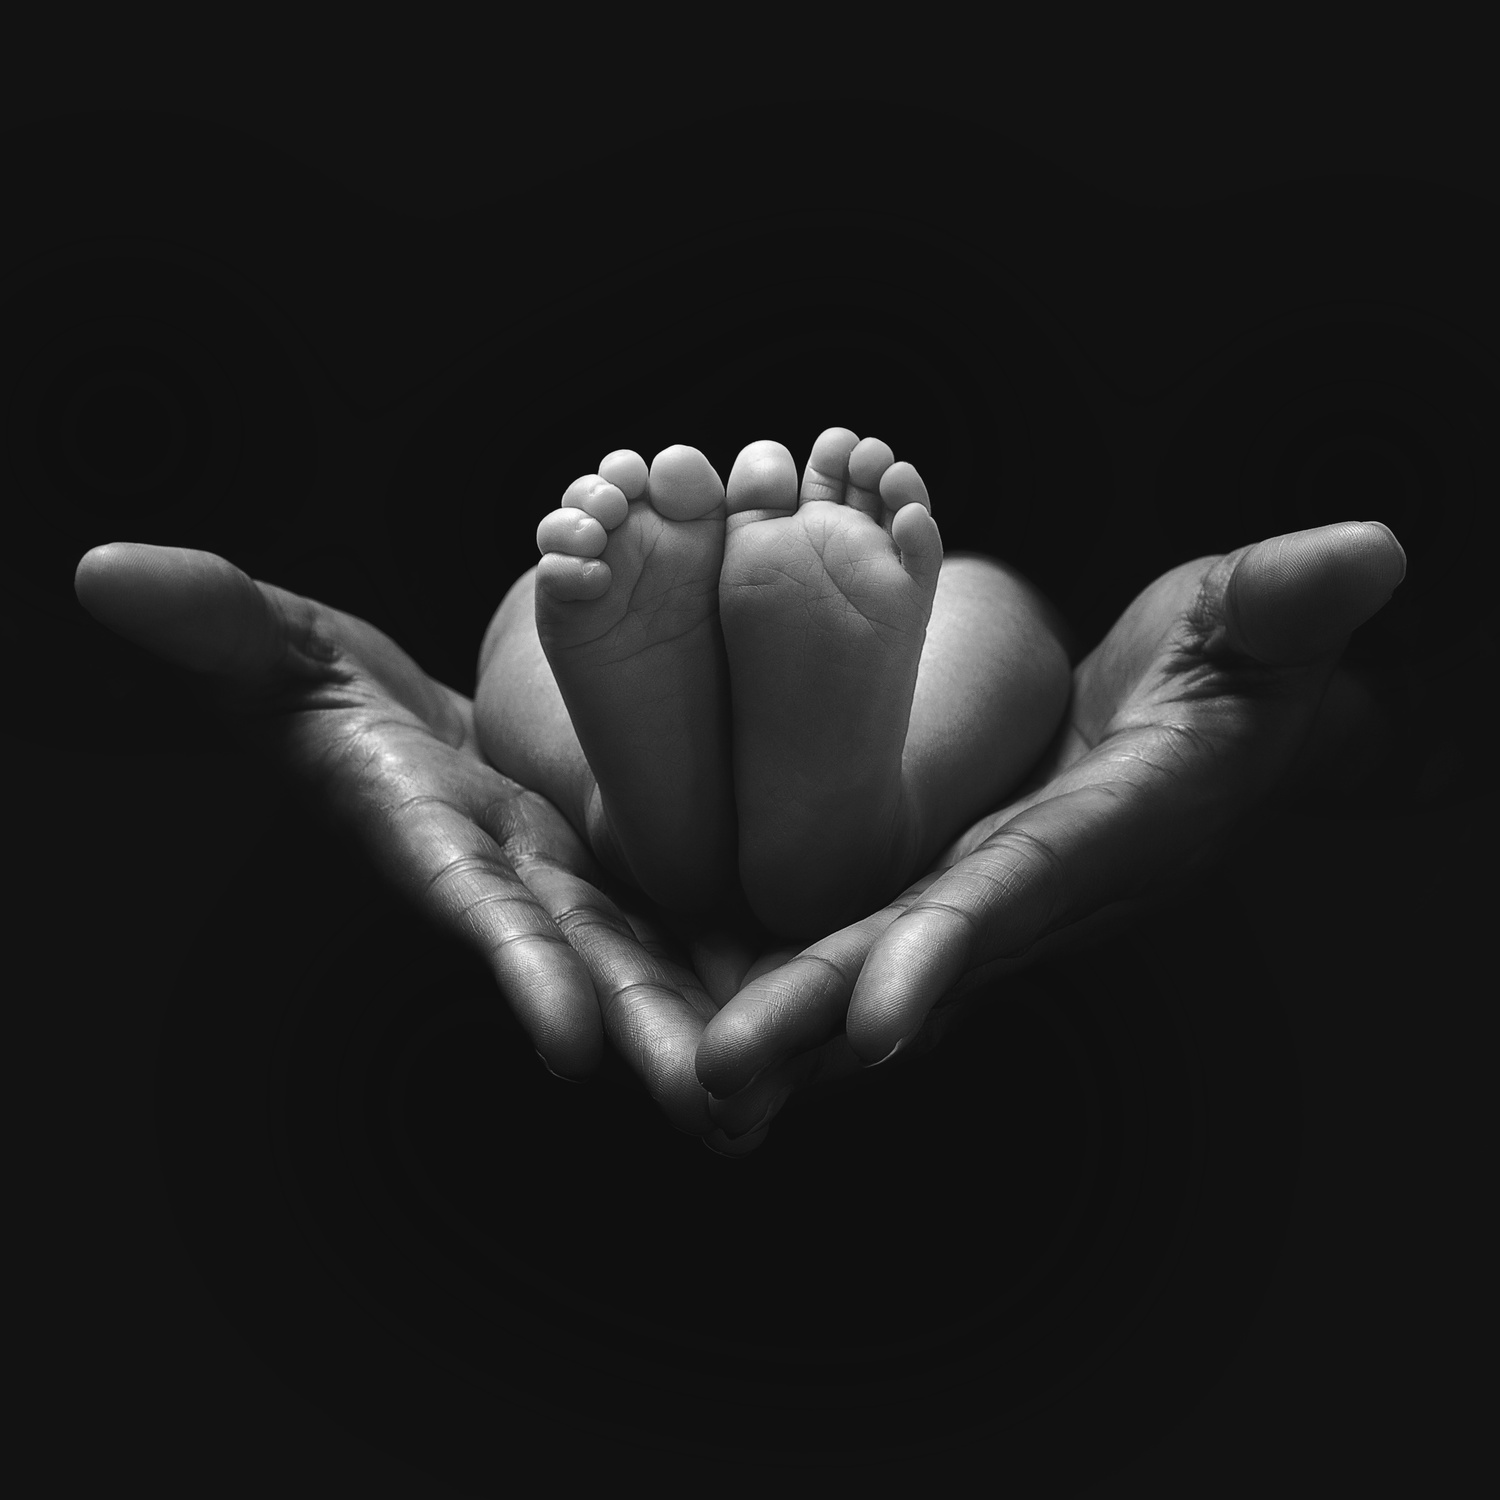
'A little miracle' by Sebastien DEL GROSSO
'Wish' by Mohammadreza Momeni
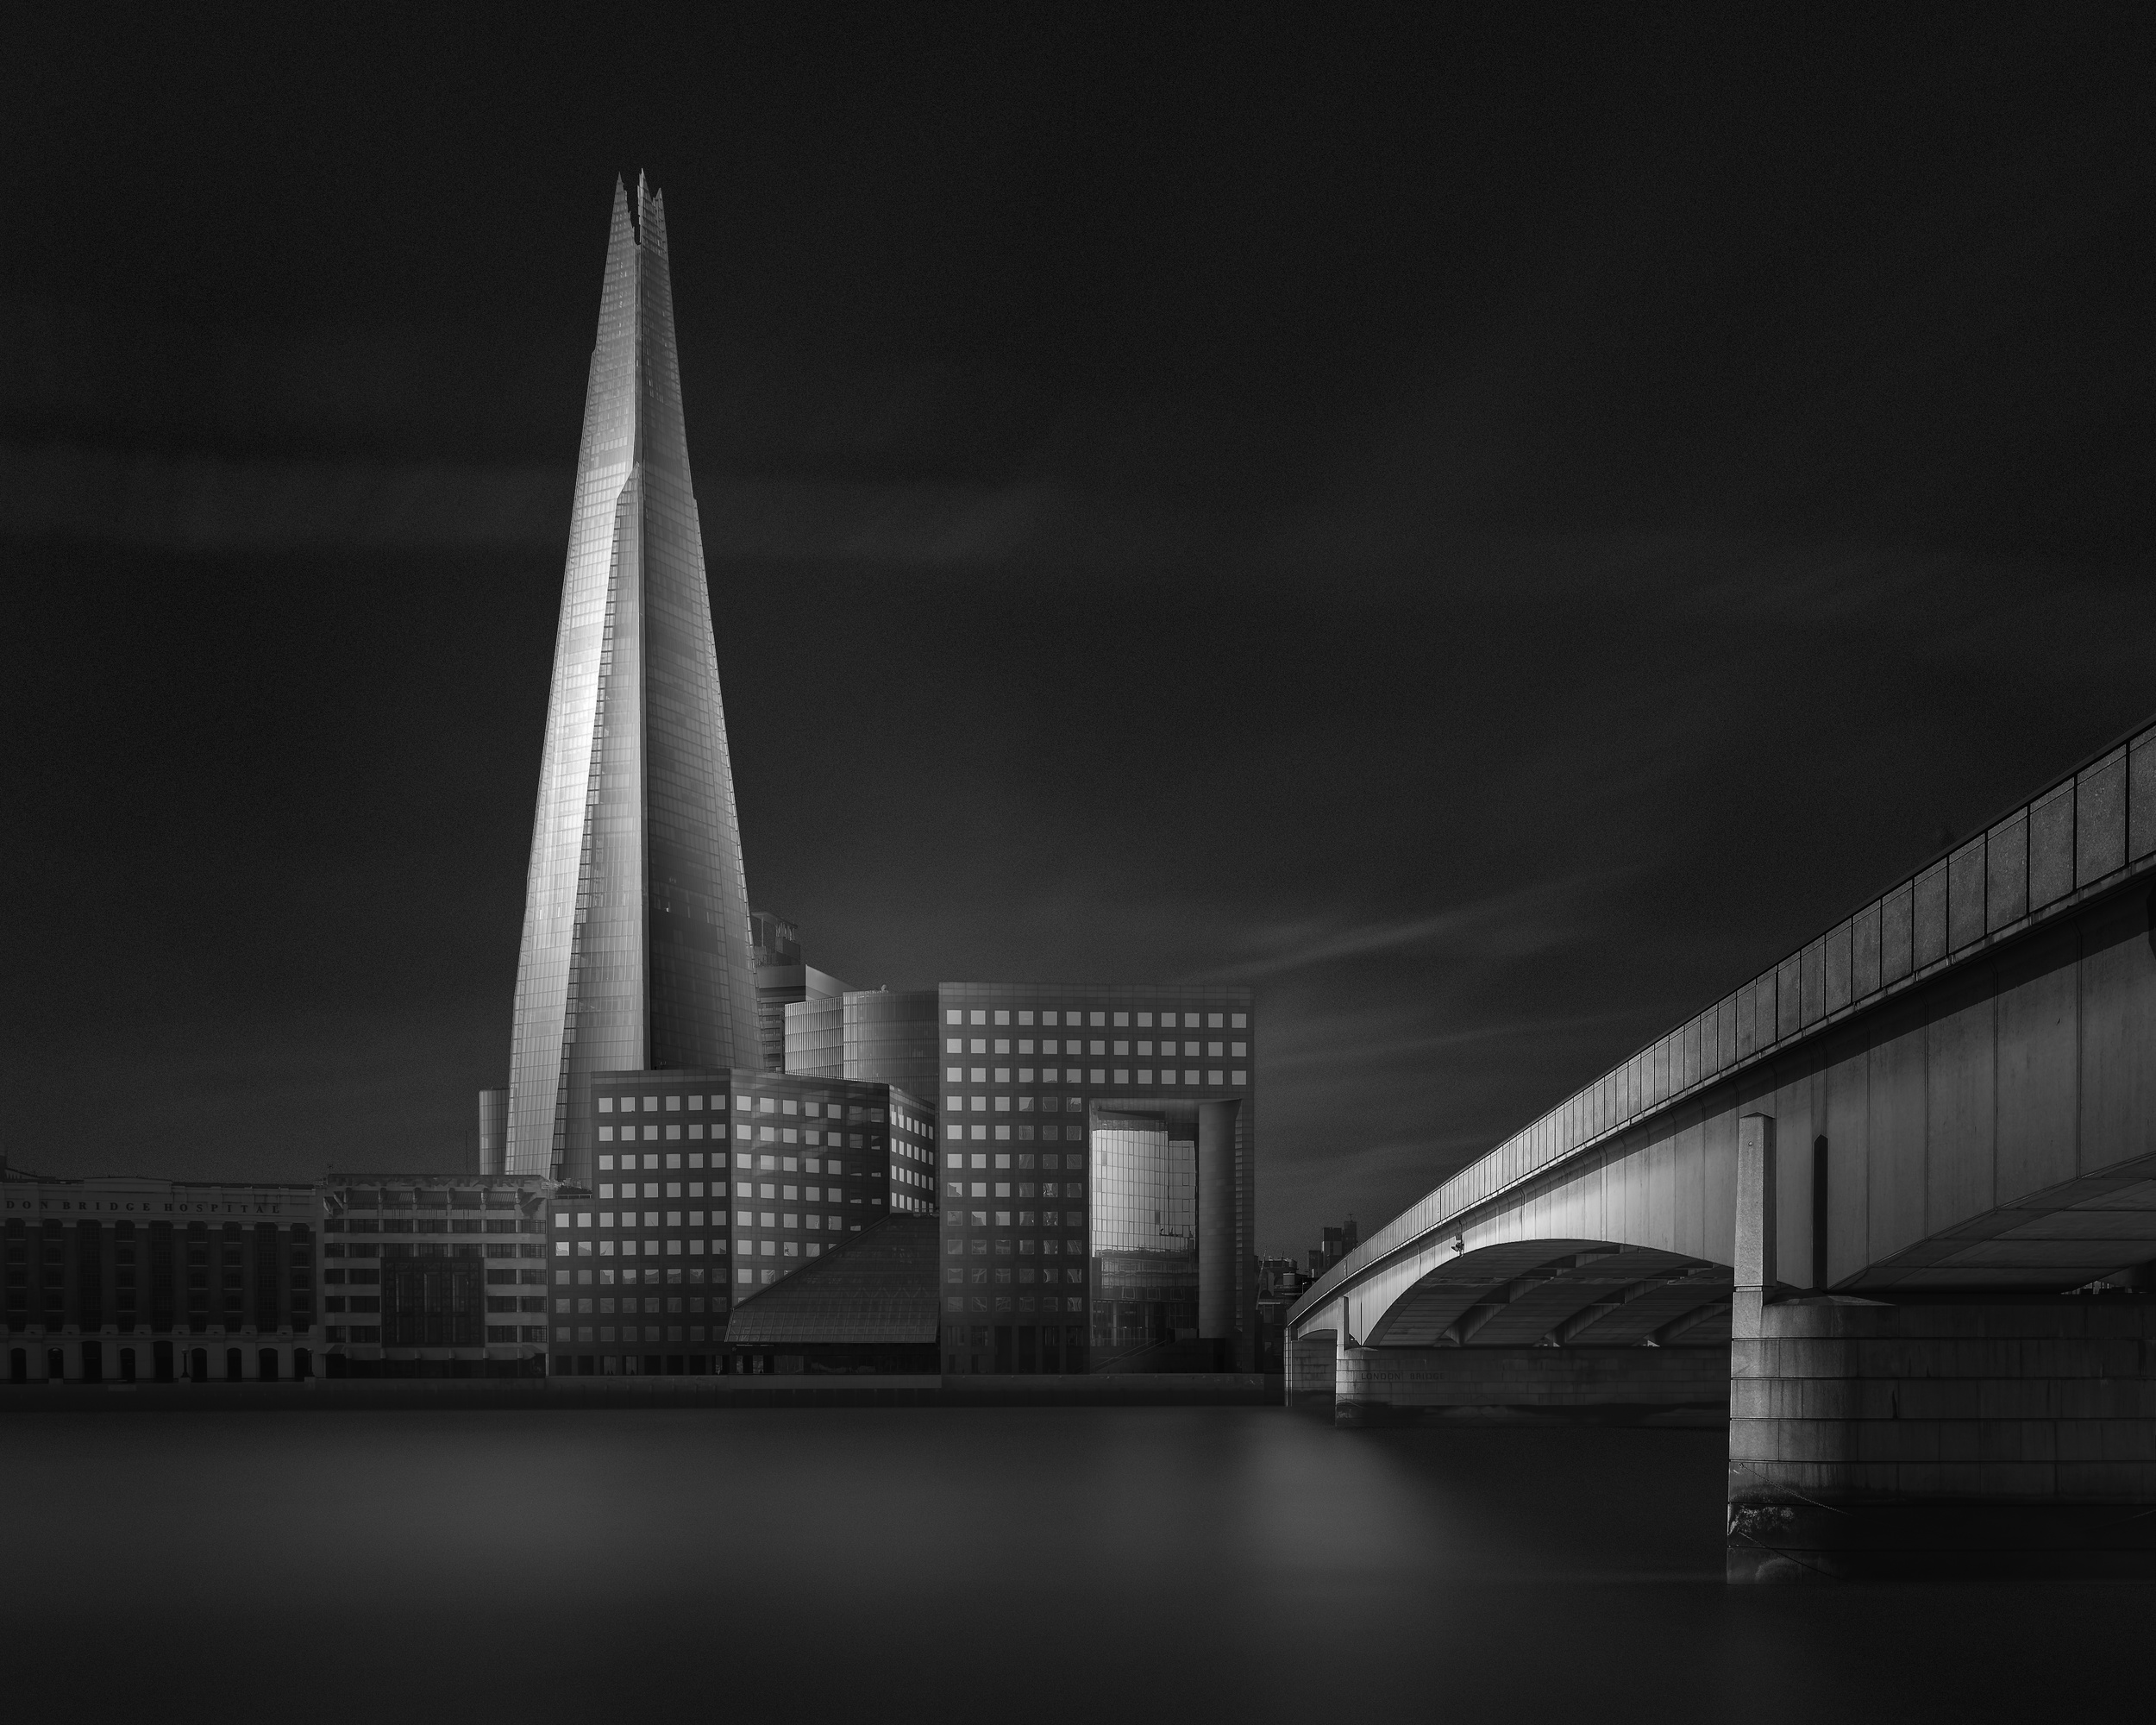
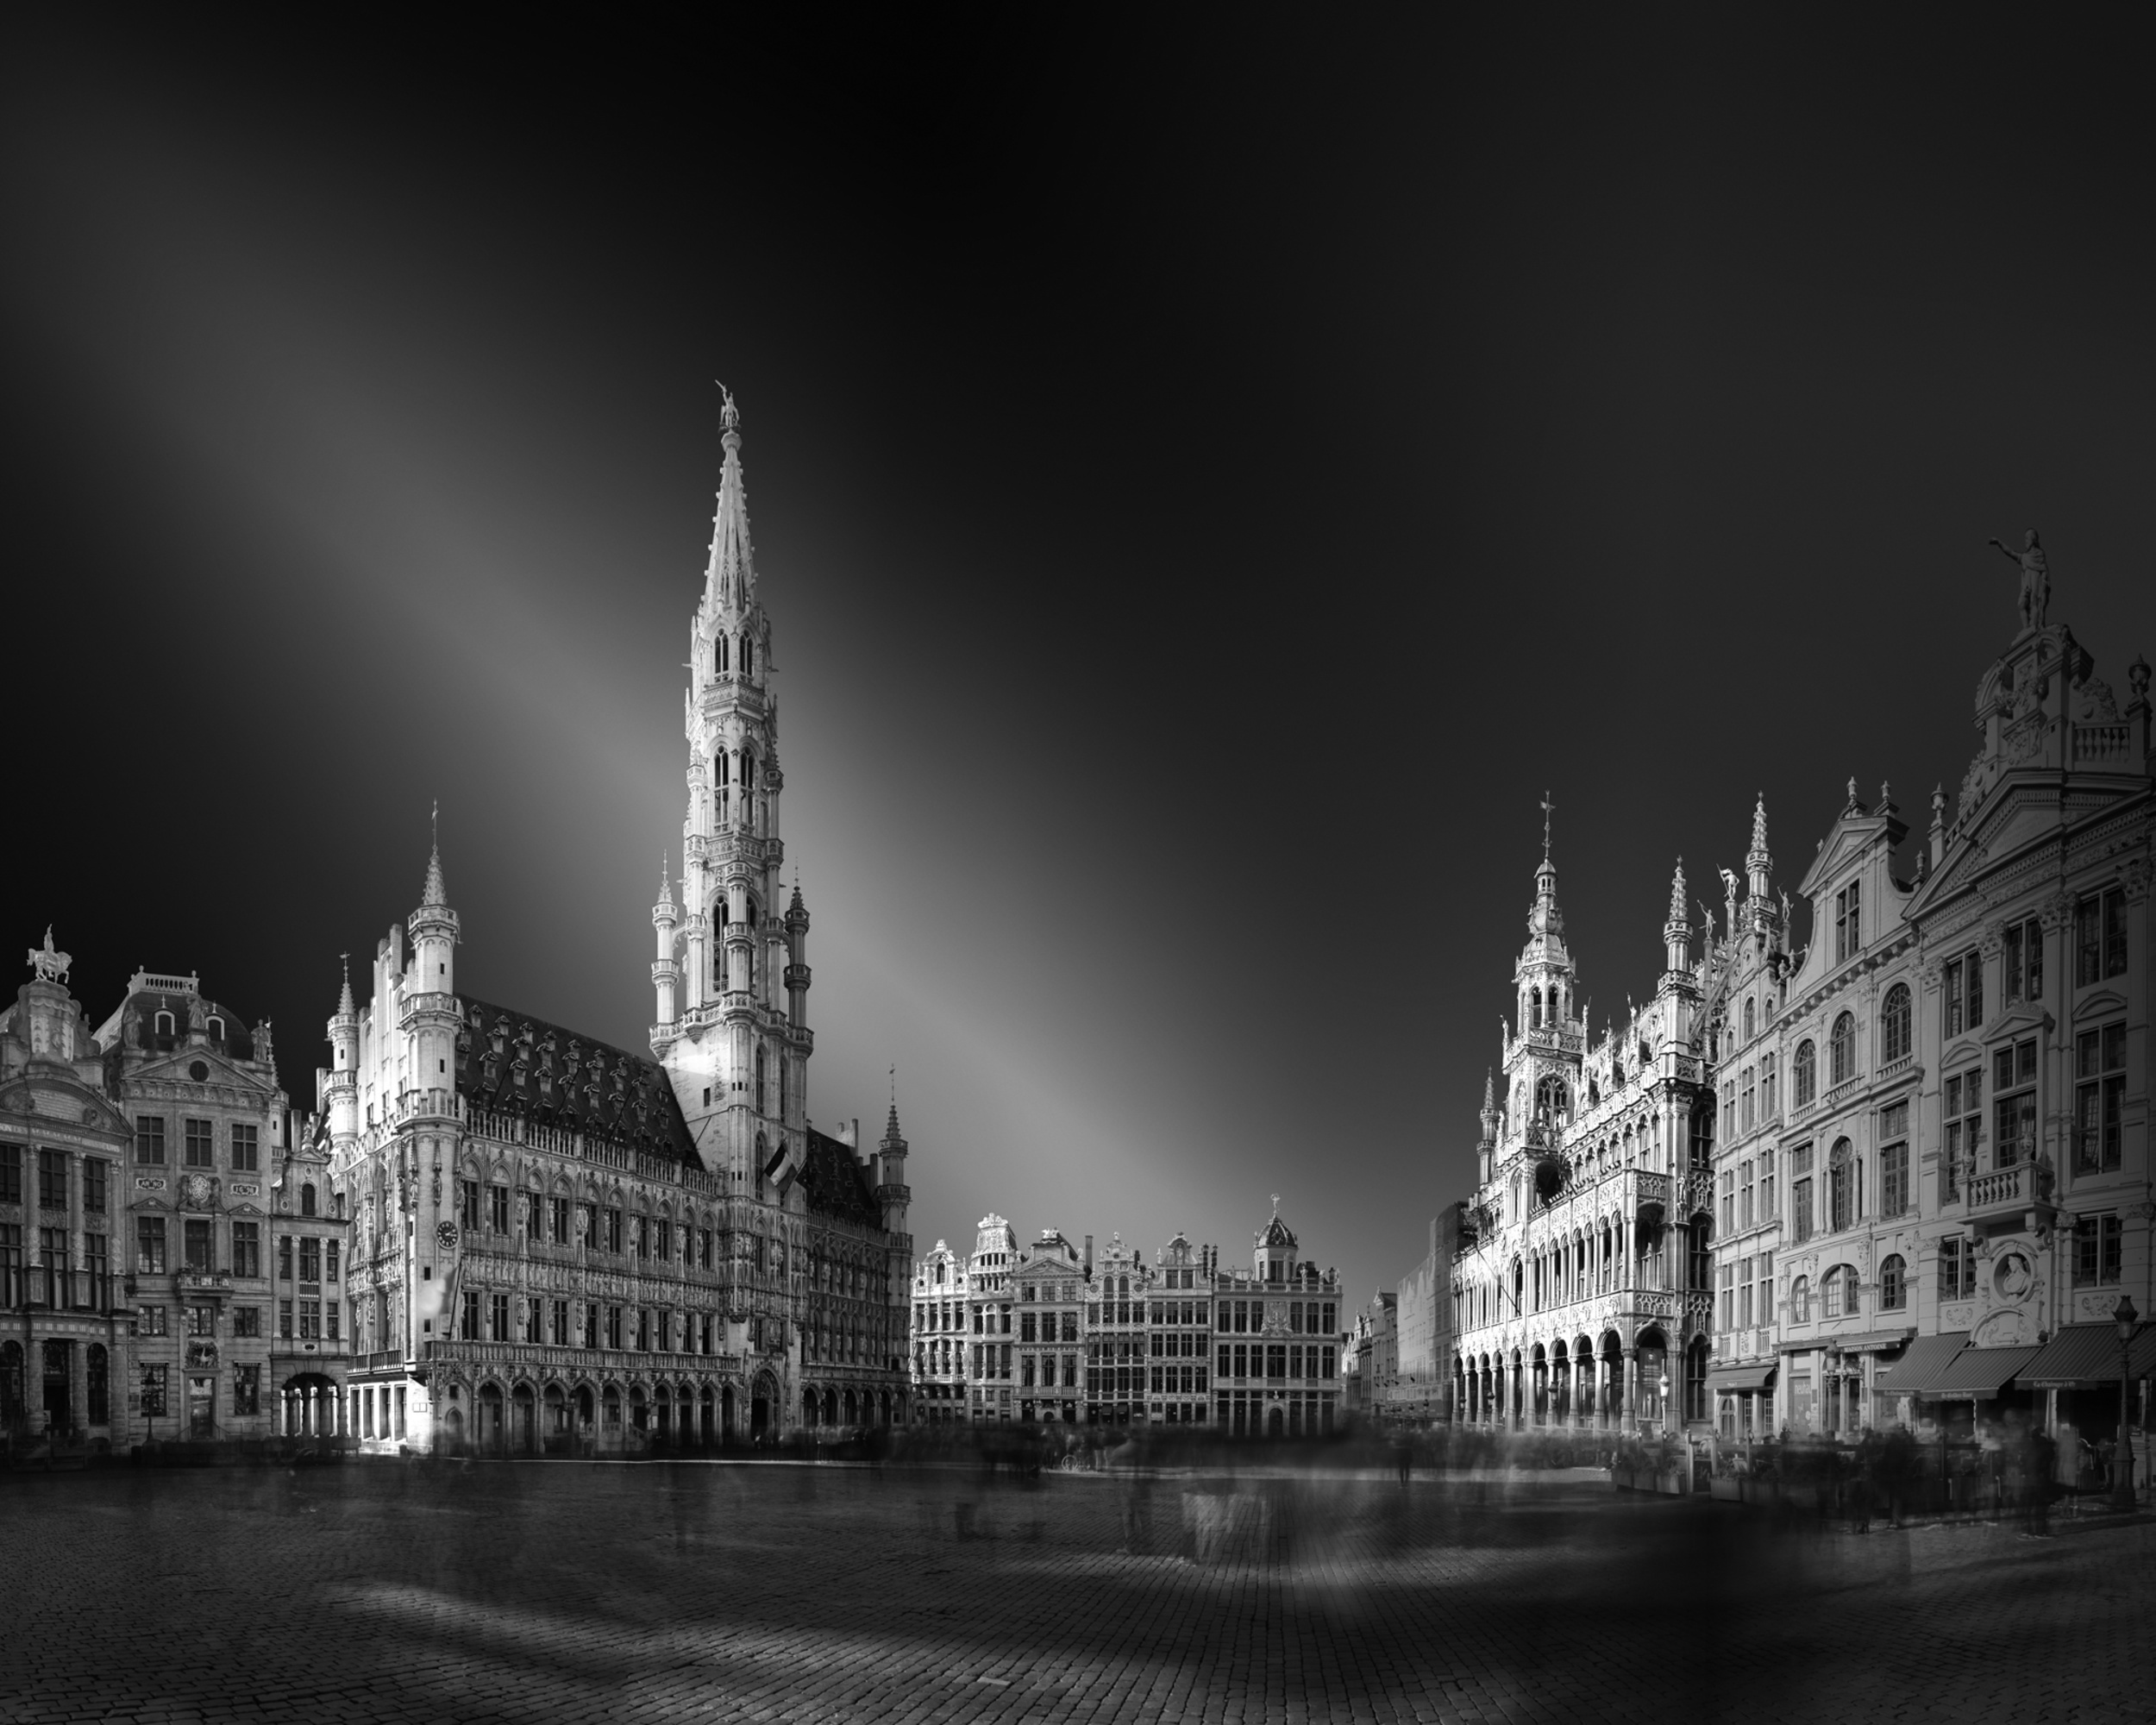
'Lucid Dream II – The Shard & London Bridge' by Oscar Lopez
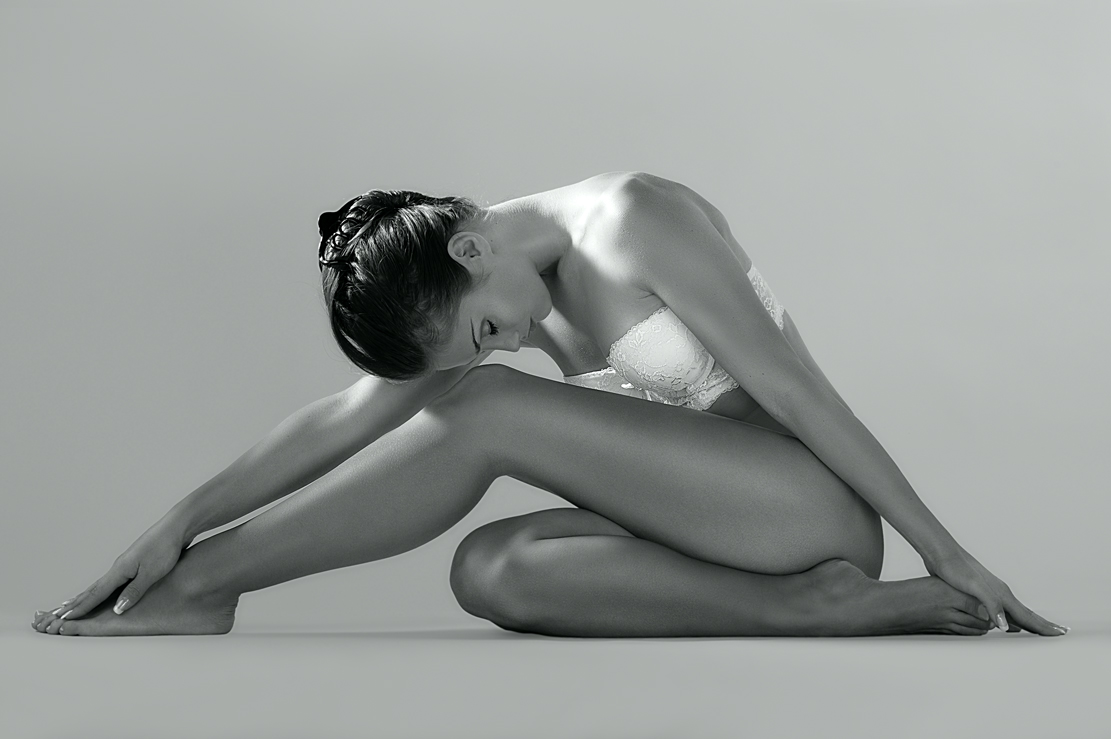
'calmness' by Damijan Sedevcic
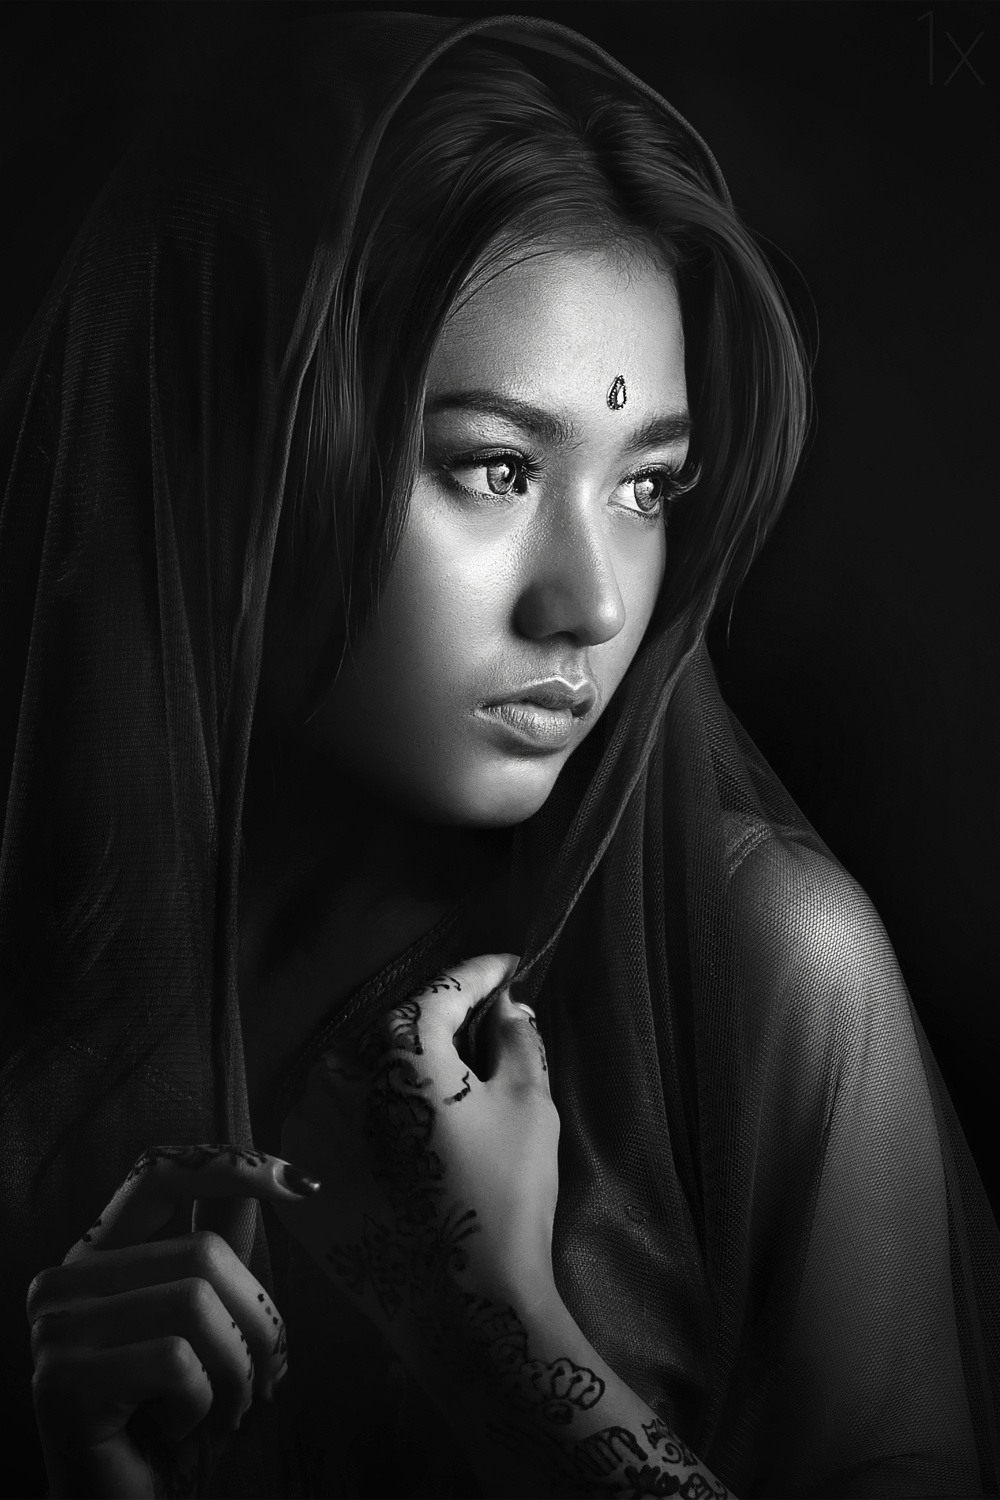
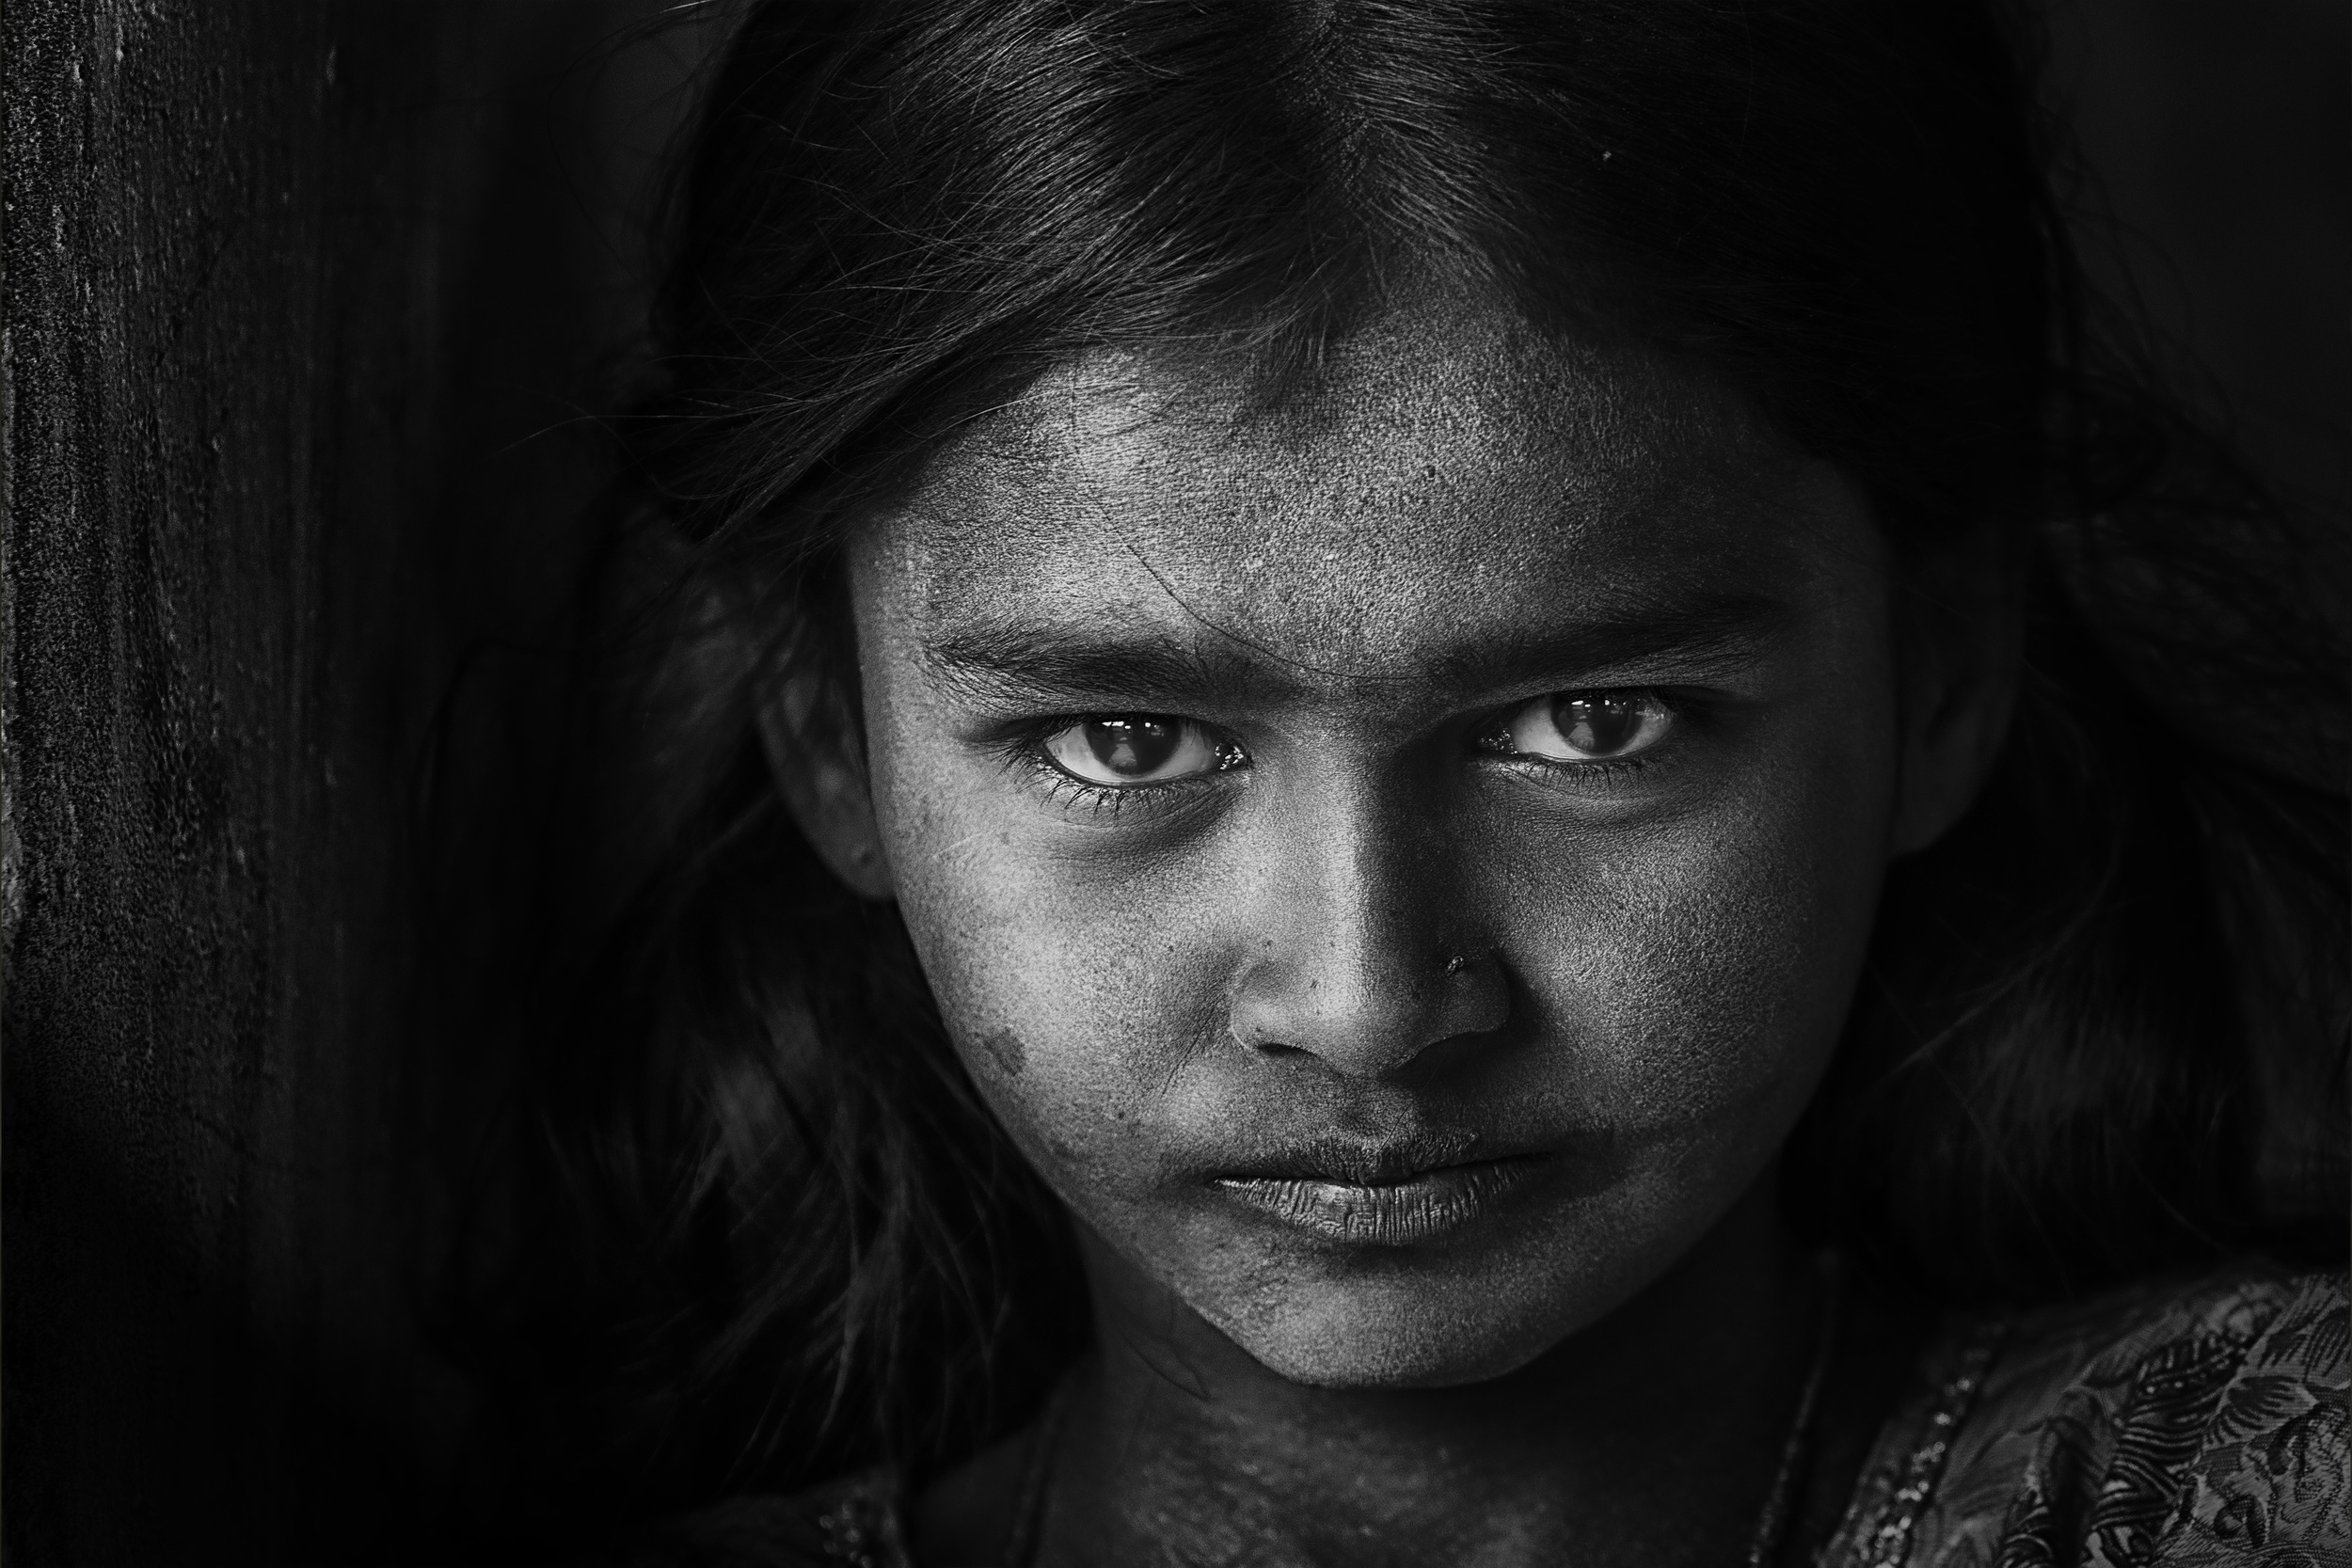
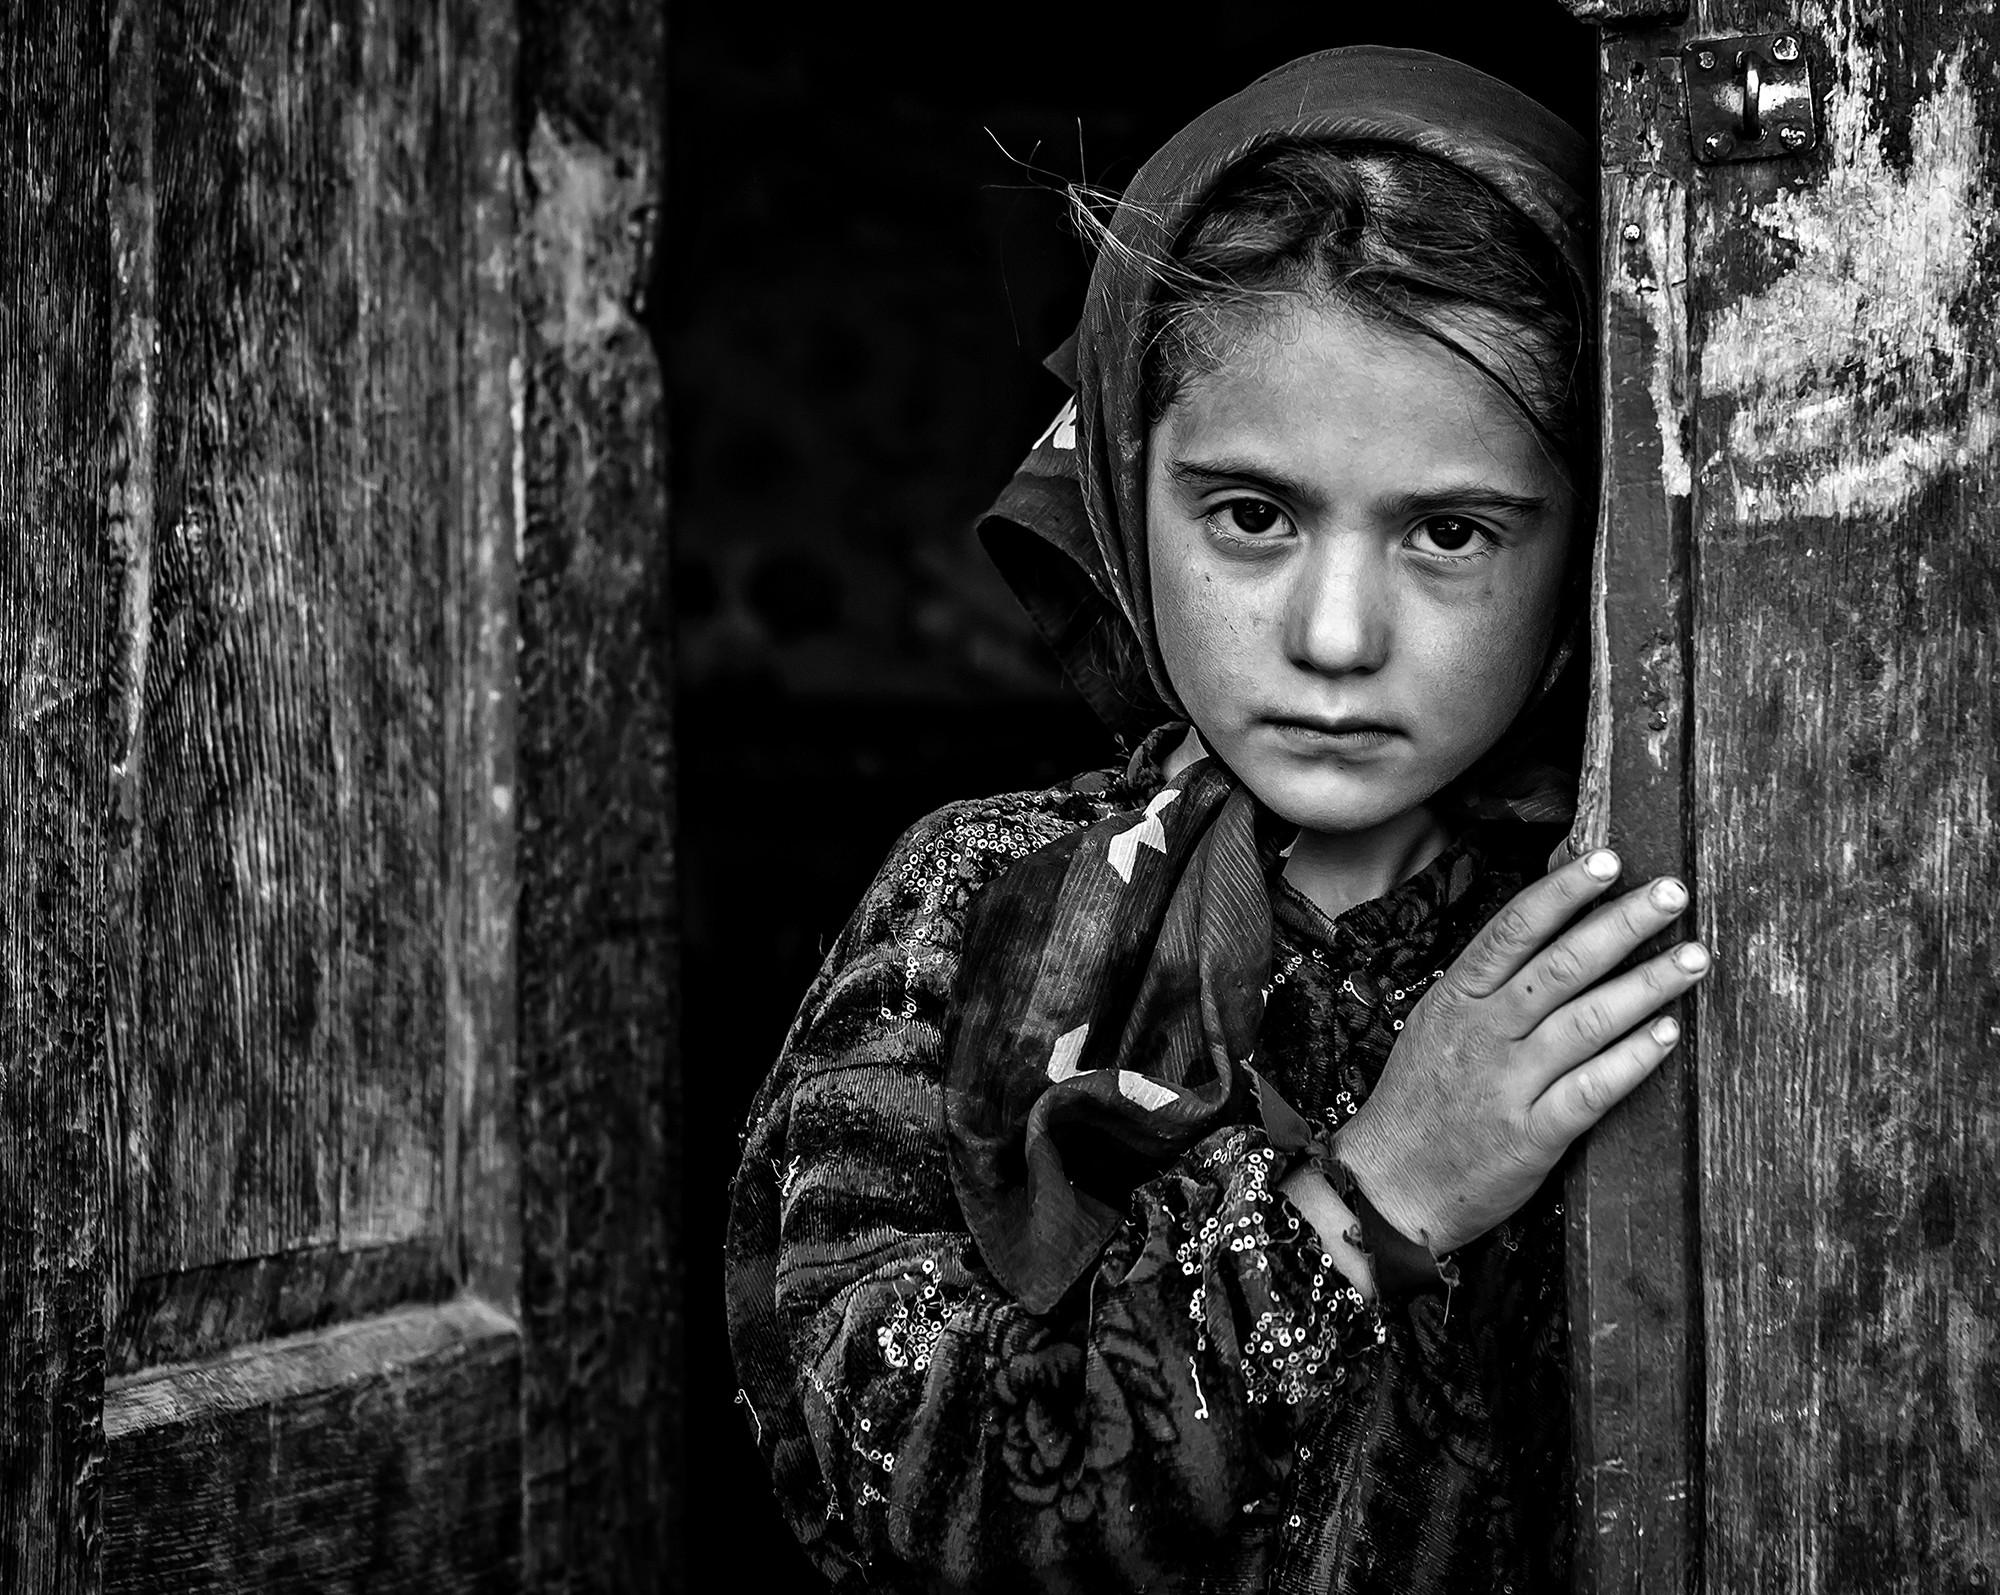
'india girl' by Ivan Lee
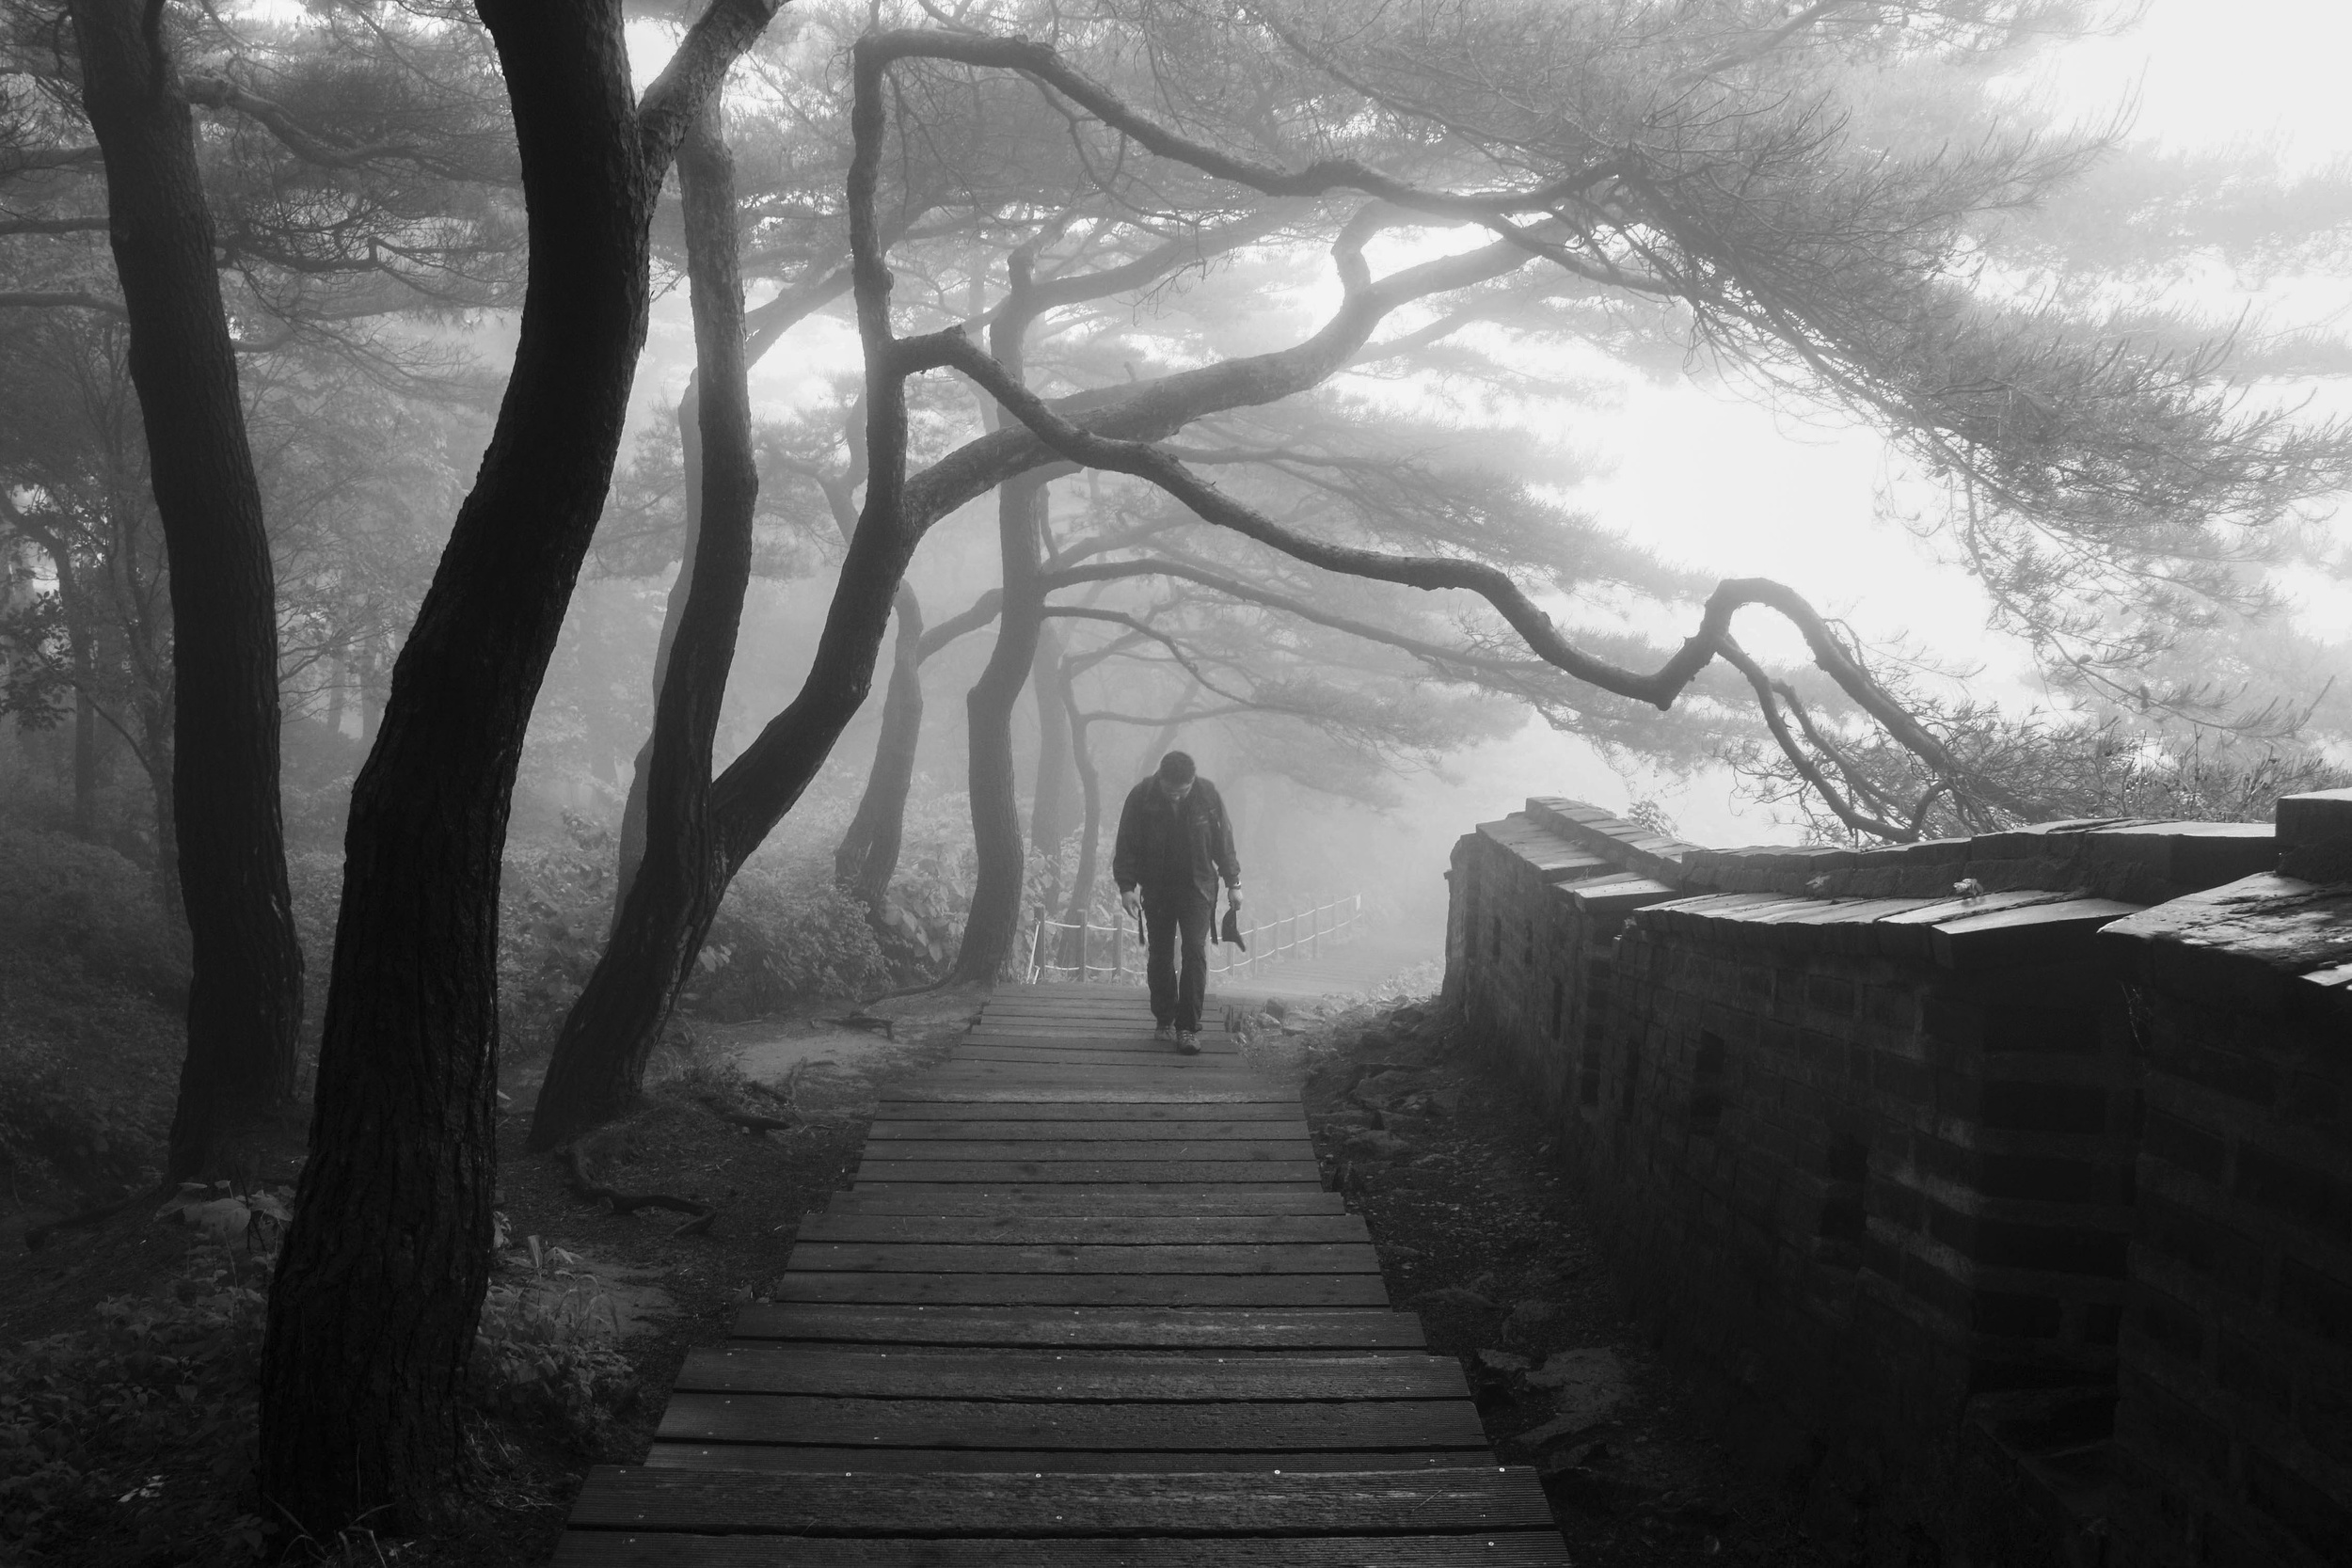
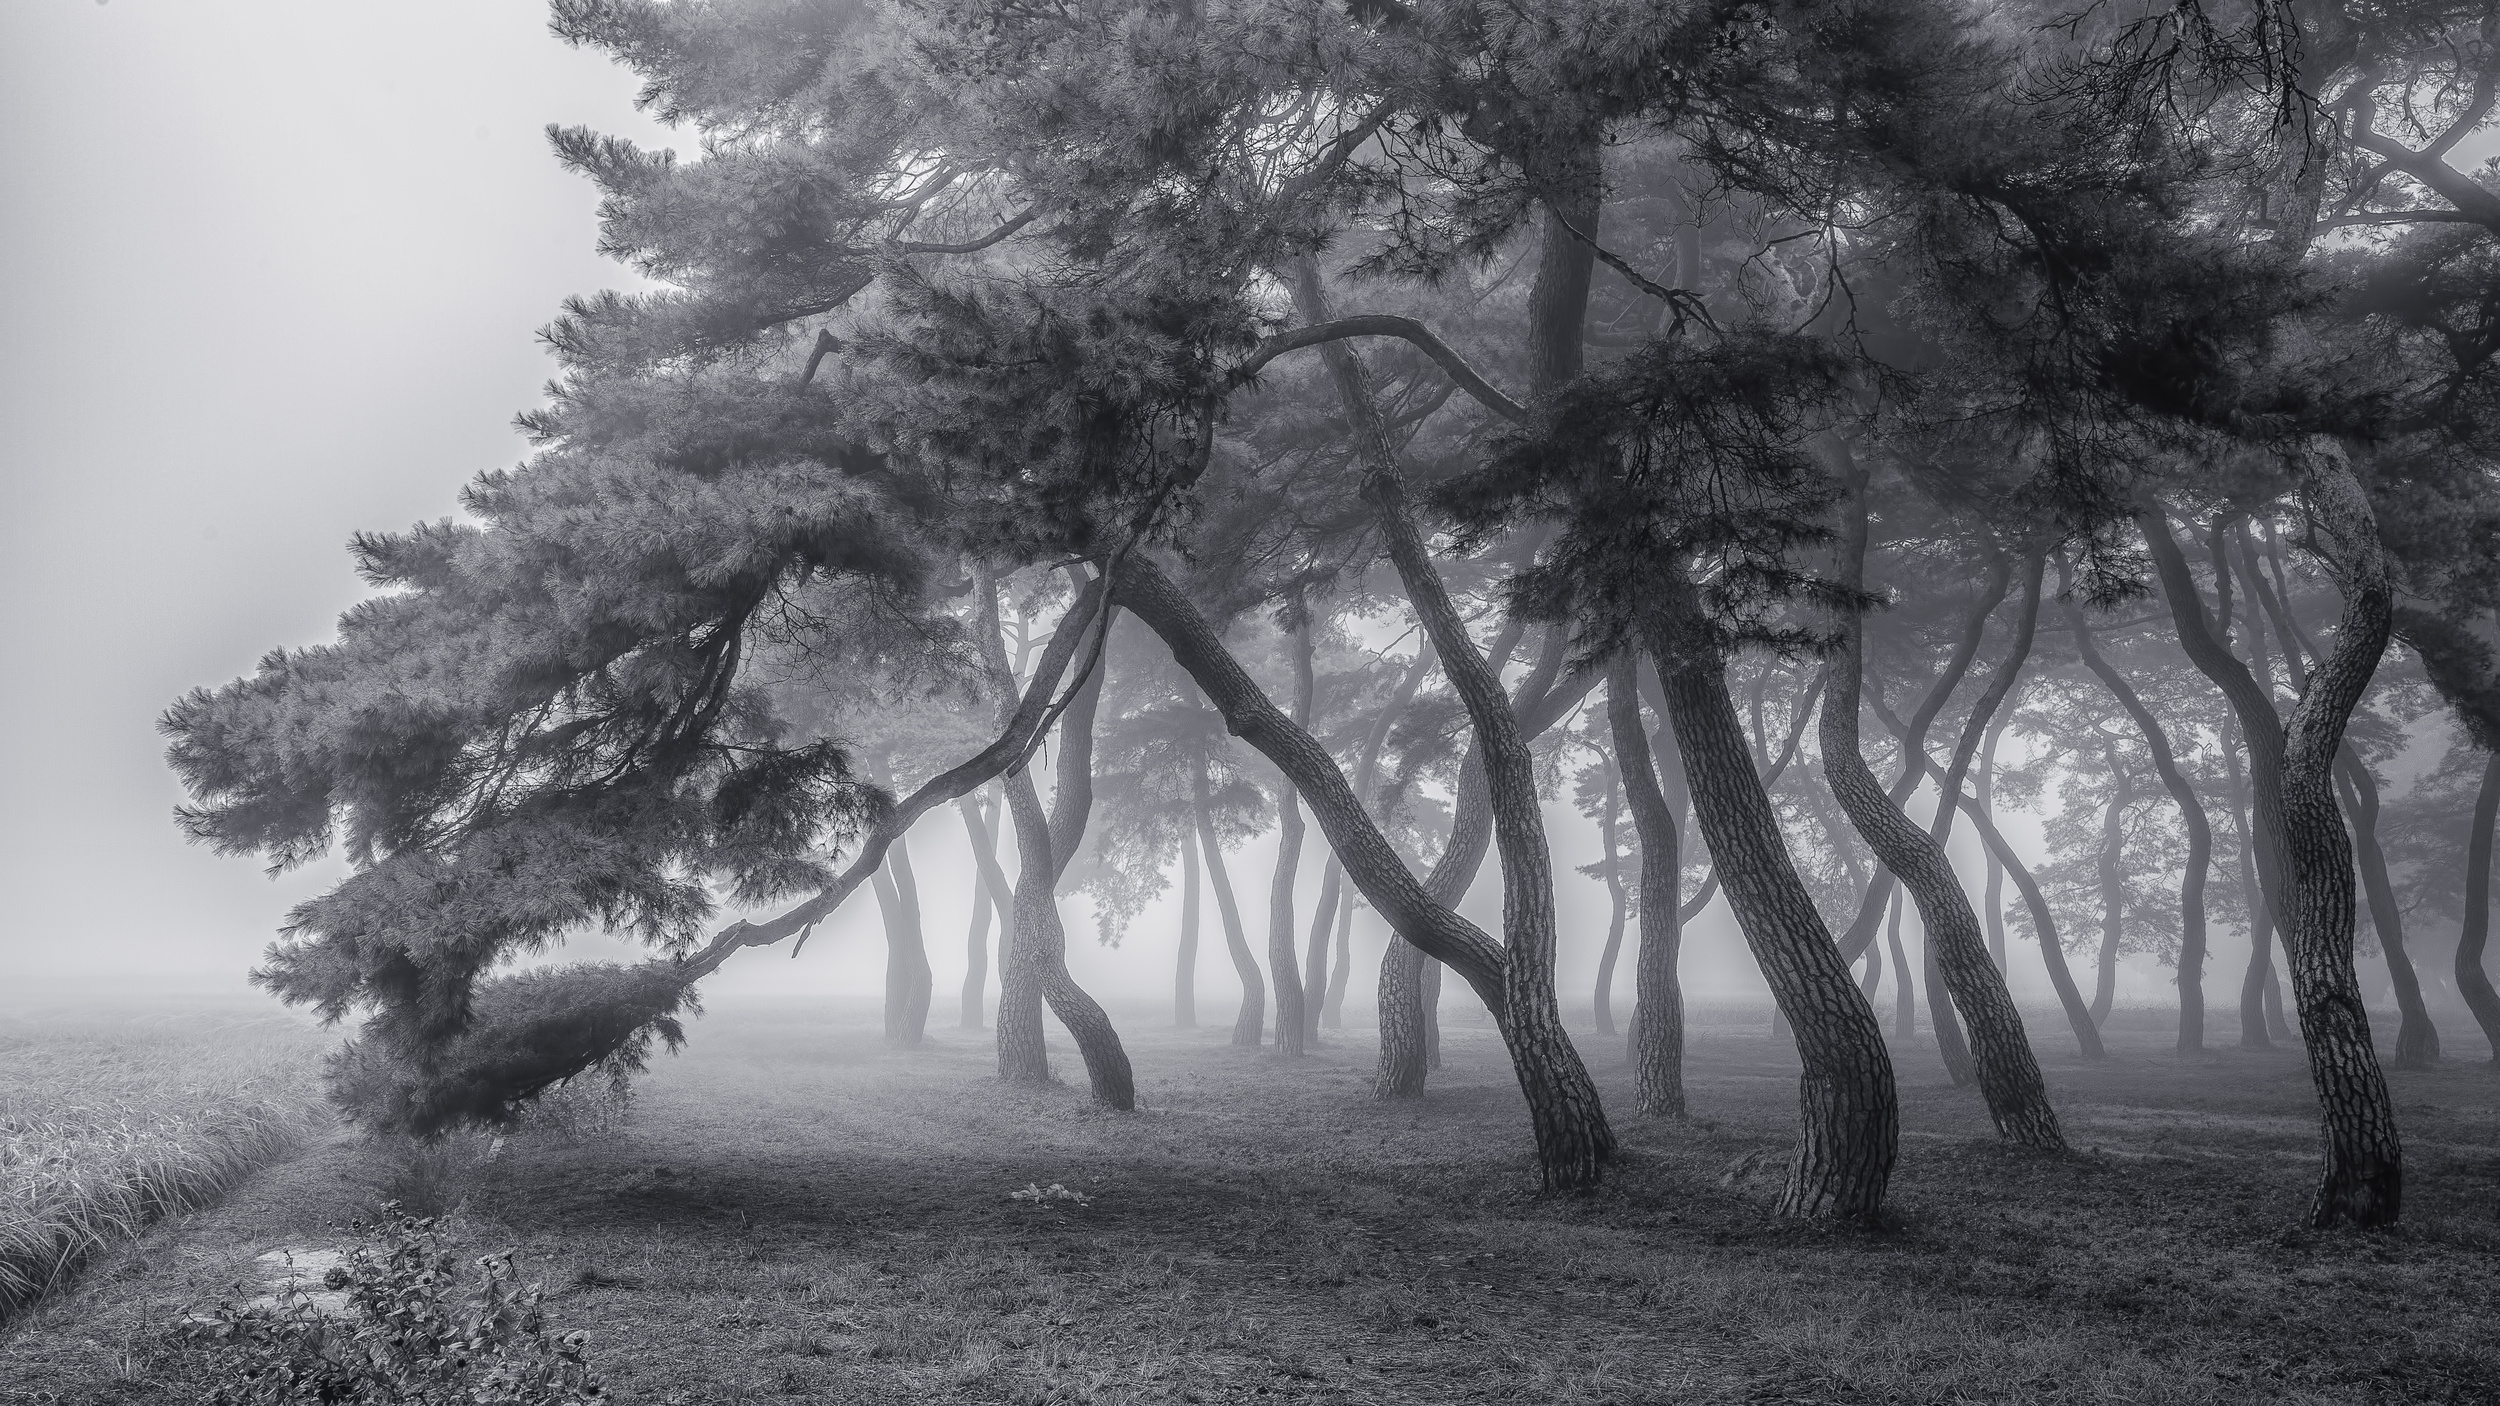
'Fog of Castle' by Shin Woo Ryu
'Always' by Tiger Seo
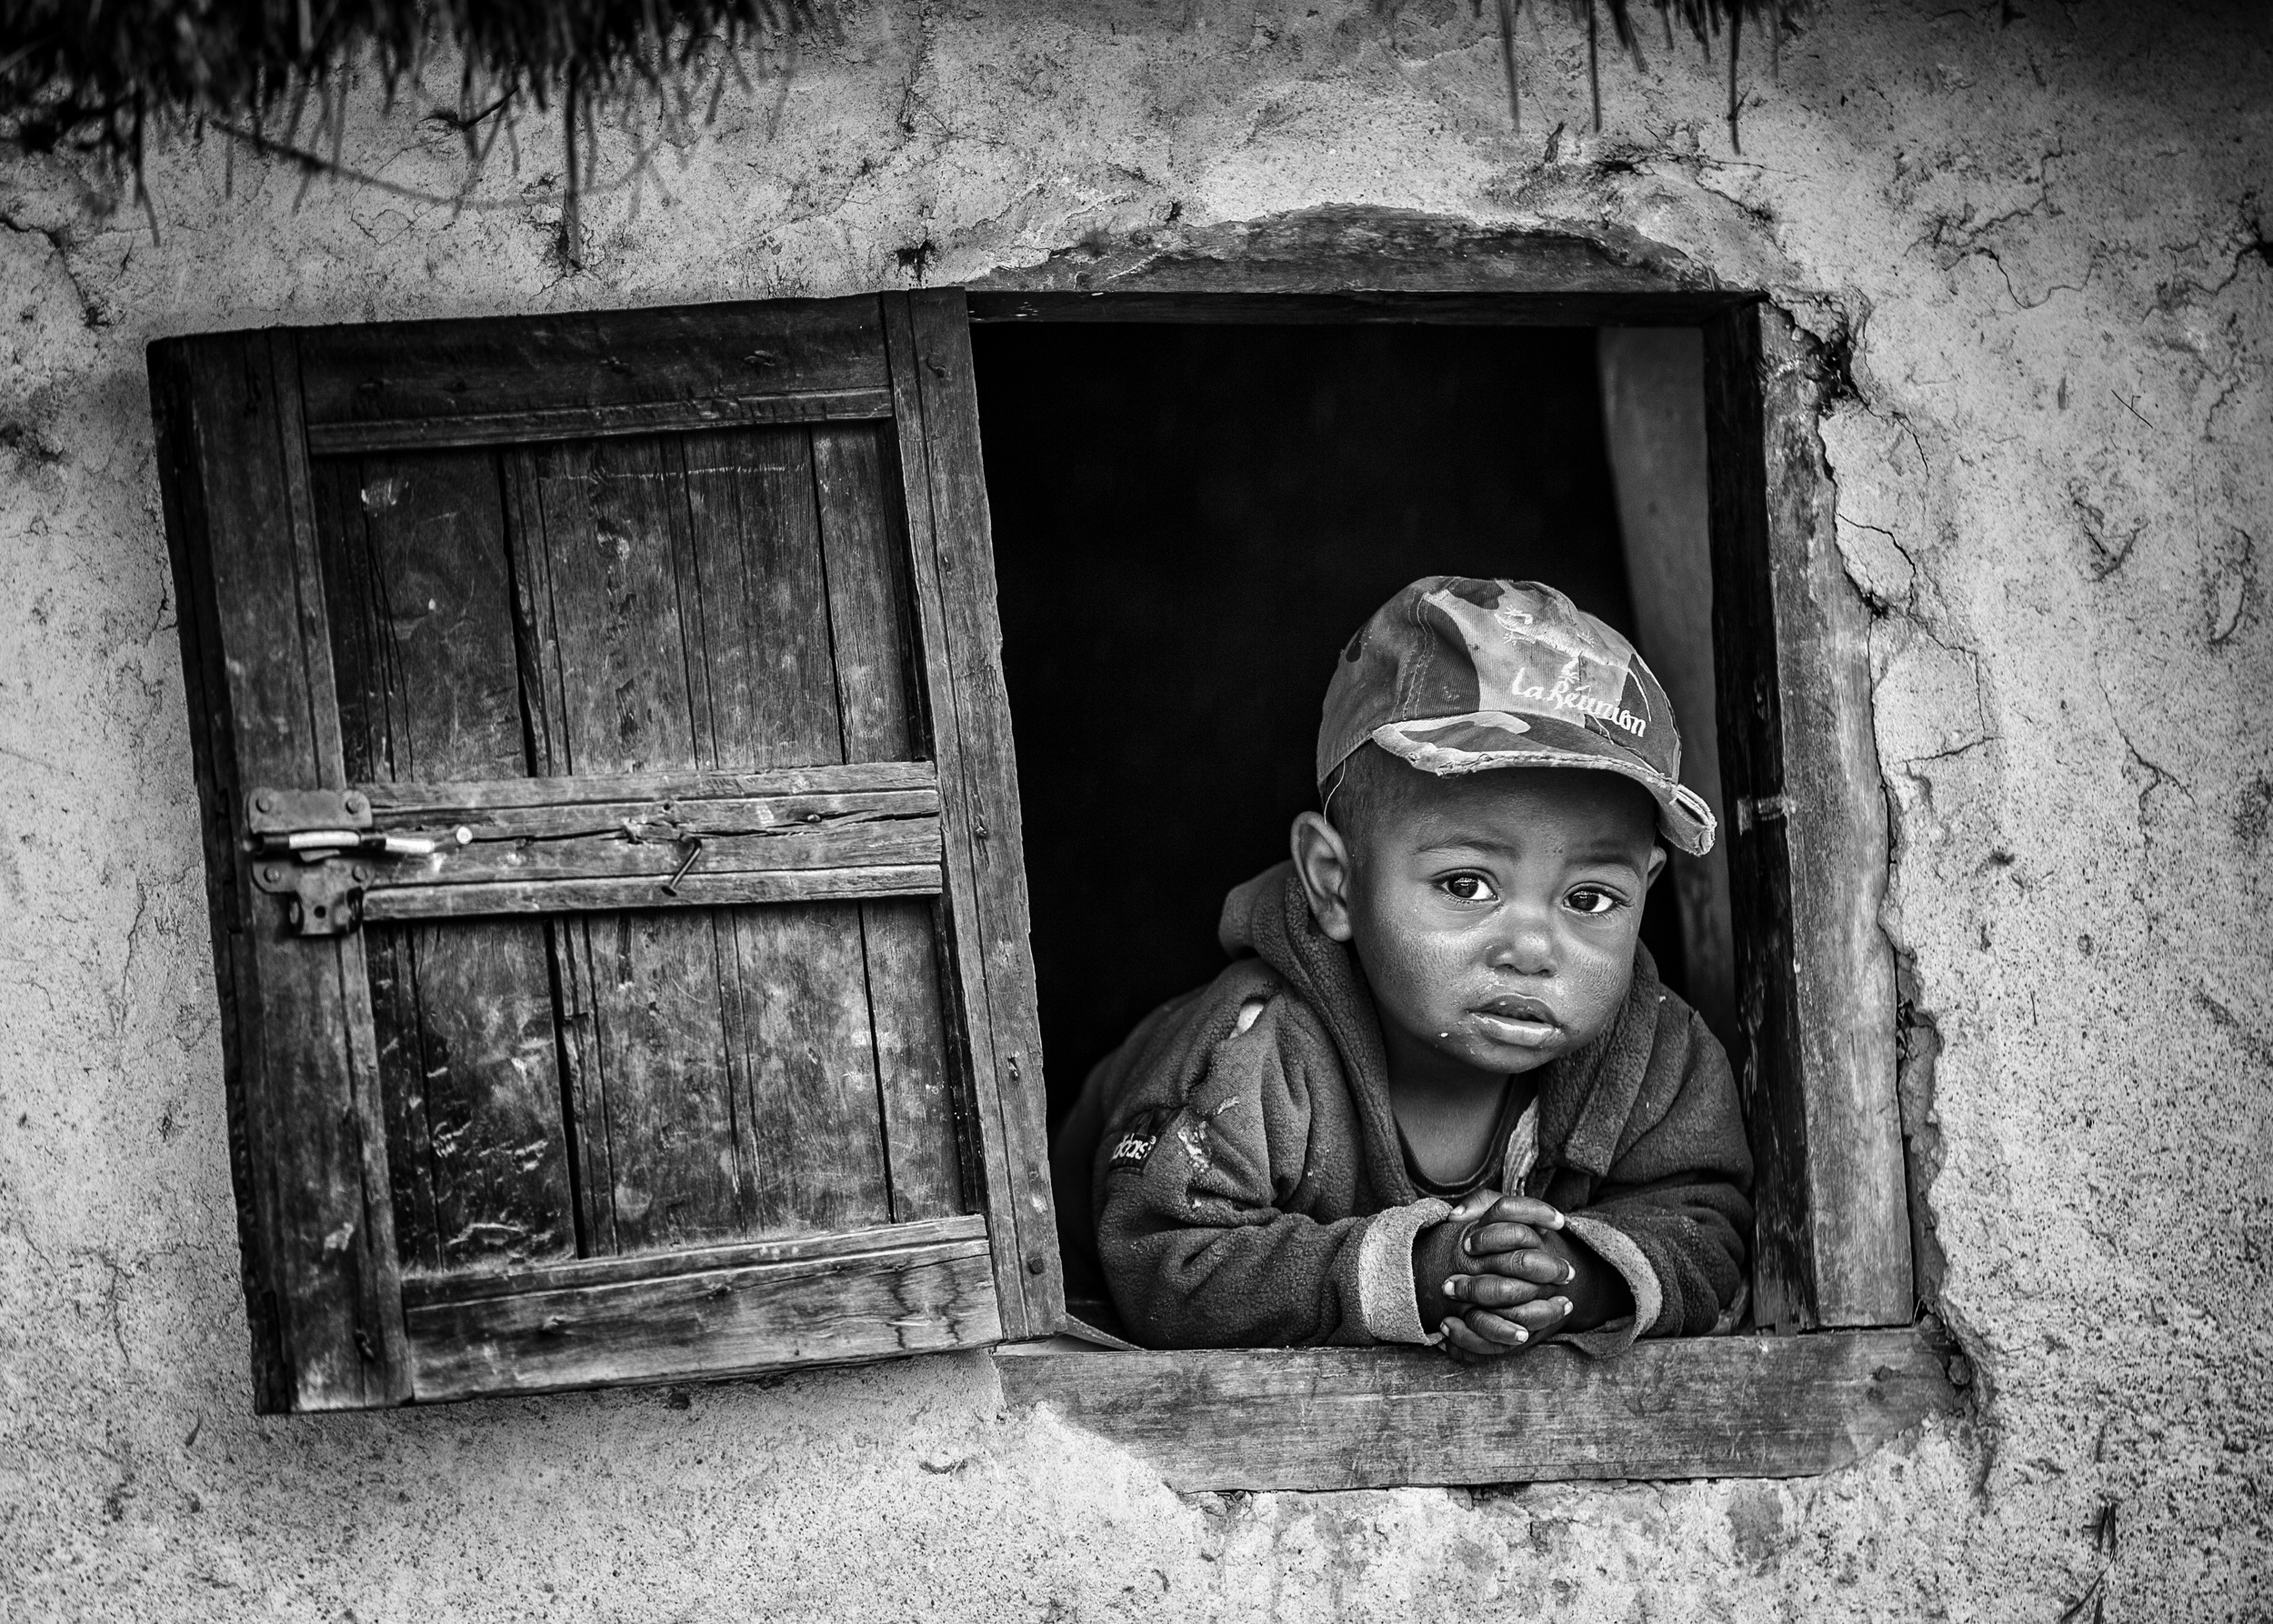
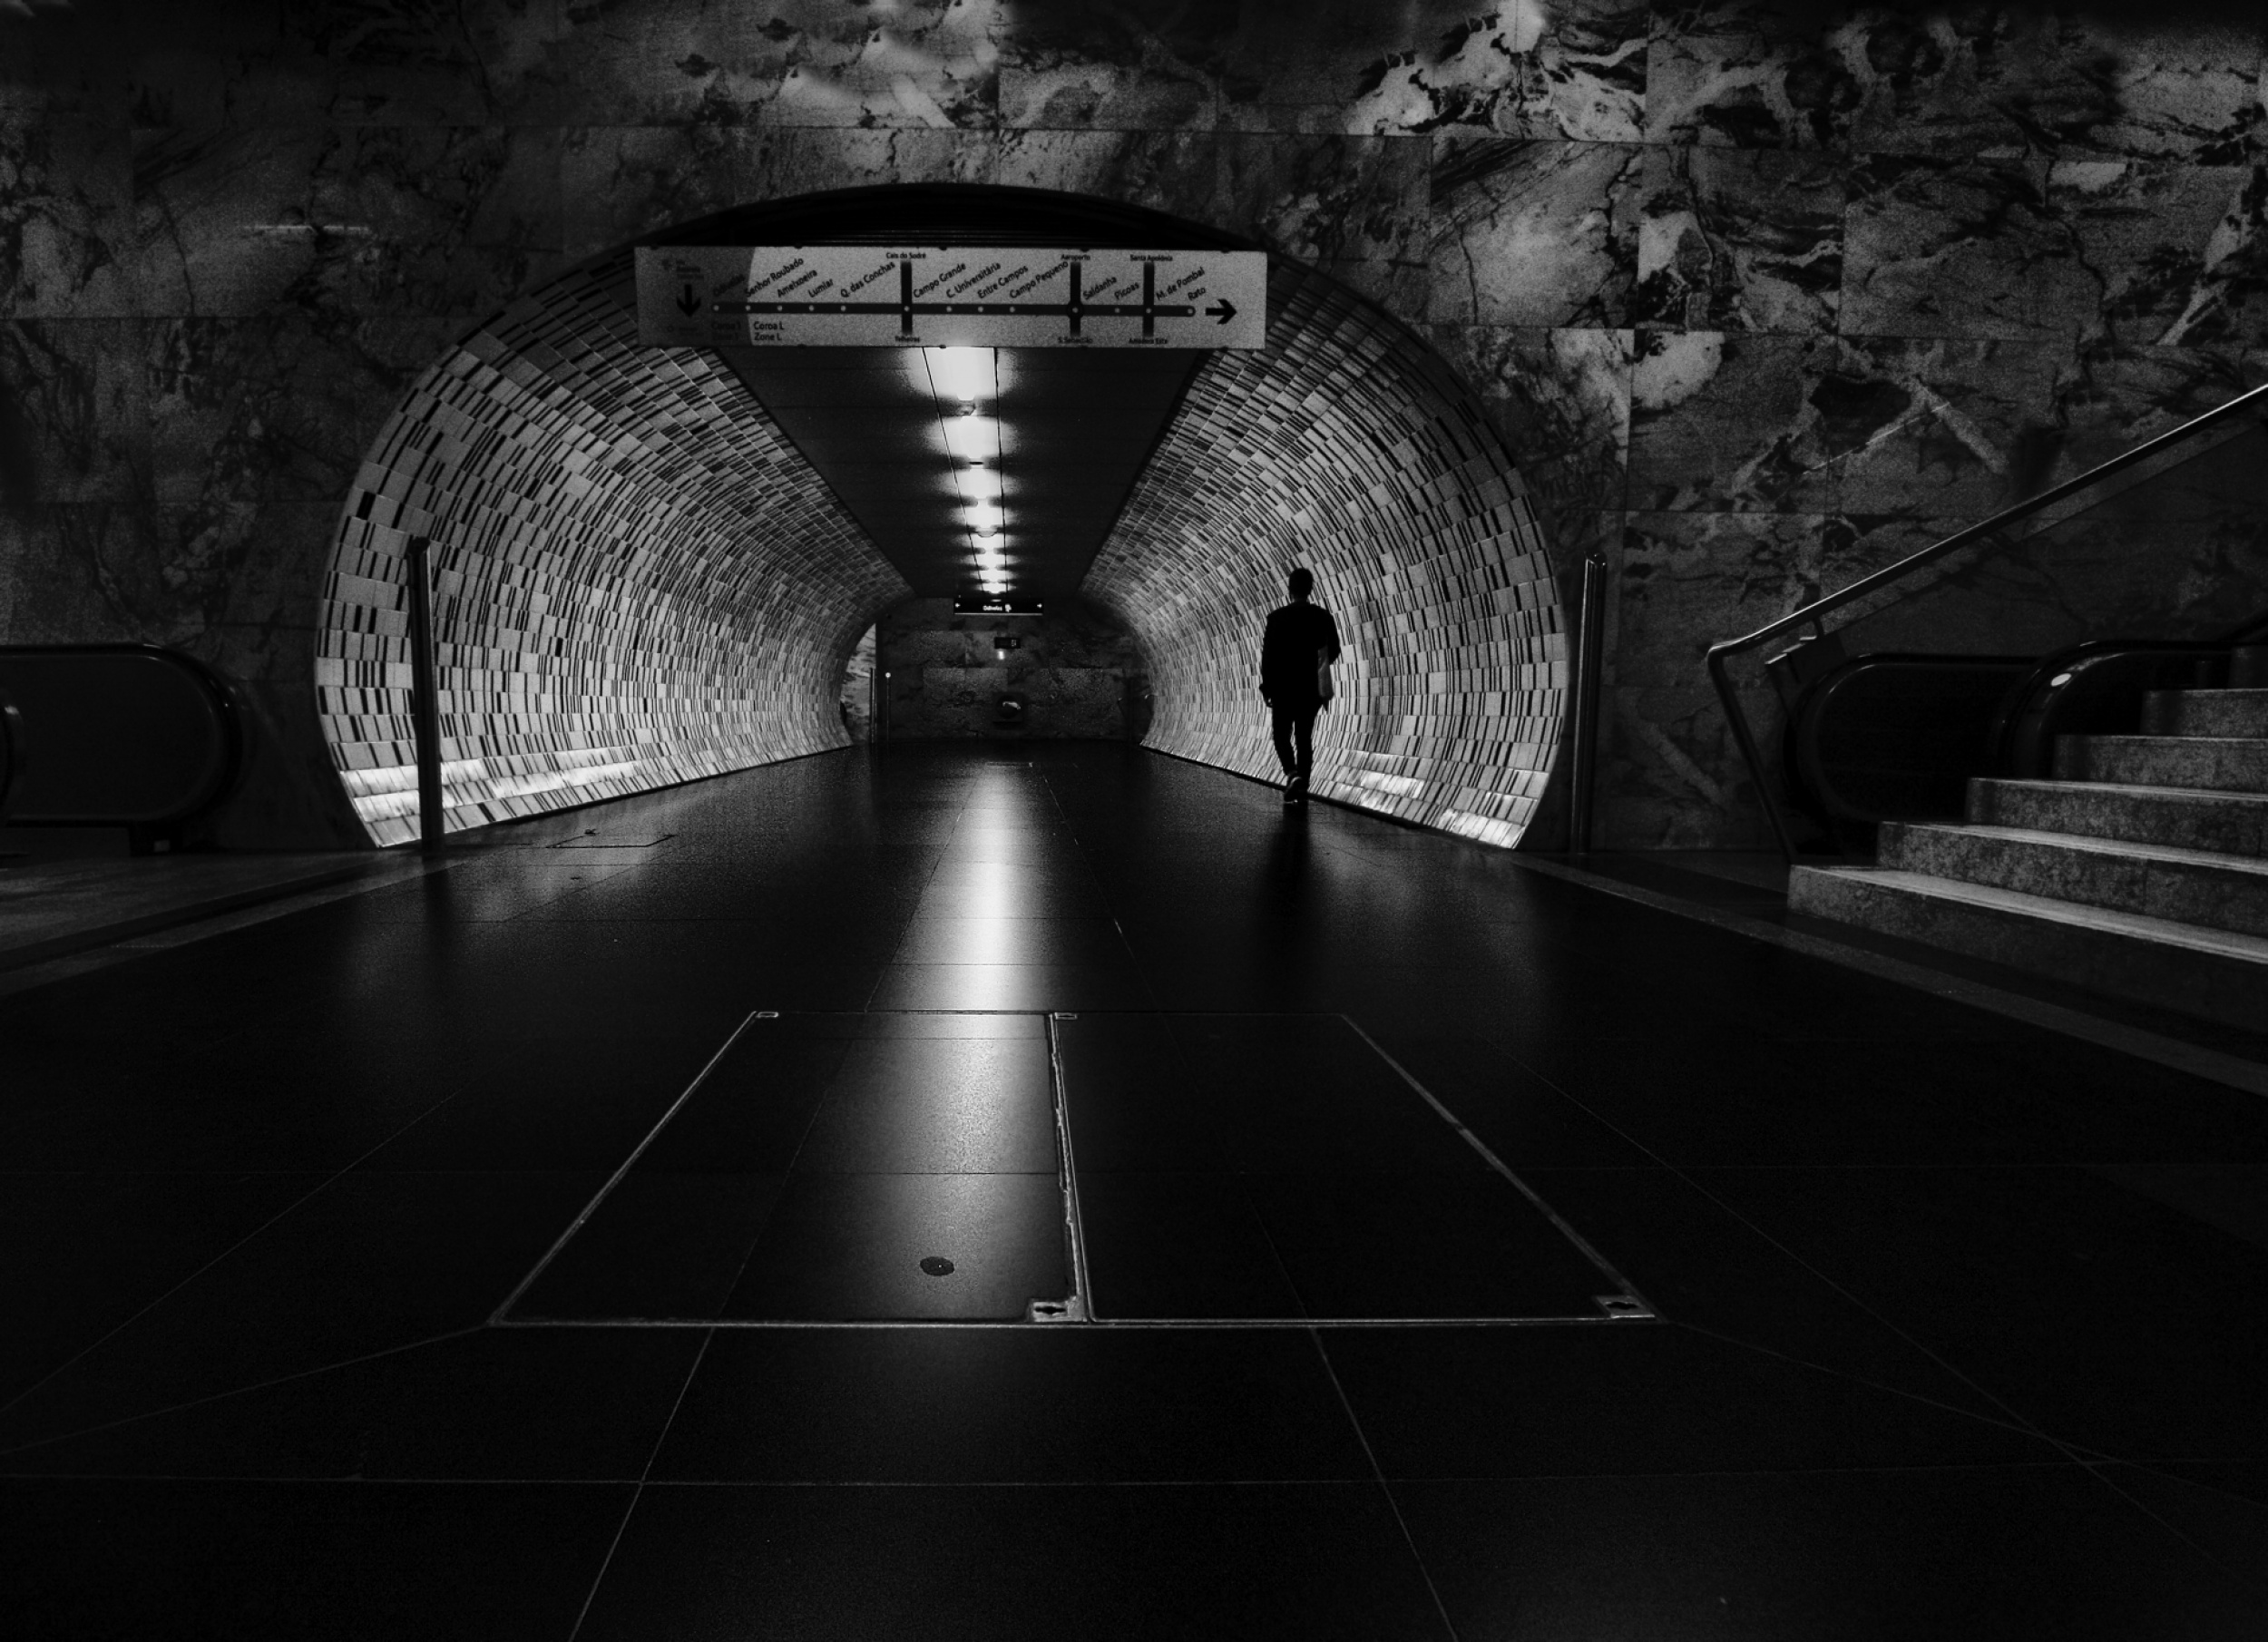
'Little window' by Marco Tagliarino
'Jolina M. No.2 – Bremen/Germany 2010' by Robert Komarek
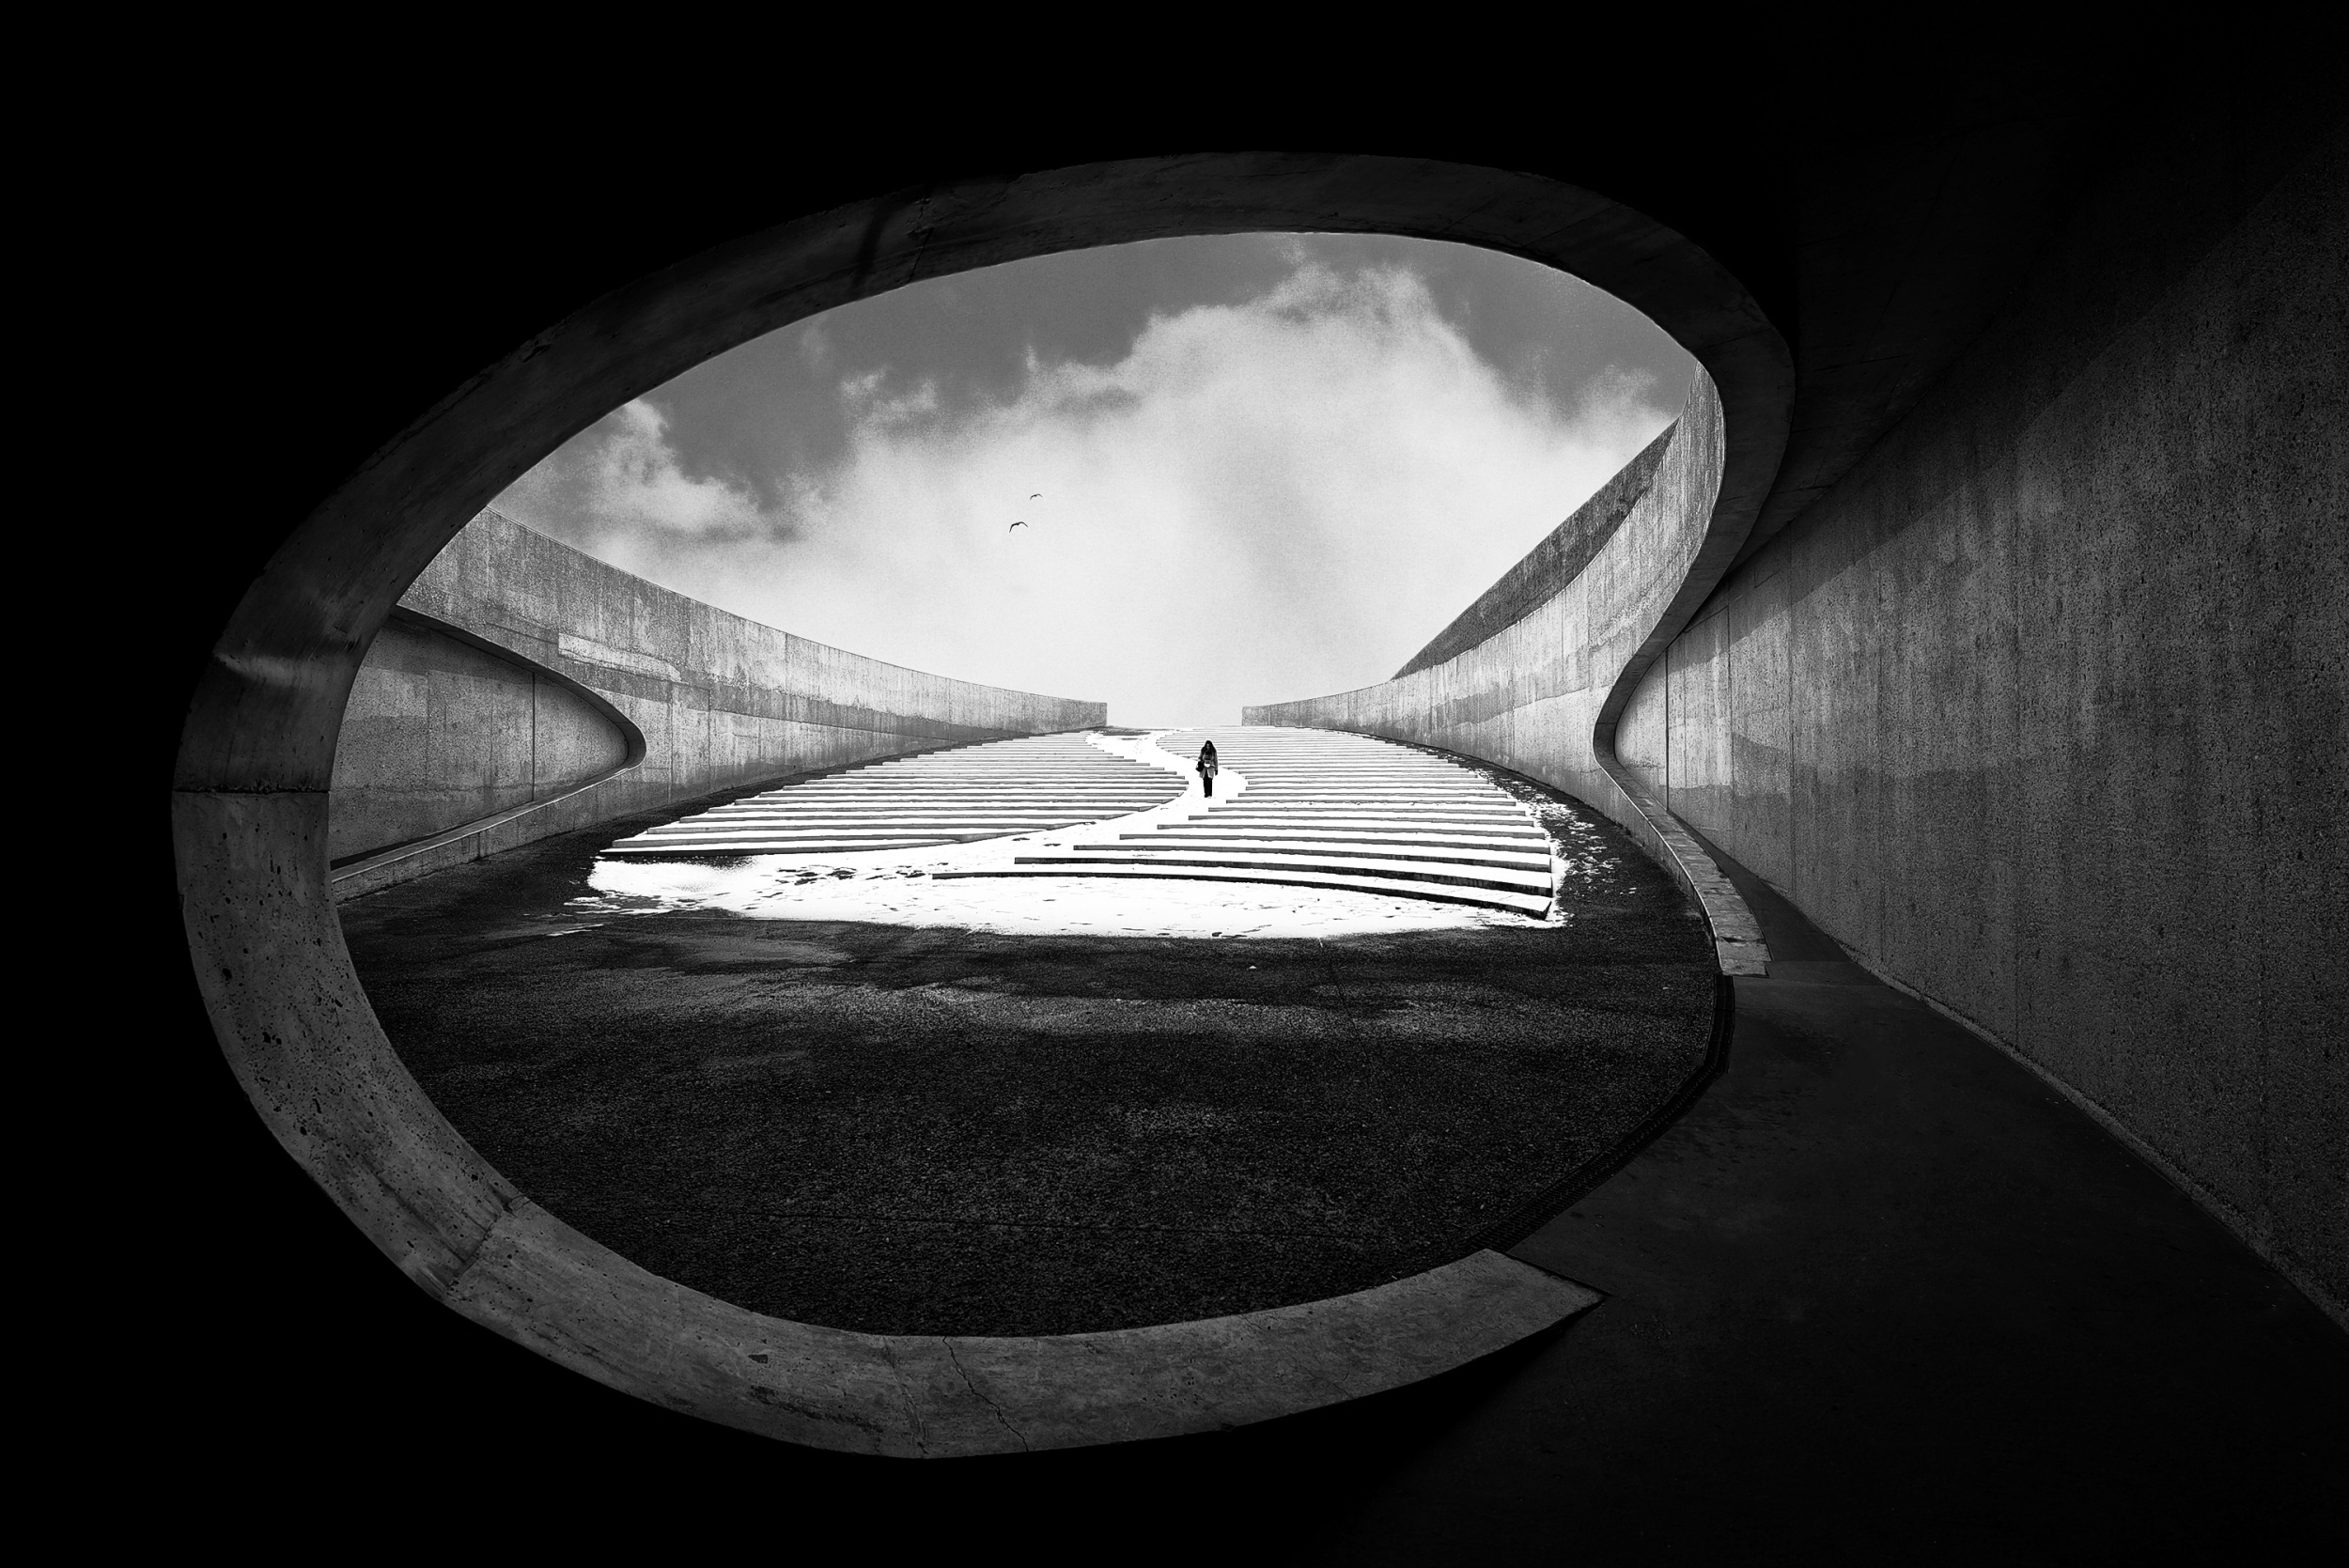
'To Enter or Not' by Jacqueline Hammer
'alone' by RedBenjamim Leandro de Medeiros
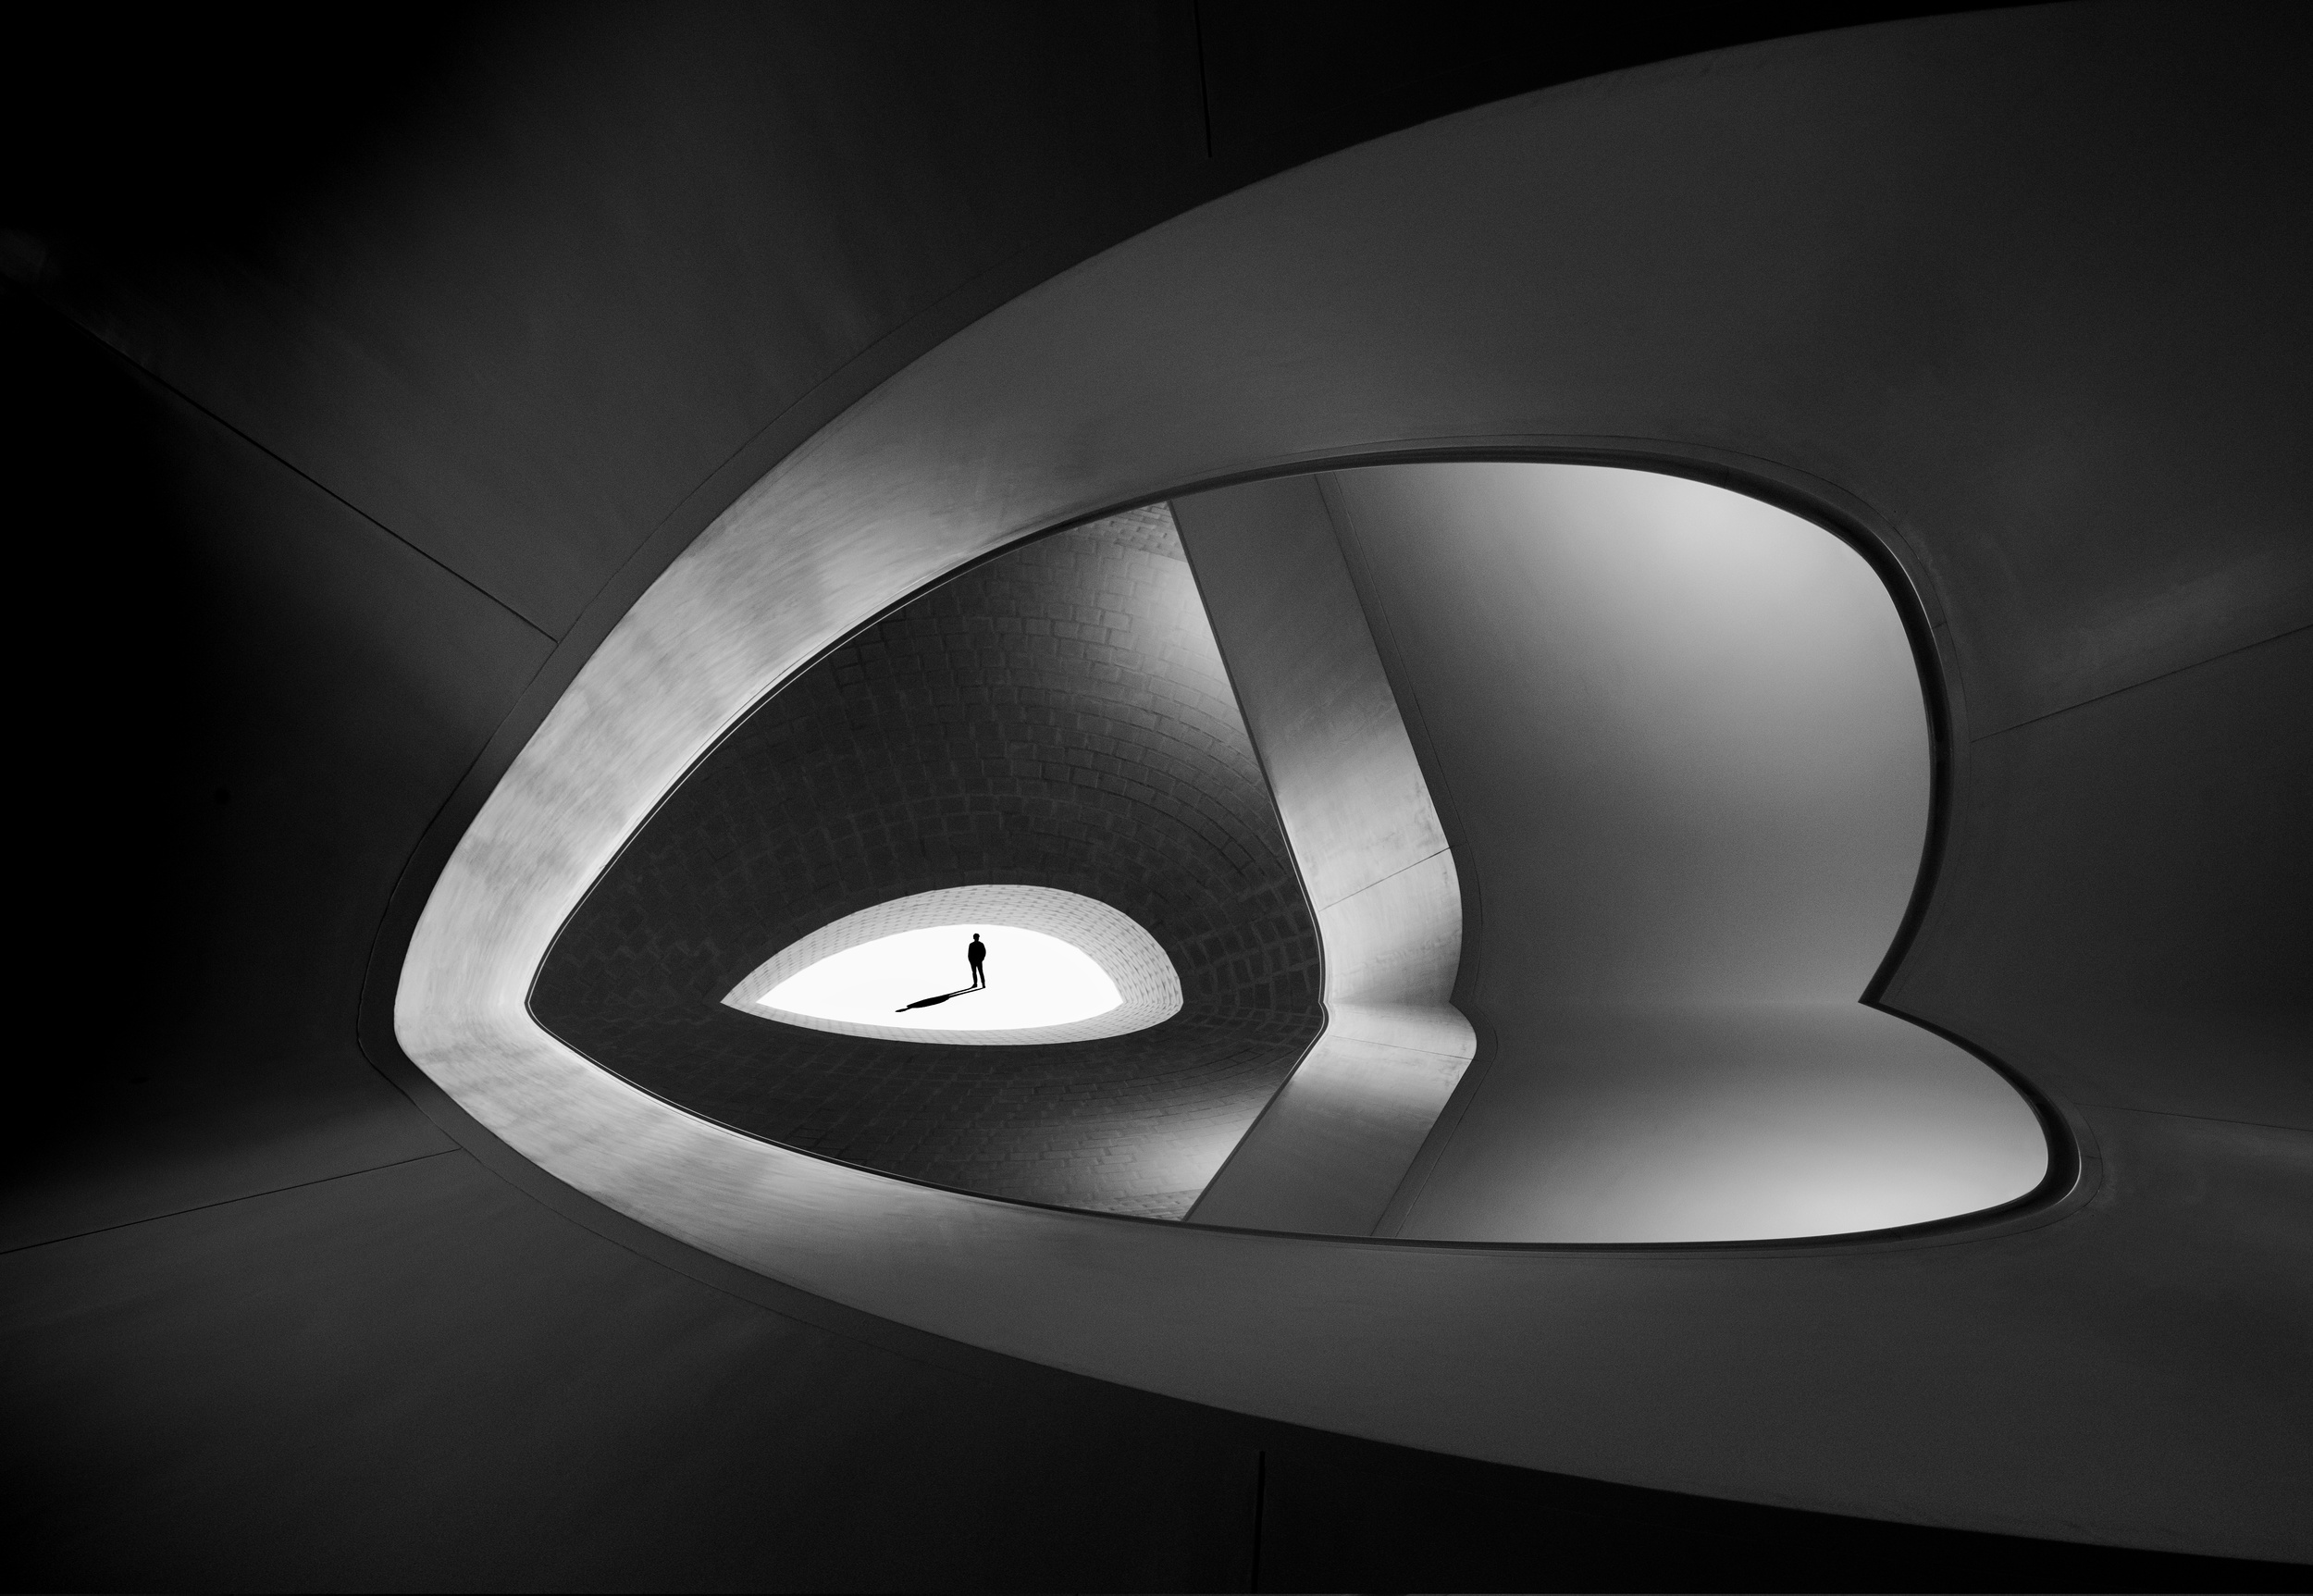
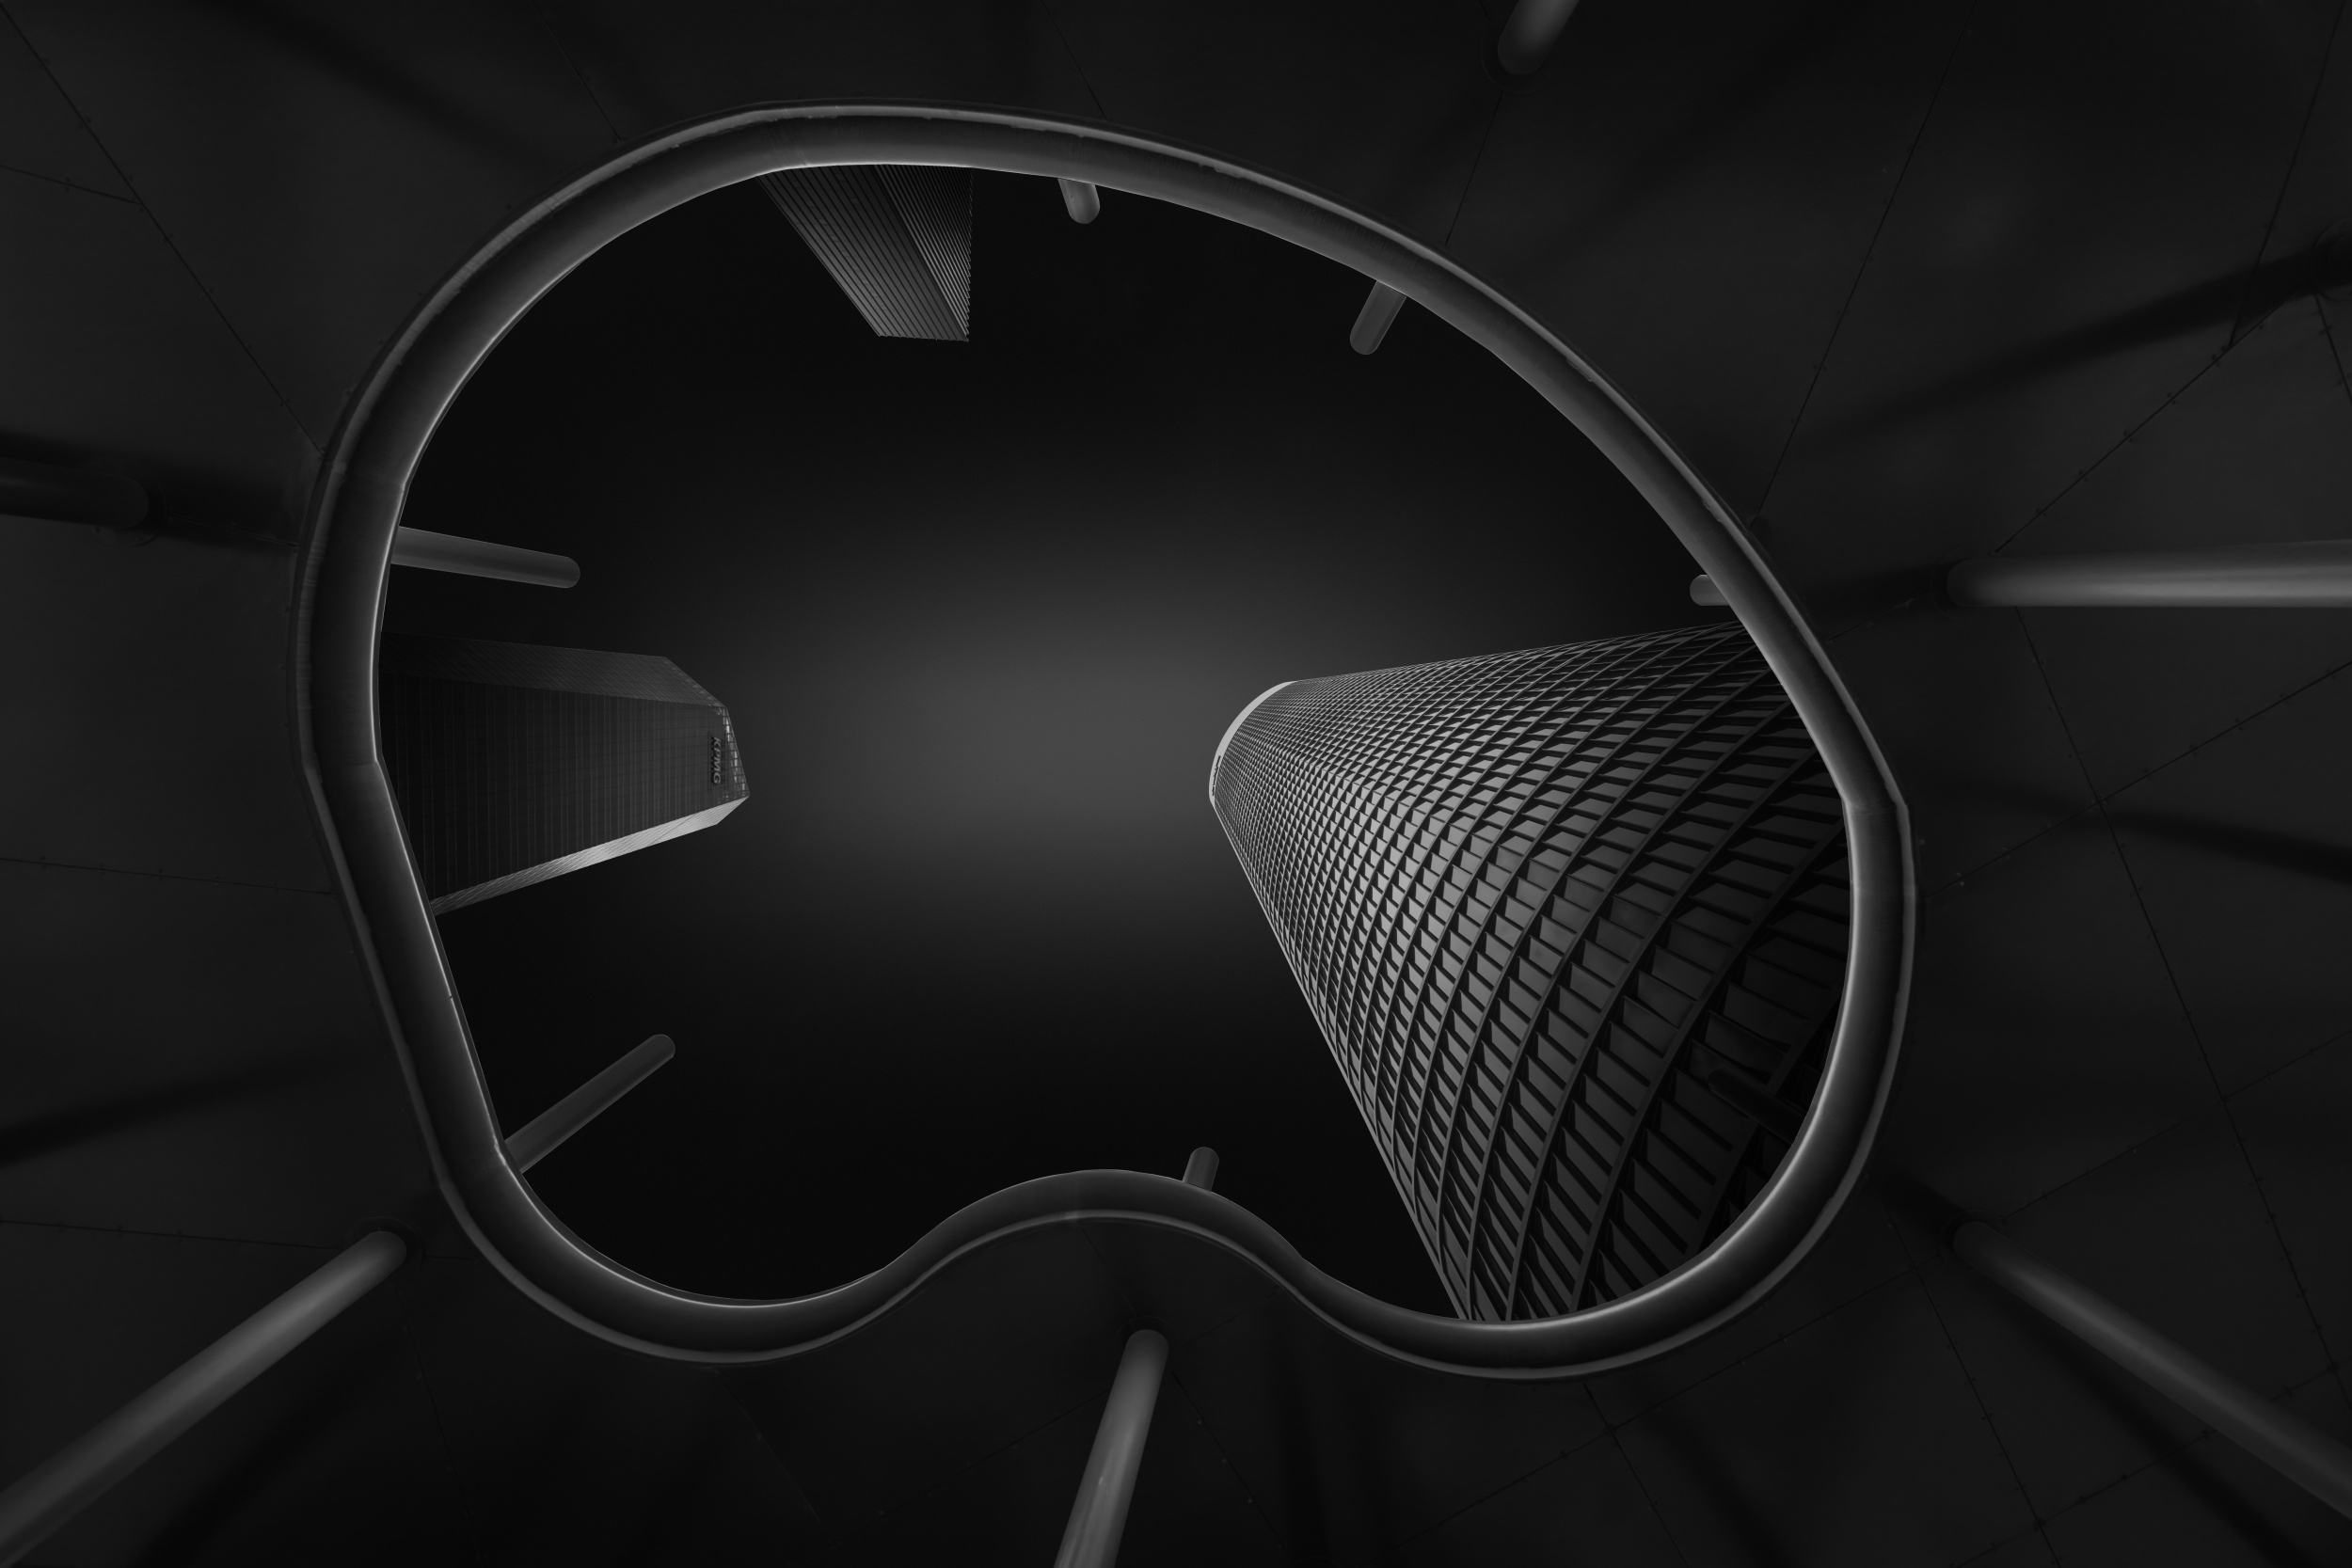
'The big eye' by Jorge Pimenta
'The three horsemen' by Rodrigo Núñez Buj
References:
https://digital-photography-school.com/tips-for-processing-black-and-white-images-in-photoshop/
https://www.youtube.com/watch?v=mRyOsoay-8c
https://www.ephotozine.com/article/convert-your-images-to-mono-with-gradient-maps-15459
https://www.photoshopessentials.com/photo-editing/black-and-white-tutorials/gradient-map-adjustment/
 | Write |
 | Wanghan Li PRO I have come back to the article one while and love it very much! It is my teacher indeed! |
 | Miro Susta CREW Excellent and most useful information, lovely photographs |
 | joanaduenas PRO Beautiful colección, congratulaciones! |
 | Alfonso maseda varela beautiful!! |
 | Antonyus Bunjamin (Abe) PRO Great Articles..Thanks for sharing! |
 | Thierry Dufour PRO Wonderful images, great work, congrats !!! |
 | Vito Guarino PRO Excellent article and great collection. Many compliments to autors and team |
 | Susi PRO Muchas gracias por este excelente artículo didáctico. Increíble selección de imágenes. Me encantan!!! |
 | Daniel Springgay CREW Amazing Tones - Amazing images - Wonderful collection
Well done all |
 | Piet Flour PRO impressive: compliments to team and selected artists |
| | Wanghan Li PRO Excellent collection of the beautiful and artistic works! Learning! |
 | Cicek Kiral CREW Great article and collection of images. I loved it! Thanks a lot... |
 | Yanyan Gong PRO Thank you very much for this educational article! |
 | Jorge Ribeiro Lume PRO A very well laid out and instructive dissertation in addition to the careful choice of photos. Thank you very much for the teachings that I consider precious. Thank you! |