


|
|
|
|
by Editor Swapnil Deshpande
Edited and published by Yvette Depaepe, the 22th of April 2022
Night sky has always intrigued the human kind from eons past. The best kept secret of the space isn’t a secret any more thanks to the development in the science, visual technologies and also space travel. The beauty of the clear sky combined with an interesting foreground element is an interesting recipe for a successful photograph. Astronomical elements when viewed with the right optics create a beautiful spectacle for eyes and print. The science of photography though plays a huge role in making a great image, a tad bit more than the art of it.
I am going to try to shed a light on probably the most interesting and satisfying genre of photography viz., Milky Way and night sky photography.
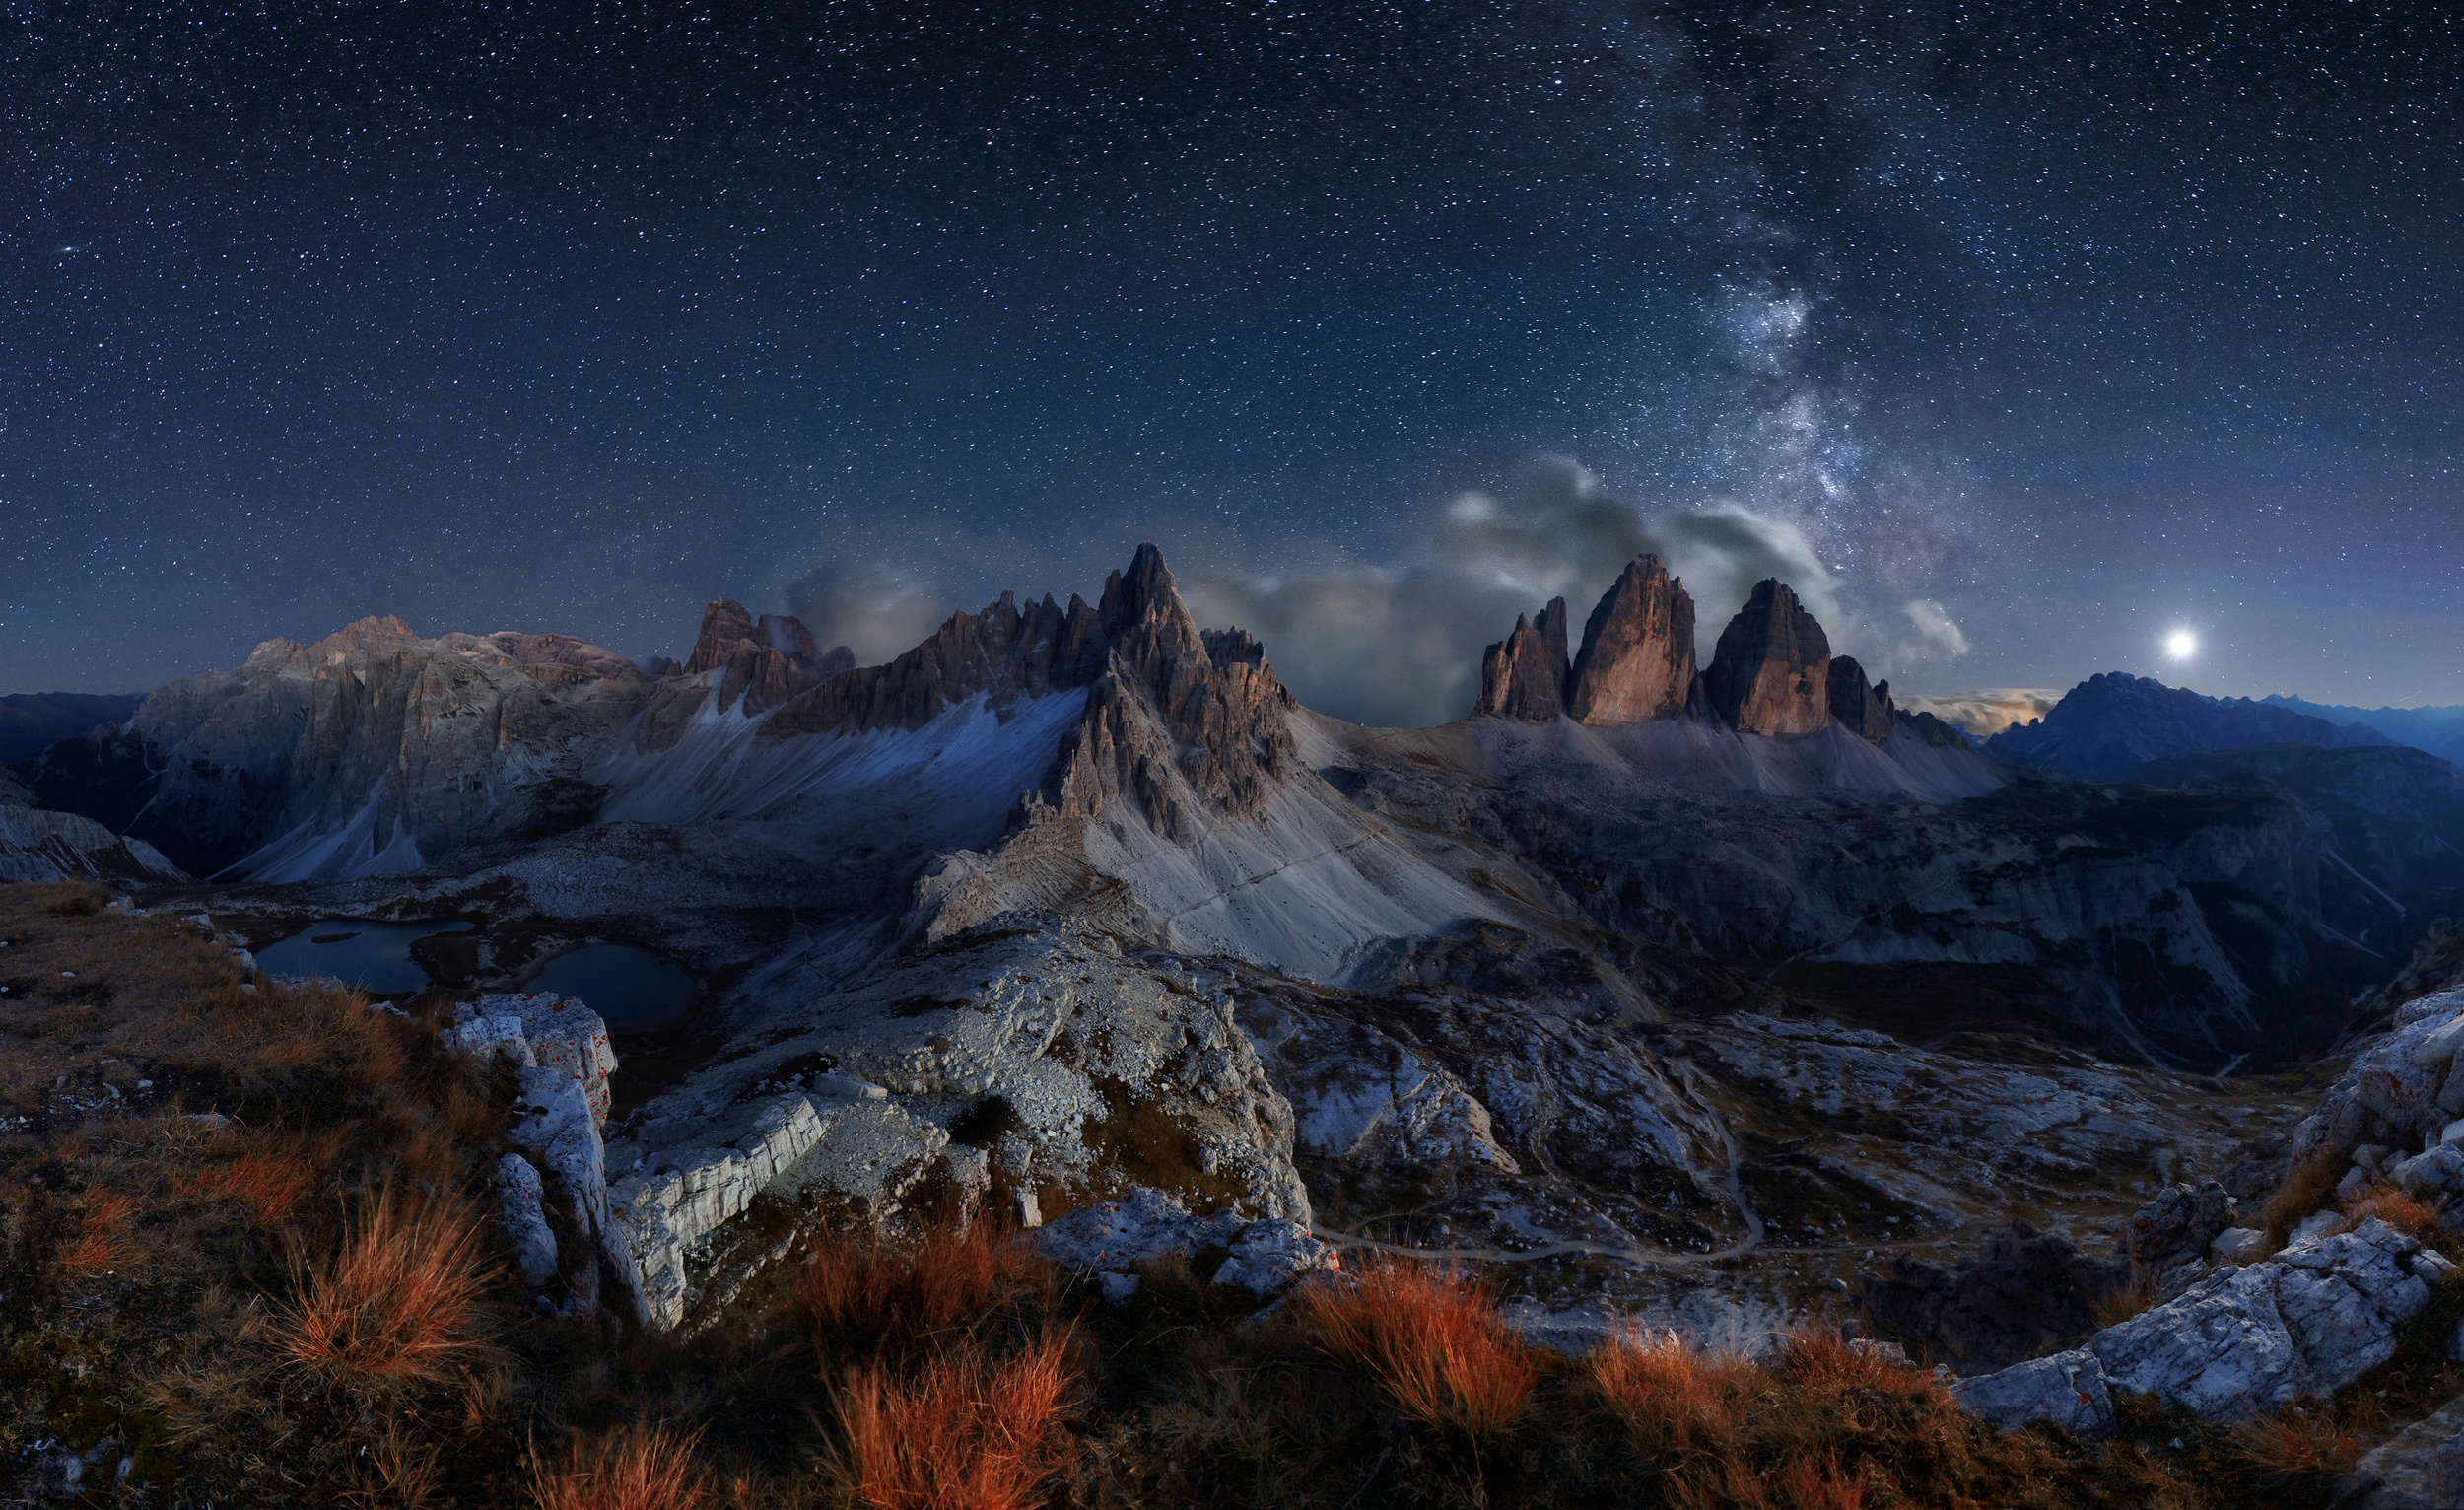
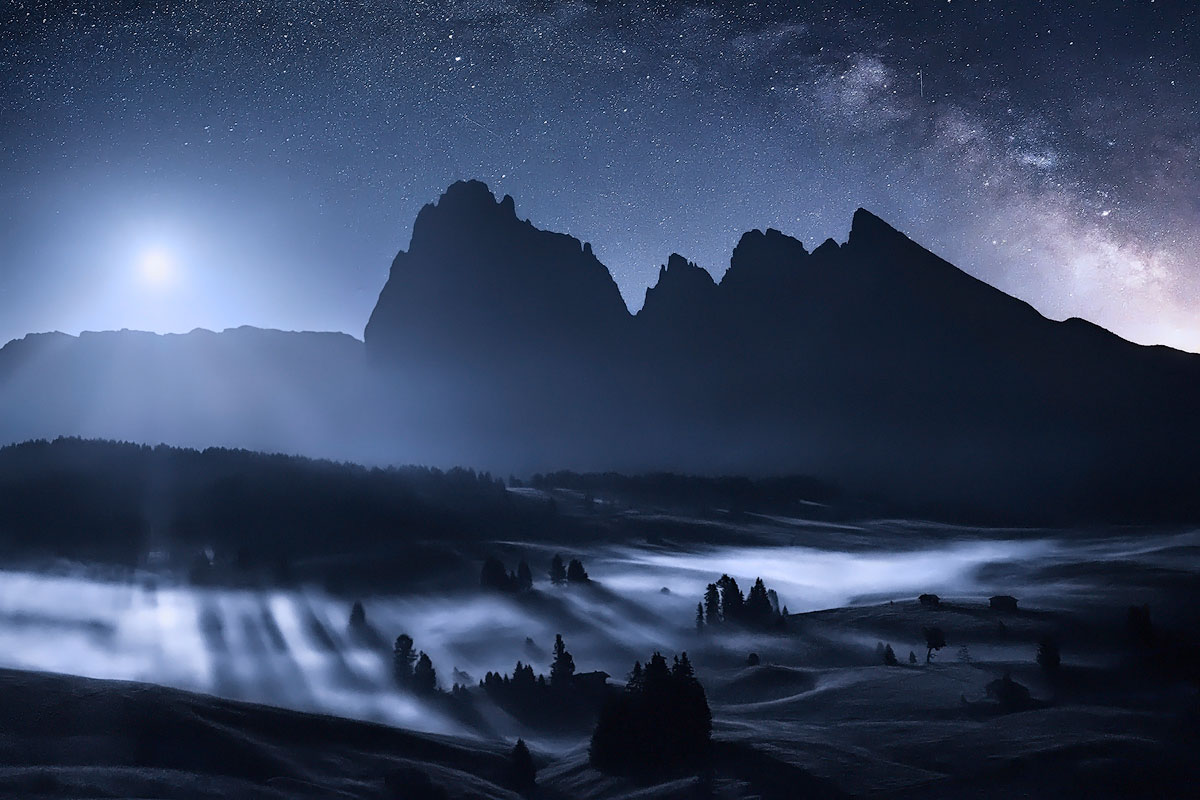
'Milky way over the Tre Cime di Lavaredo' by Tomas Sereda
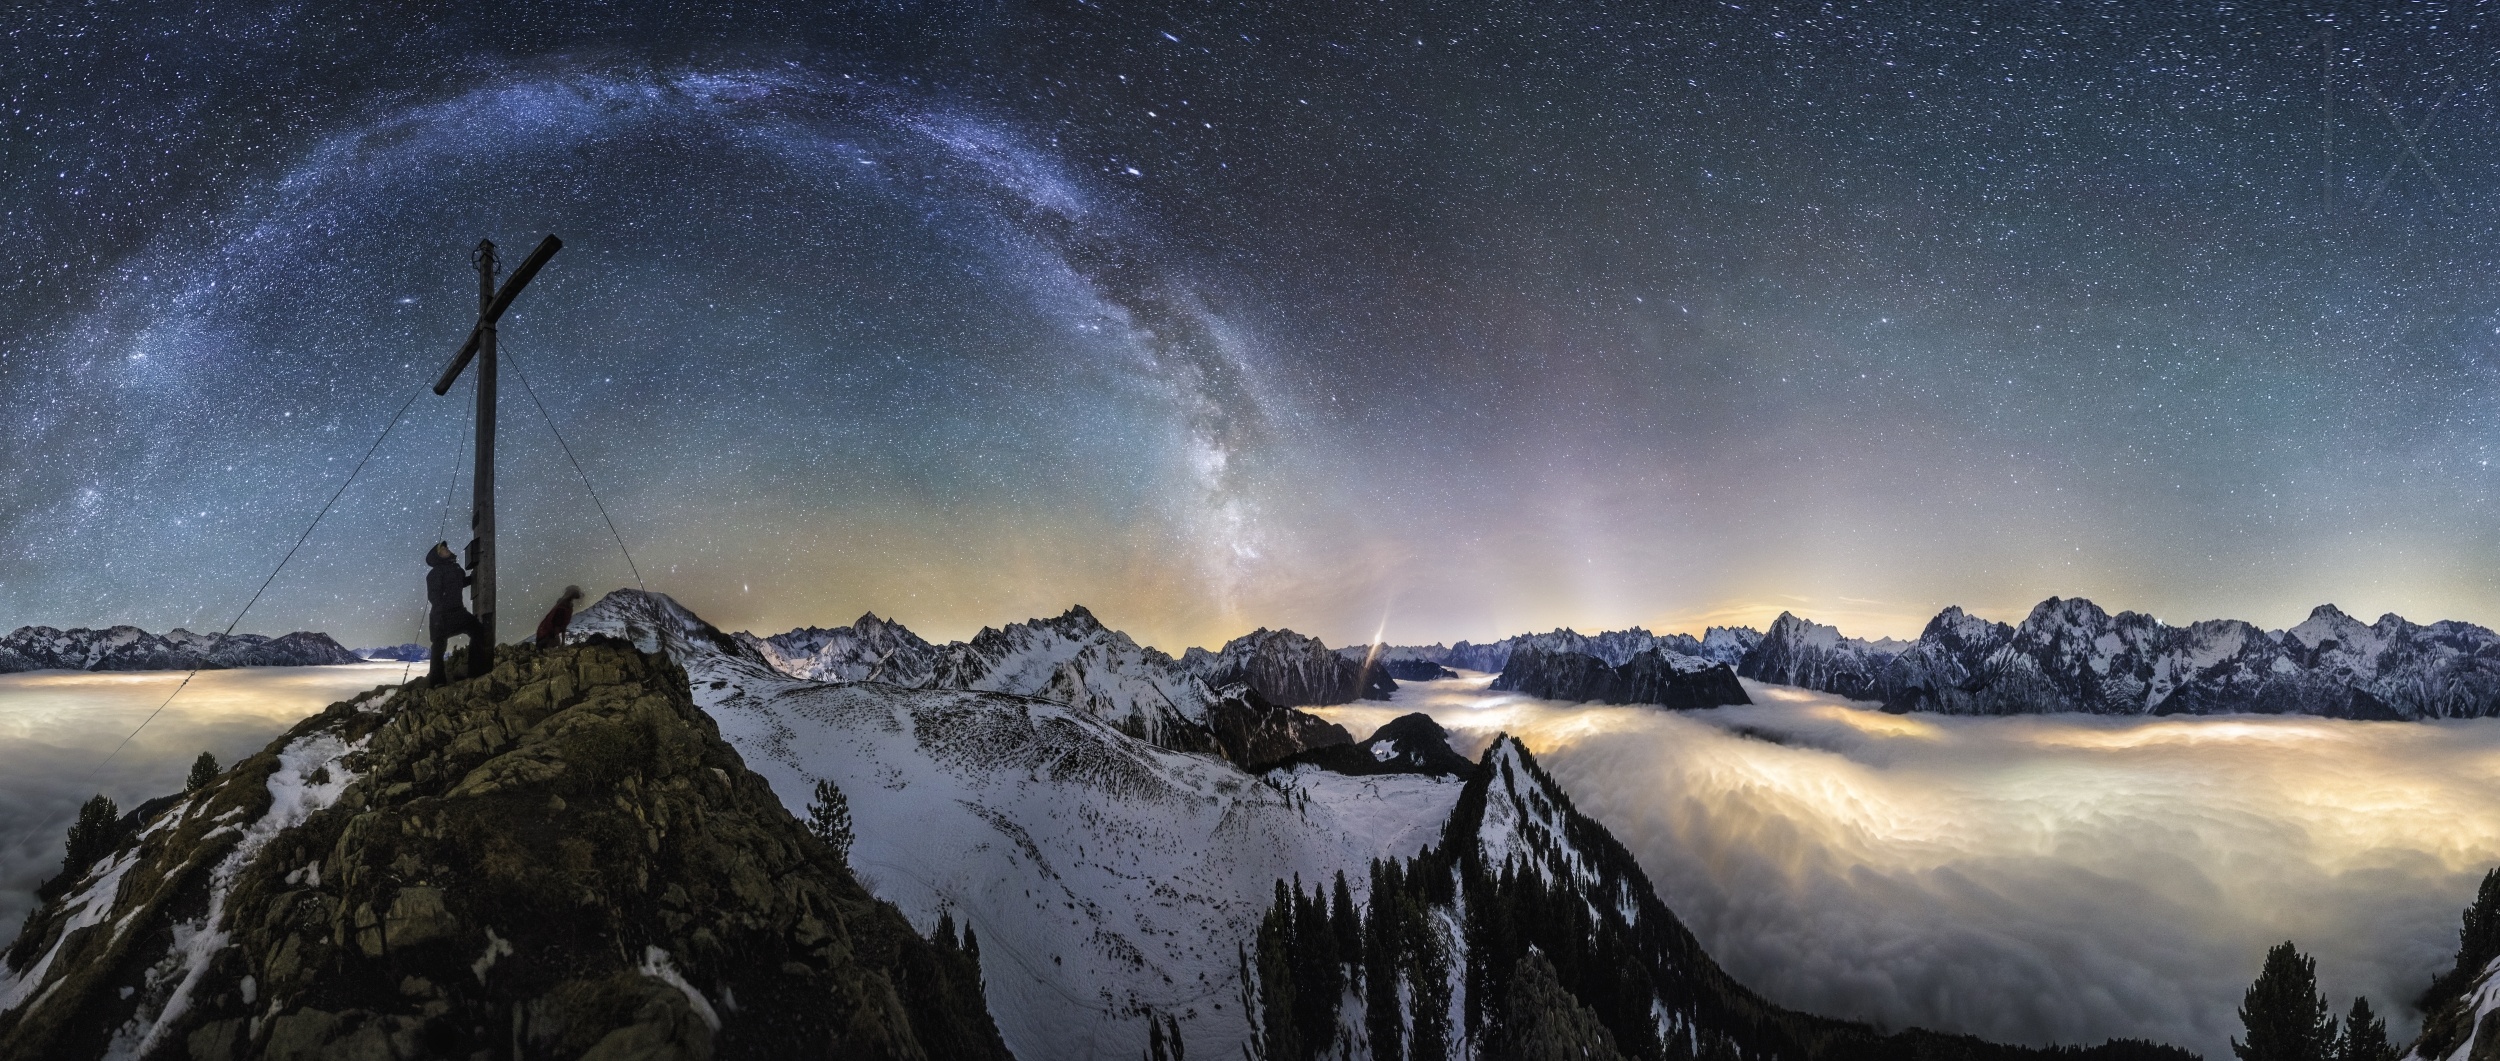
'Above the clouds' by Dr Nicholas Roemmelt
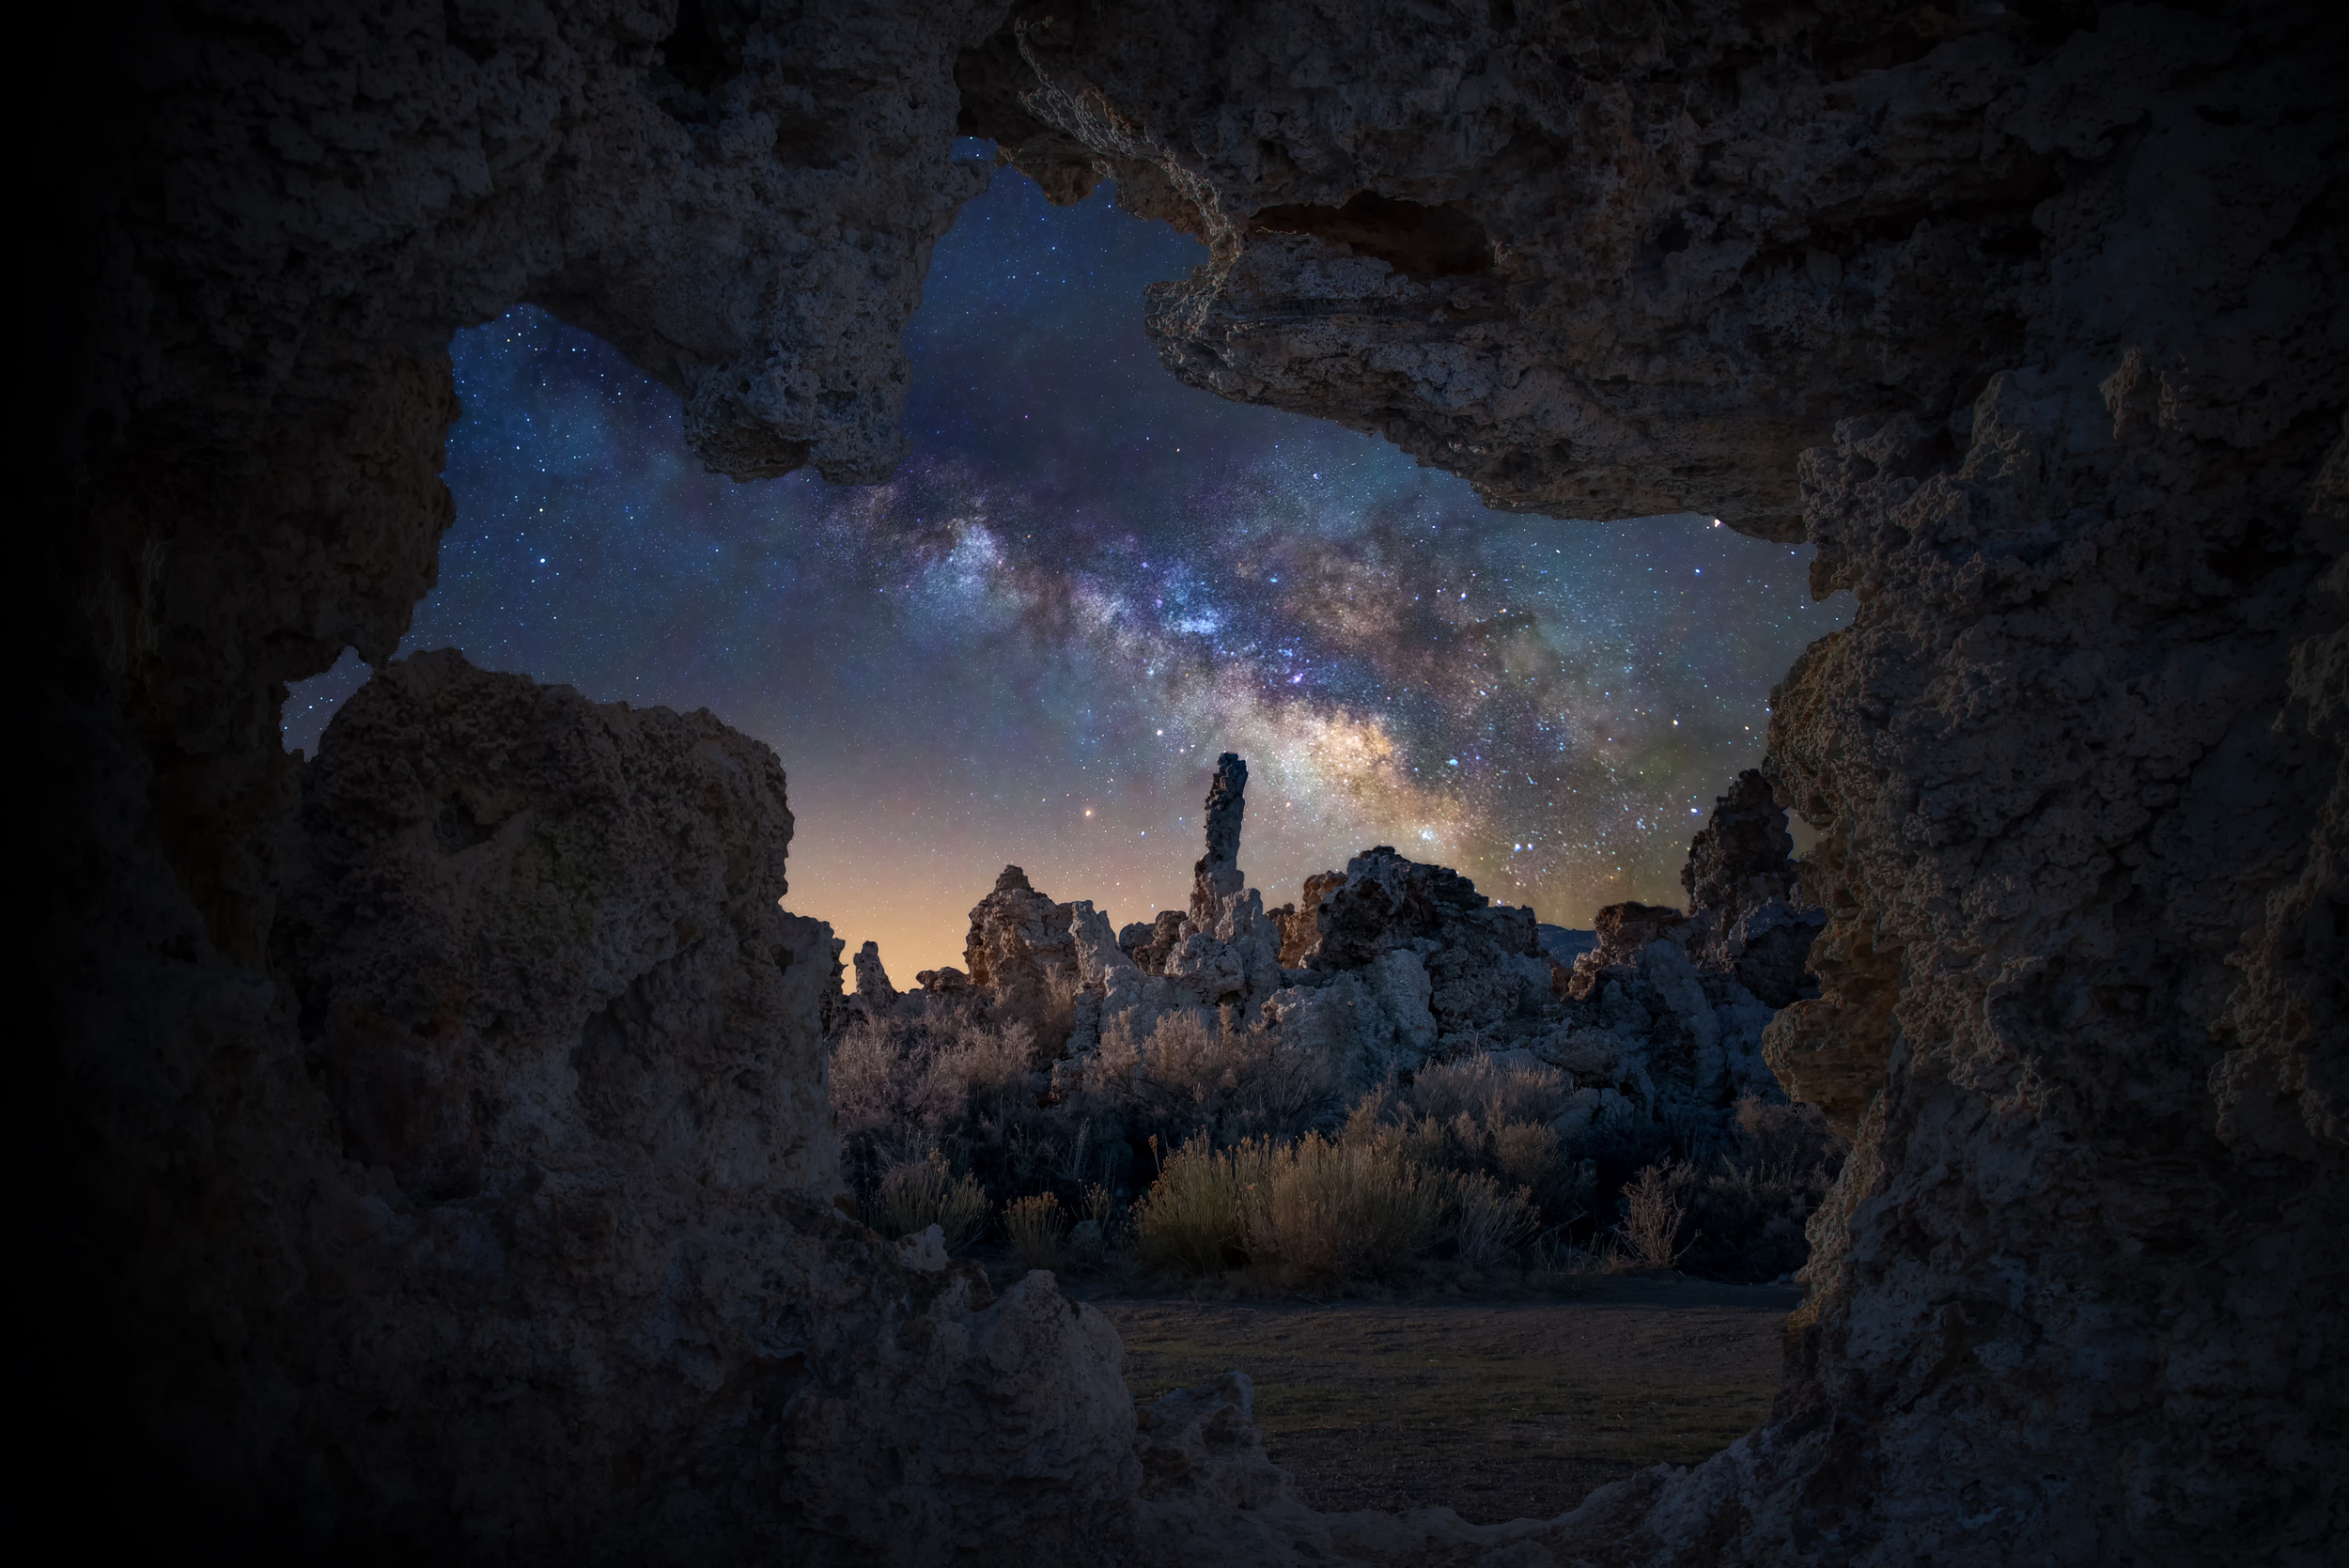
'Sky of the mono' by Louise Yu
The science part of photography deals with cameras, sensor types, lenses, tripods and mounts. Everyone serious about photography will know that camera handling better ISO is much better equipped to create Milky Way images. Full frame sensors are easily much better performers than cropped ones and also I’ve observed that lesser megapixel cameras perform better at noise handling due to larger size of pixel used in same size of sensor. At higher ISO, they create less mussing of the image than cameras having more megapixels. About lenses it’s a no brain-er that bigger apertures will help a lot more due to more light gathering capacity so any lens from f1.2 to f2.8 will come in handy for milky ways. Focal length of the lens will play a significant role in keeping the stars sharp like pin points and not lines since focal length determines the time you can keep shutter open to take in more light. Generally 500 rule works good for determining length of exposure. Divide the focal length by 500 and you can start using that shutter speed to make sure stars appear as pinpoints. Raw feature of camera gives much more freedom to edit in addition to the above points.
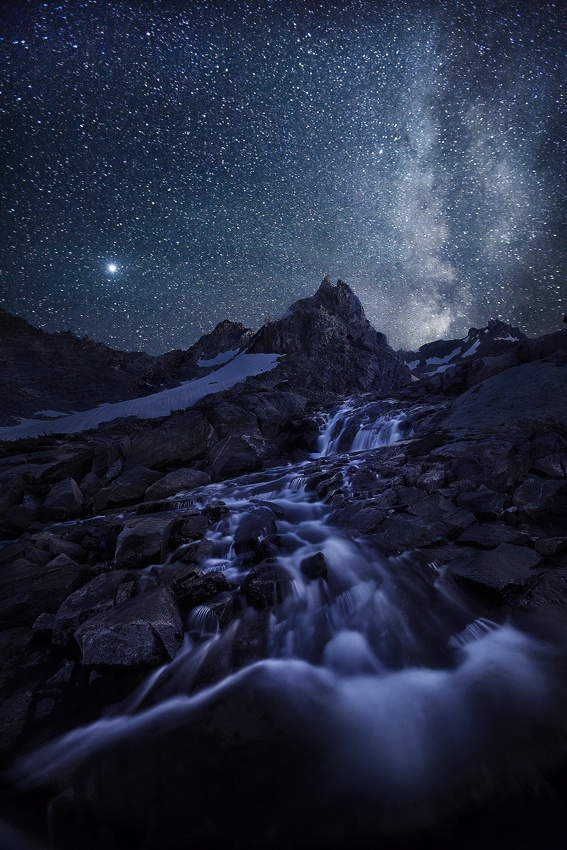
'The Great Beyond' by Mark Adamus
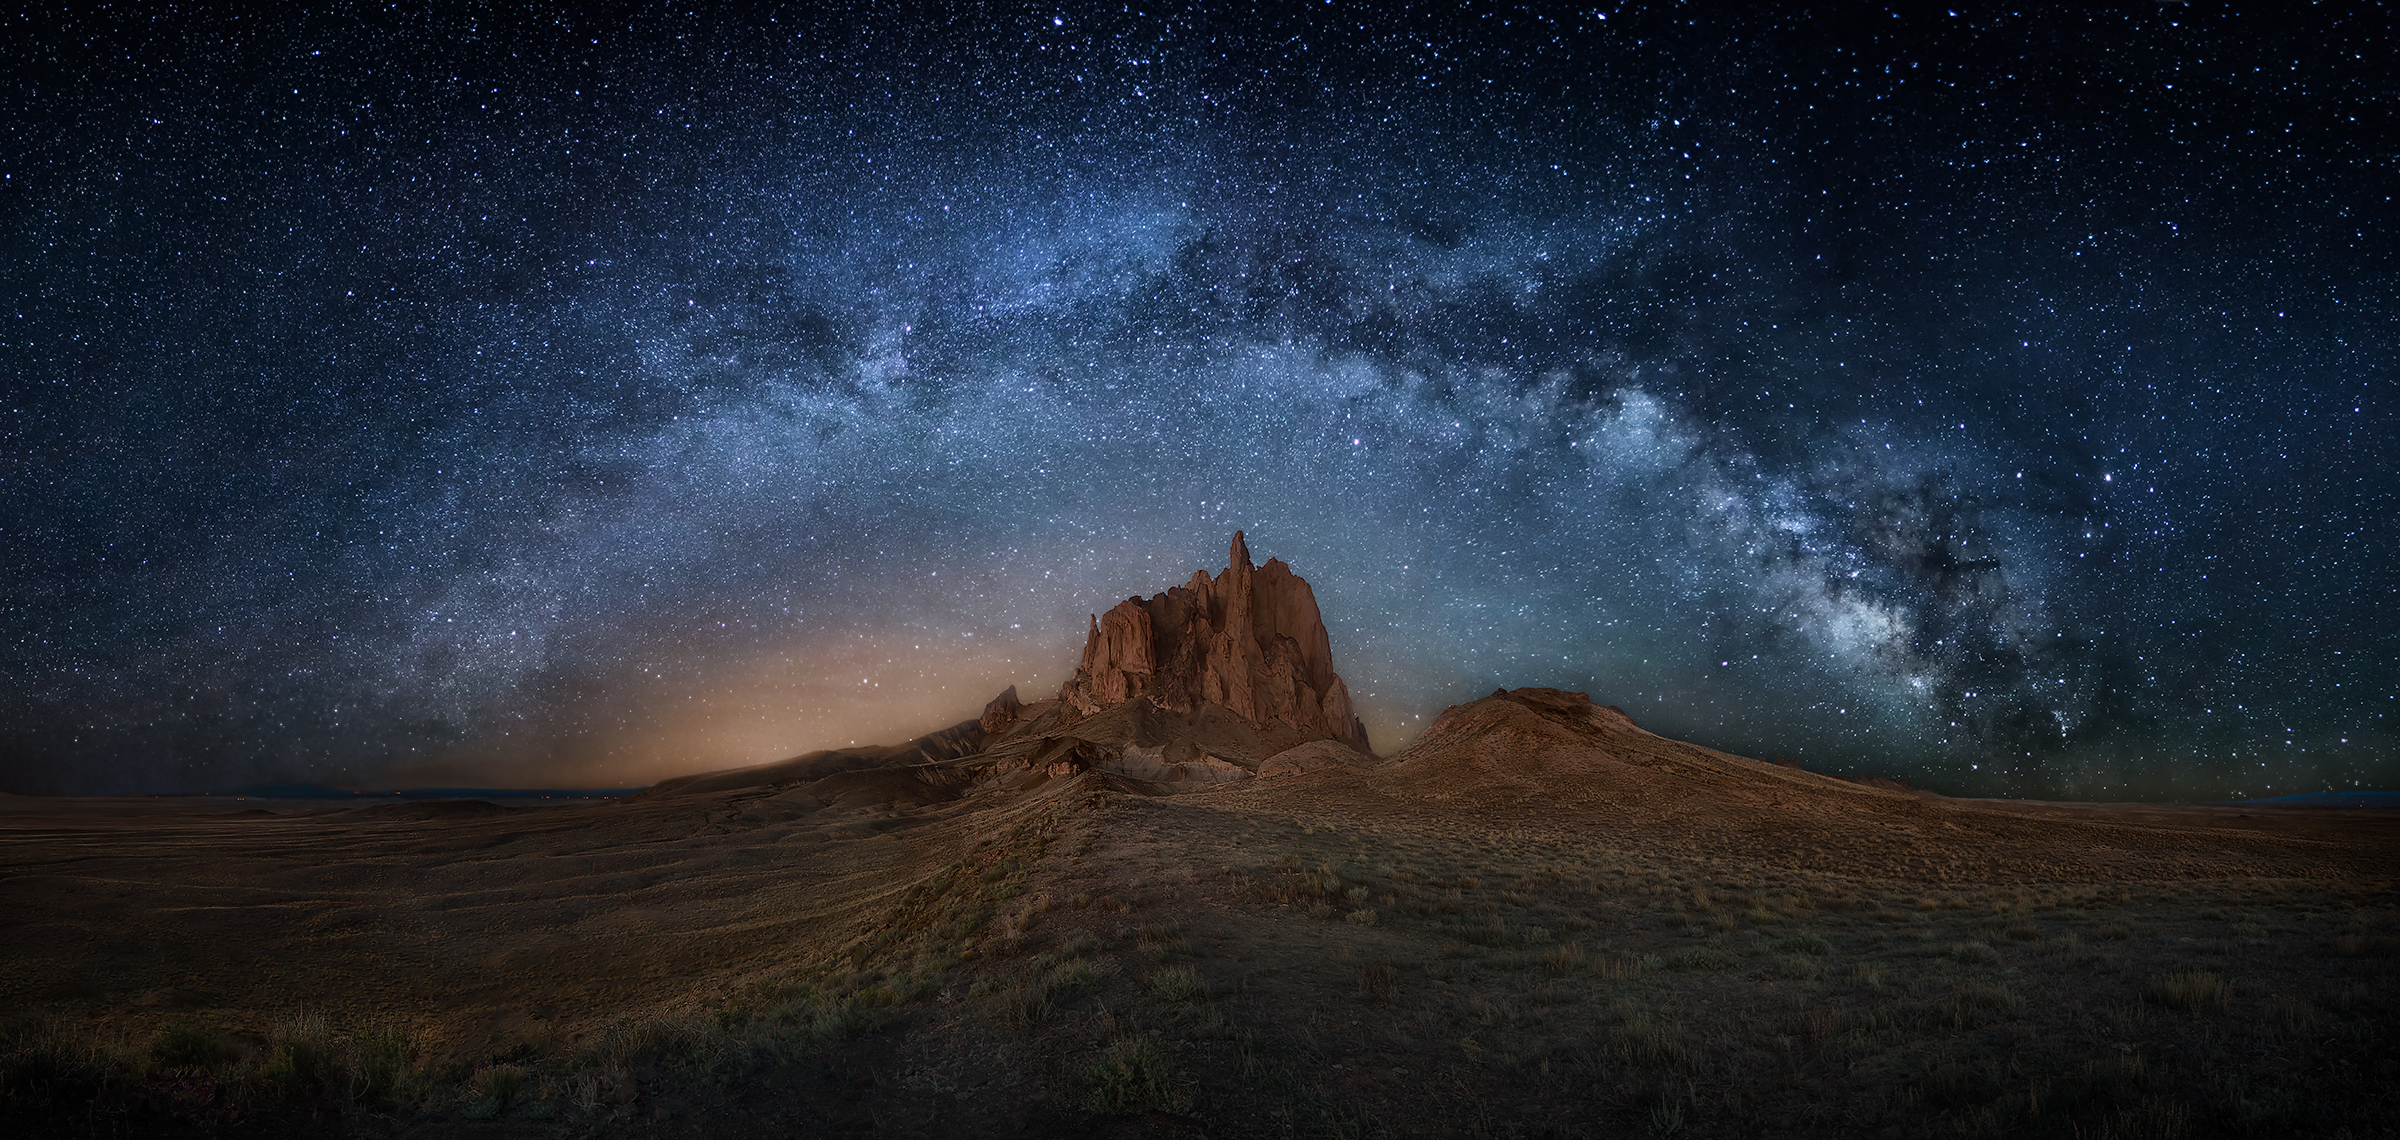
'Shiprock under the Night Sky' by Huibo Hou

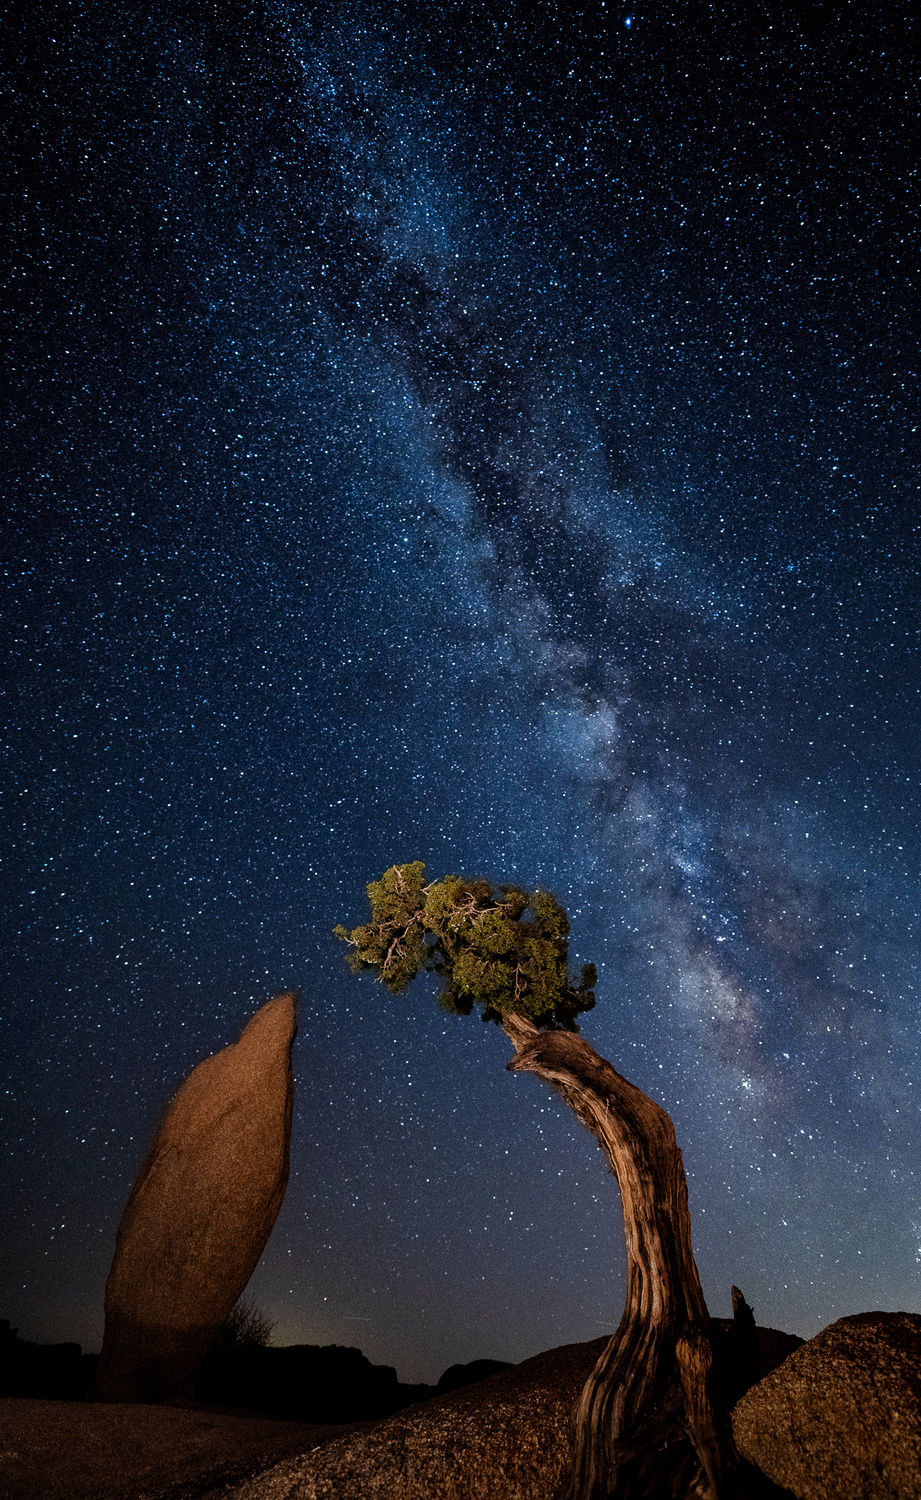
'Milky way over lonely tree' by Iván Ferrero
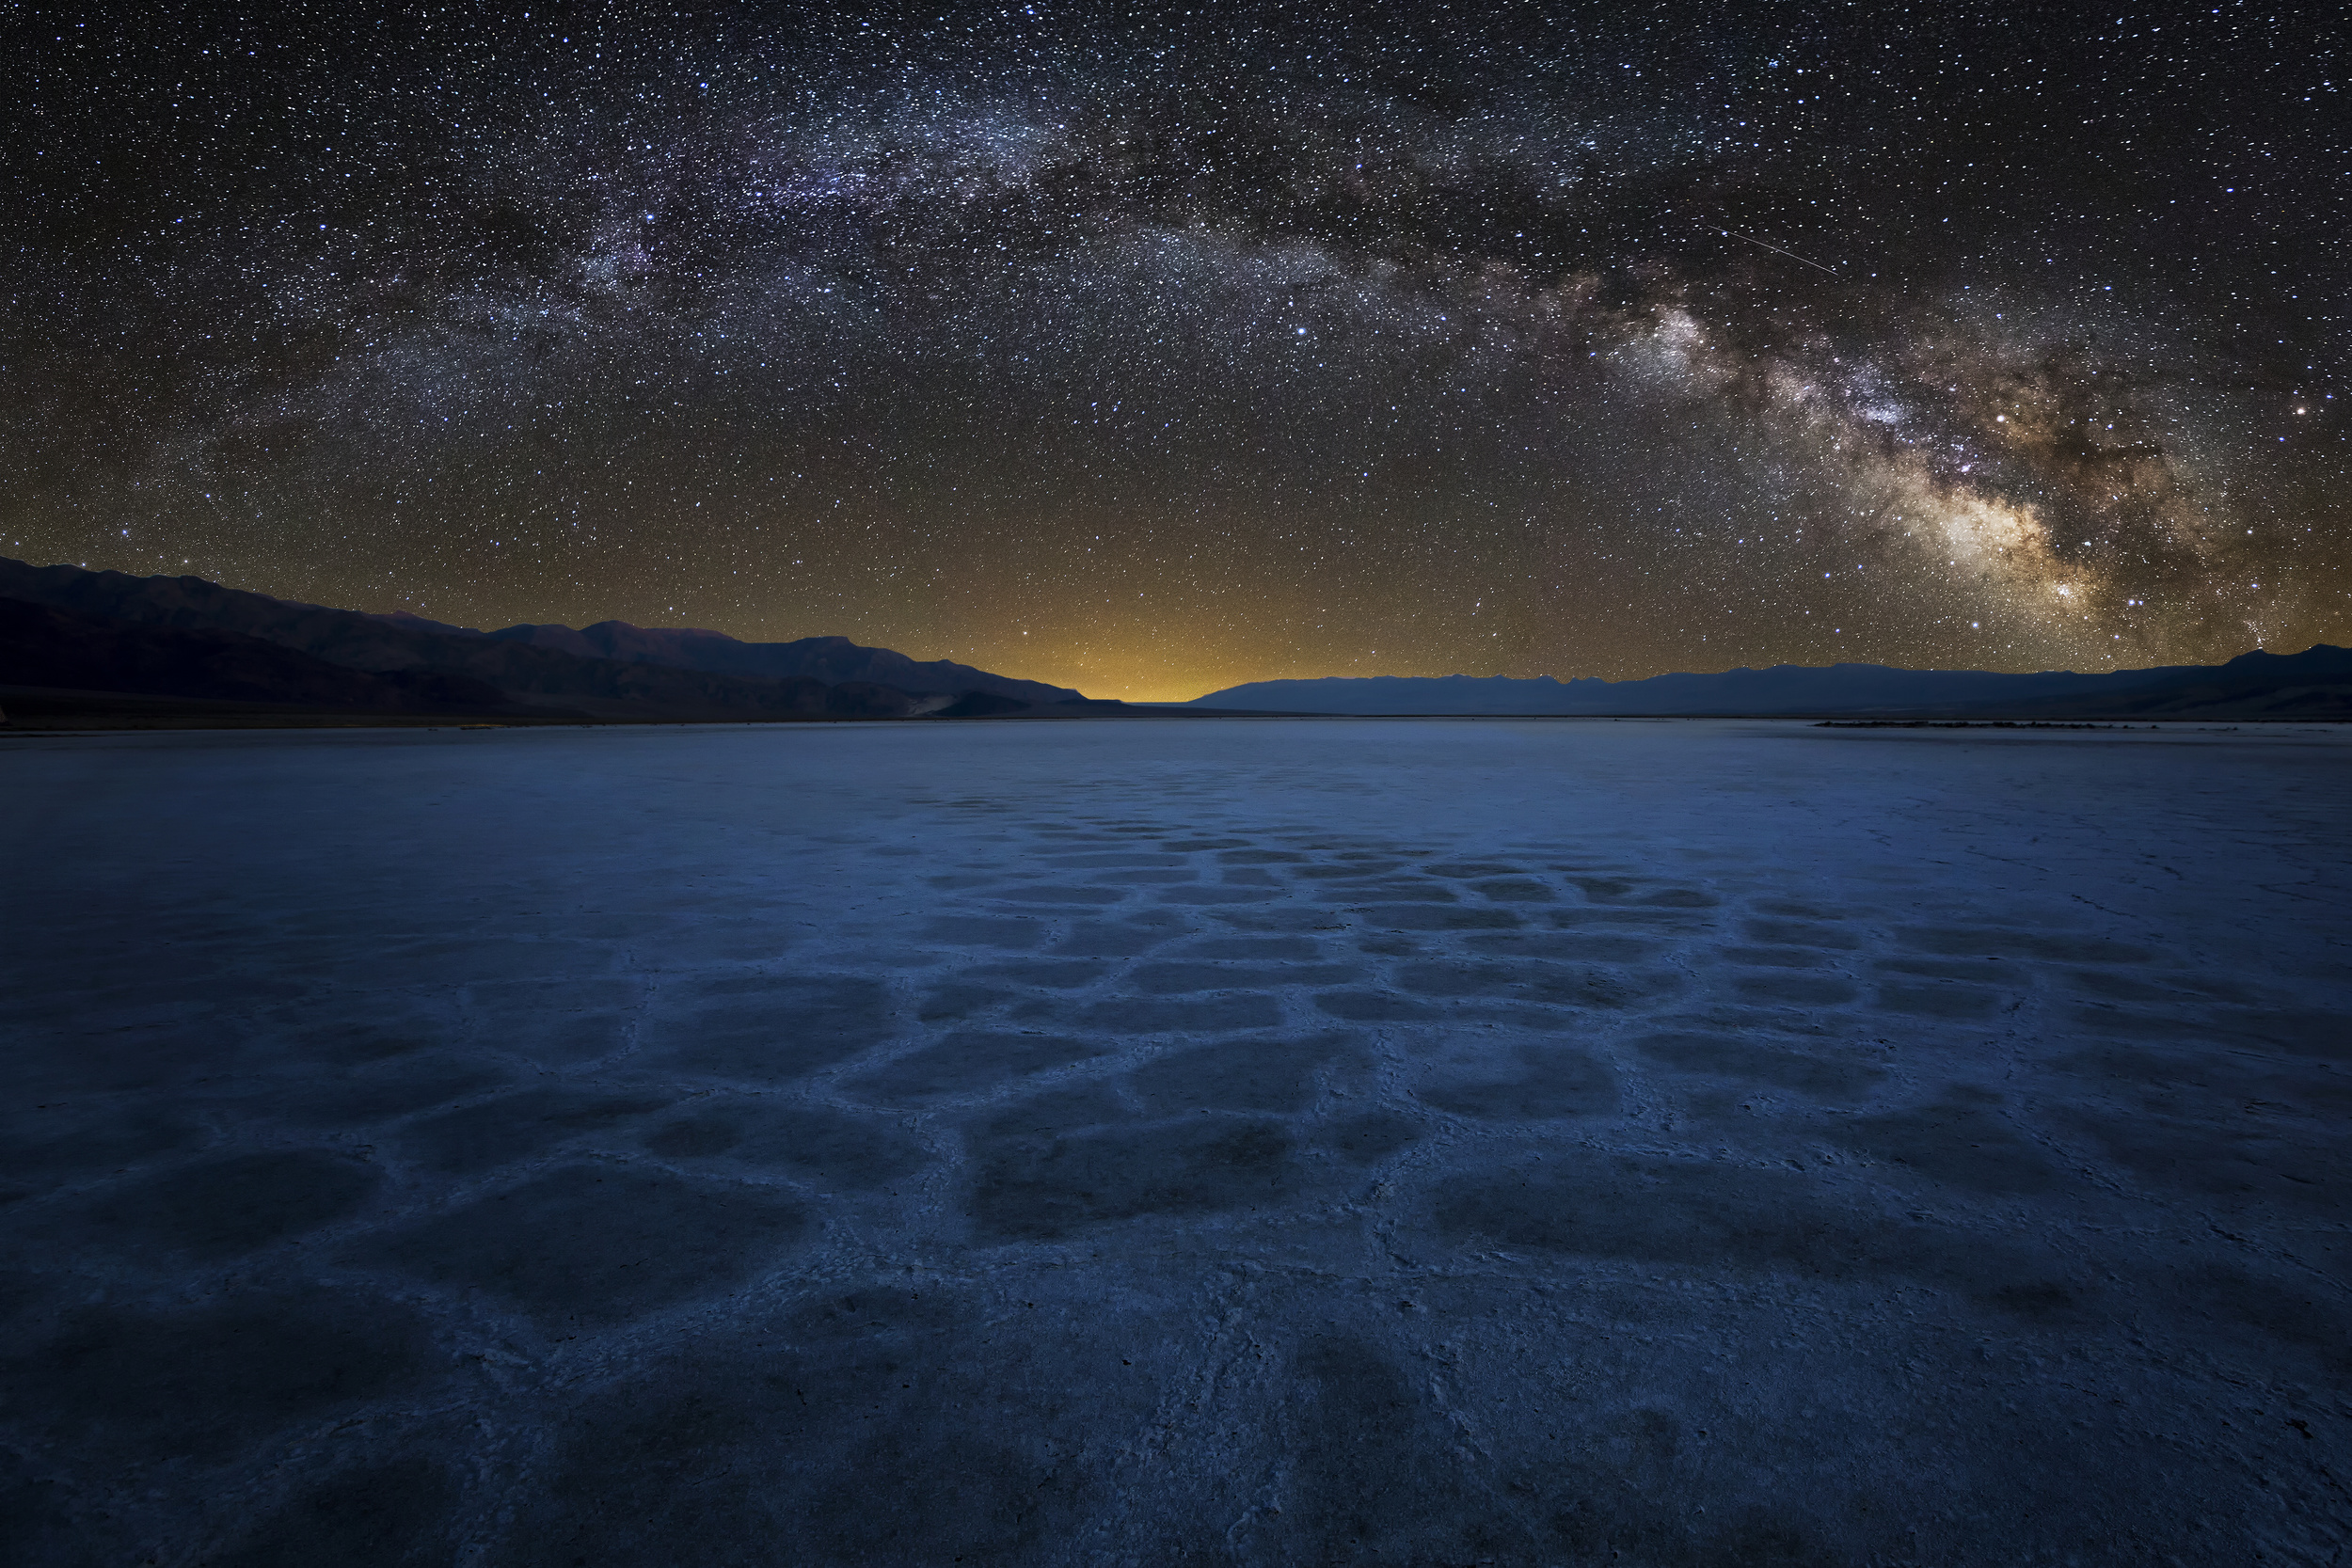
The art of Milky Way photography involves compositions around Milky Way. Juxtaposing the Milky Way with earthen elements like mountain, trees or a stream of river creates a catching composition. How to see and compose through the viewfinder is a challenging thing in the night-time. Using a very high ISO and clicking a test pic for the composition is a usual practice which gives an idea of the focus and depth of field as well. I prefer using the live view for night photography as modern cameras use a feature called as focus peaking in which whatever area is in focus will be highlighted by a colour. This is such an important feature as we can easily know if both foreground and sky is in focus and easily make changes if not. In addition to this I also zoom in 5X or 10X and check if the star is a pinpoint of a smudge. This is important since in zoom lenses lens marking of infinity is not true infinity so it is important to check it at the focal length you are shooting. Also temperature and atmospheric haze can confuse lenses for infinity focus so manual intervention is best.
'The magic of the night' by Isabella Tabacchi
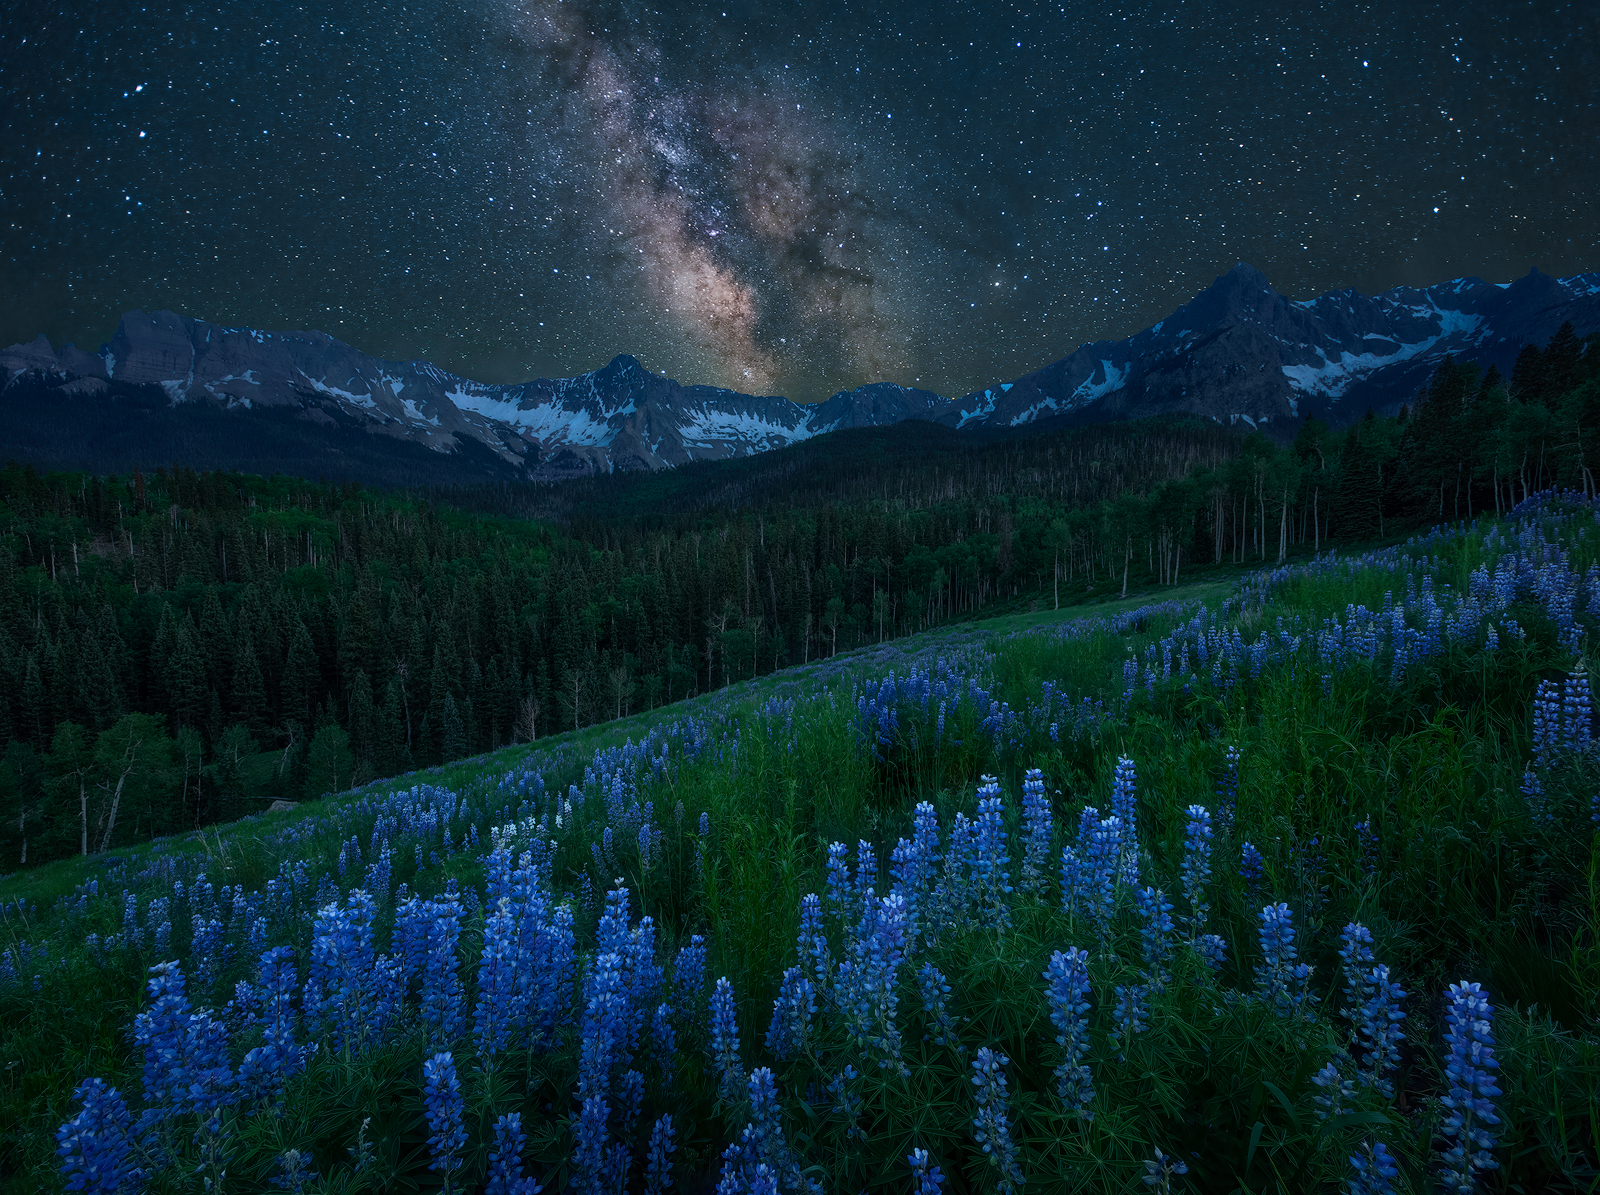
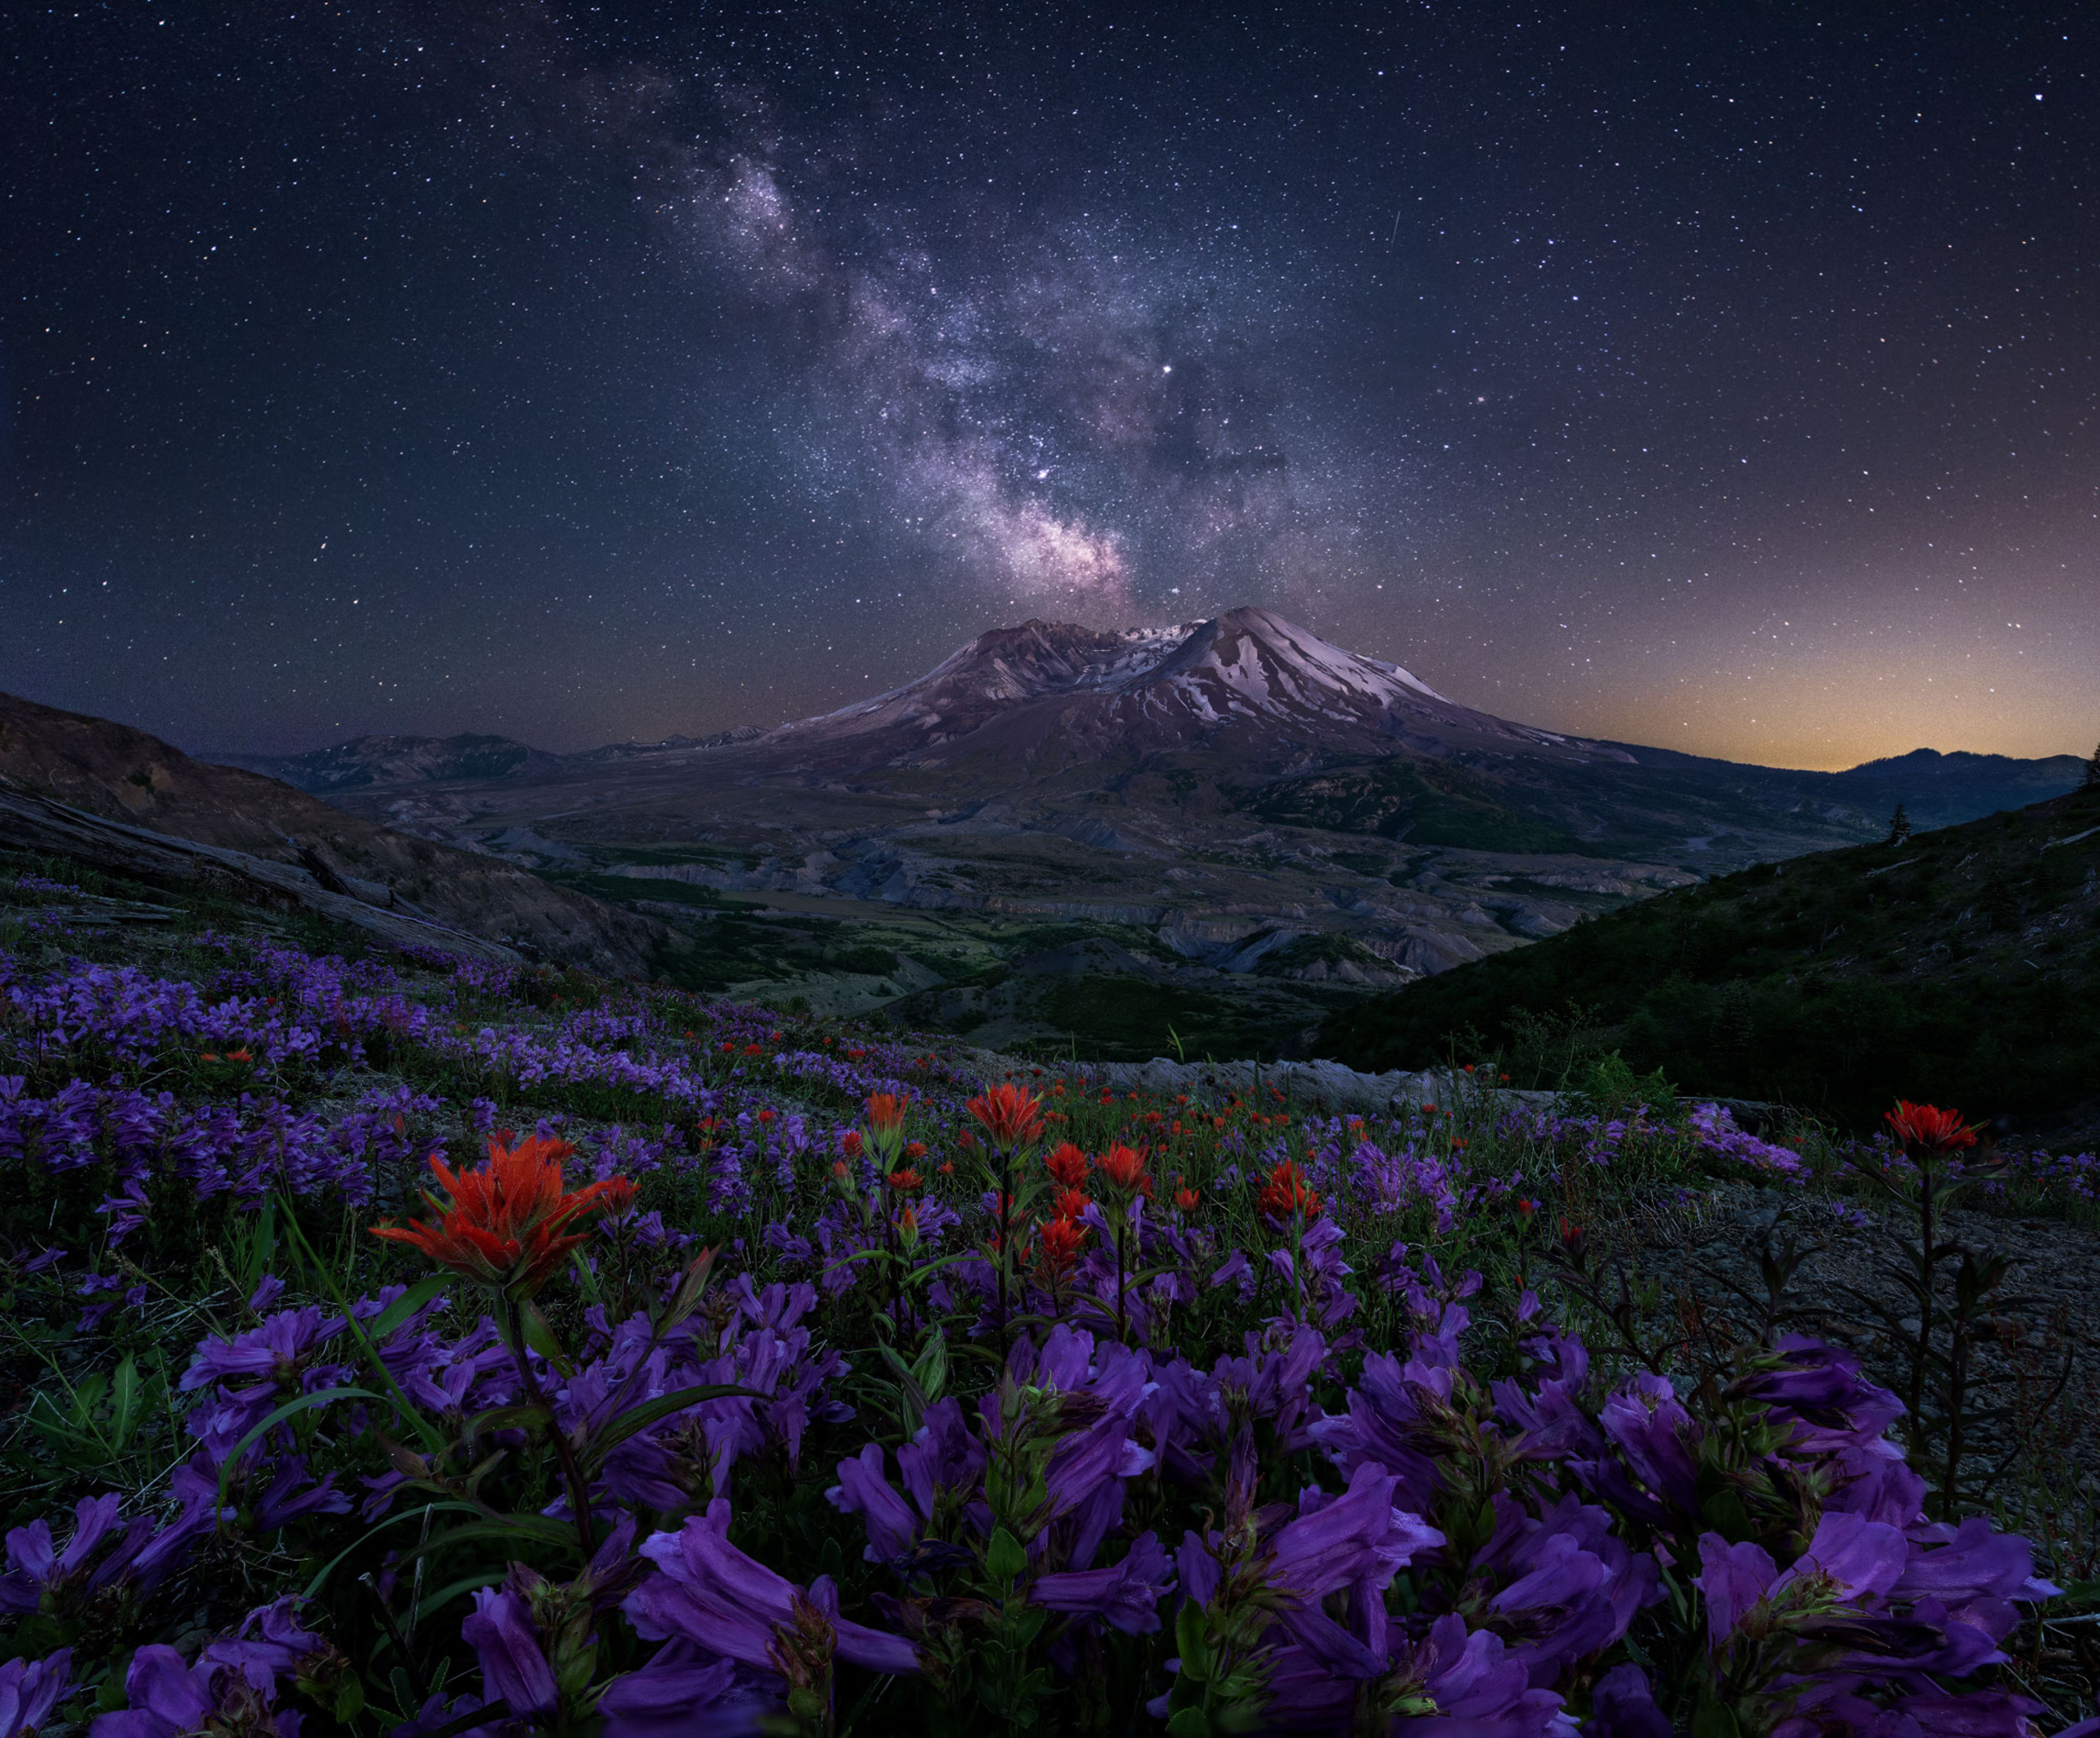
'Milky Way over Lupine Slope' by Mei Xu
'Stardust' by Bez Dan
Many a times photographers will shoot foreground in twilight and keep the camera at the exact same location and click milky way after a while using same composition and merging both images later in post processing. This process helps in controlling noise in foreground much better with better colours.
Focus stacking is another amazing method to create great depth of field. Keeping the same composition one must click images using different focus point in foreground, mid ground and sky and blend them in post processing. You can use different shutter speeds at different focal points so depth, colour quality and noise are better controlled.
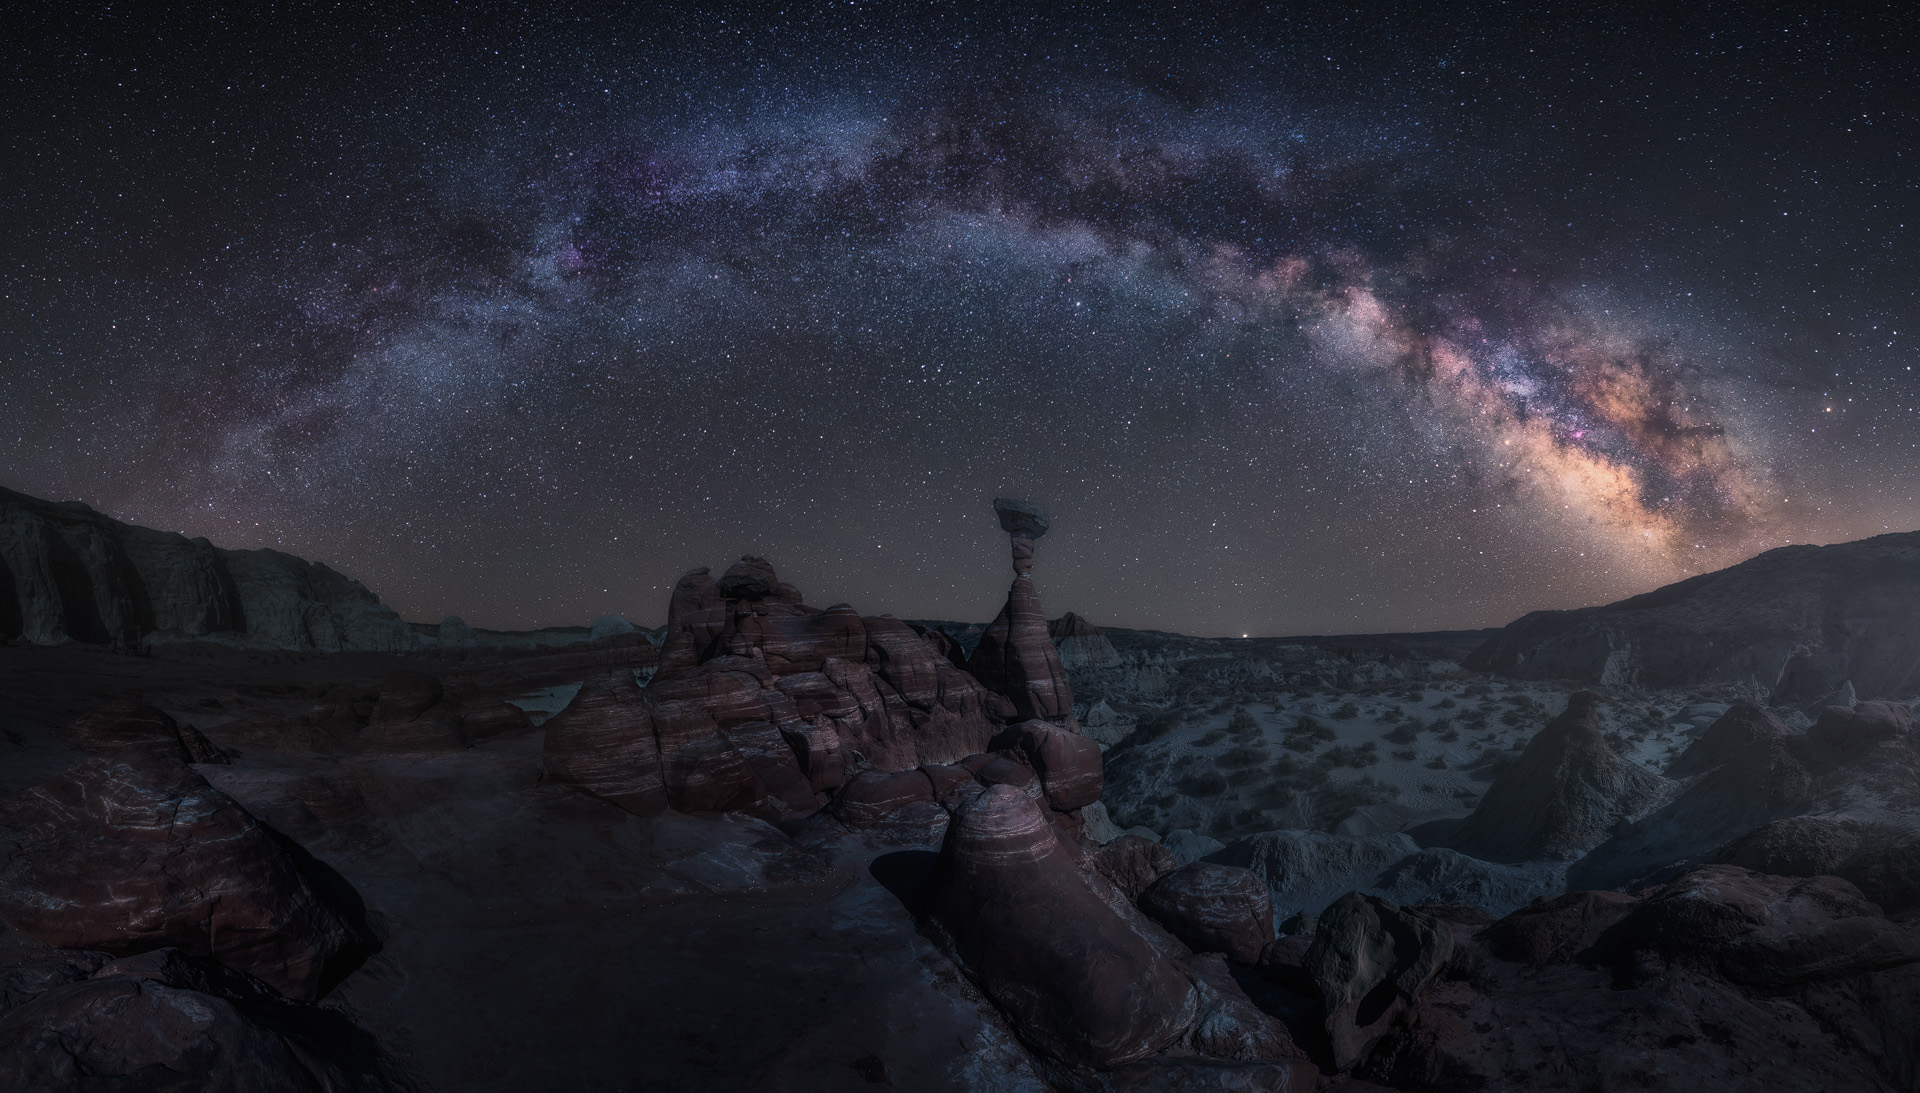
'Toadstol Night' by Carlos F. Turienzo
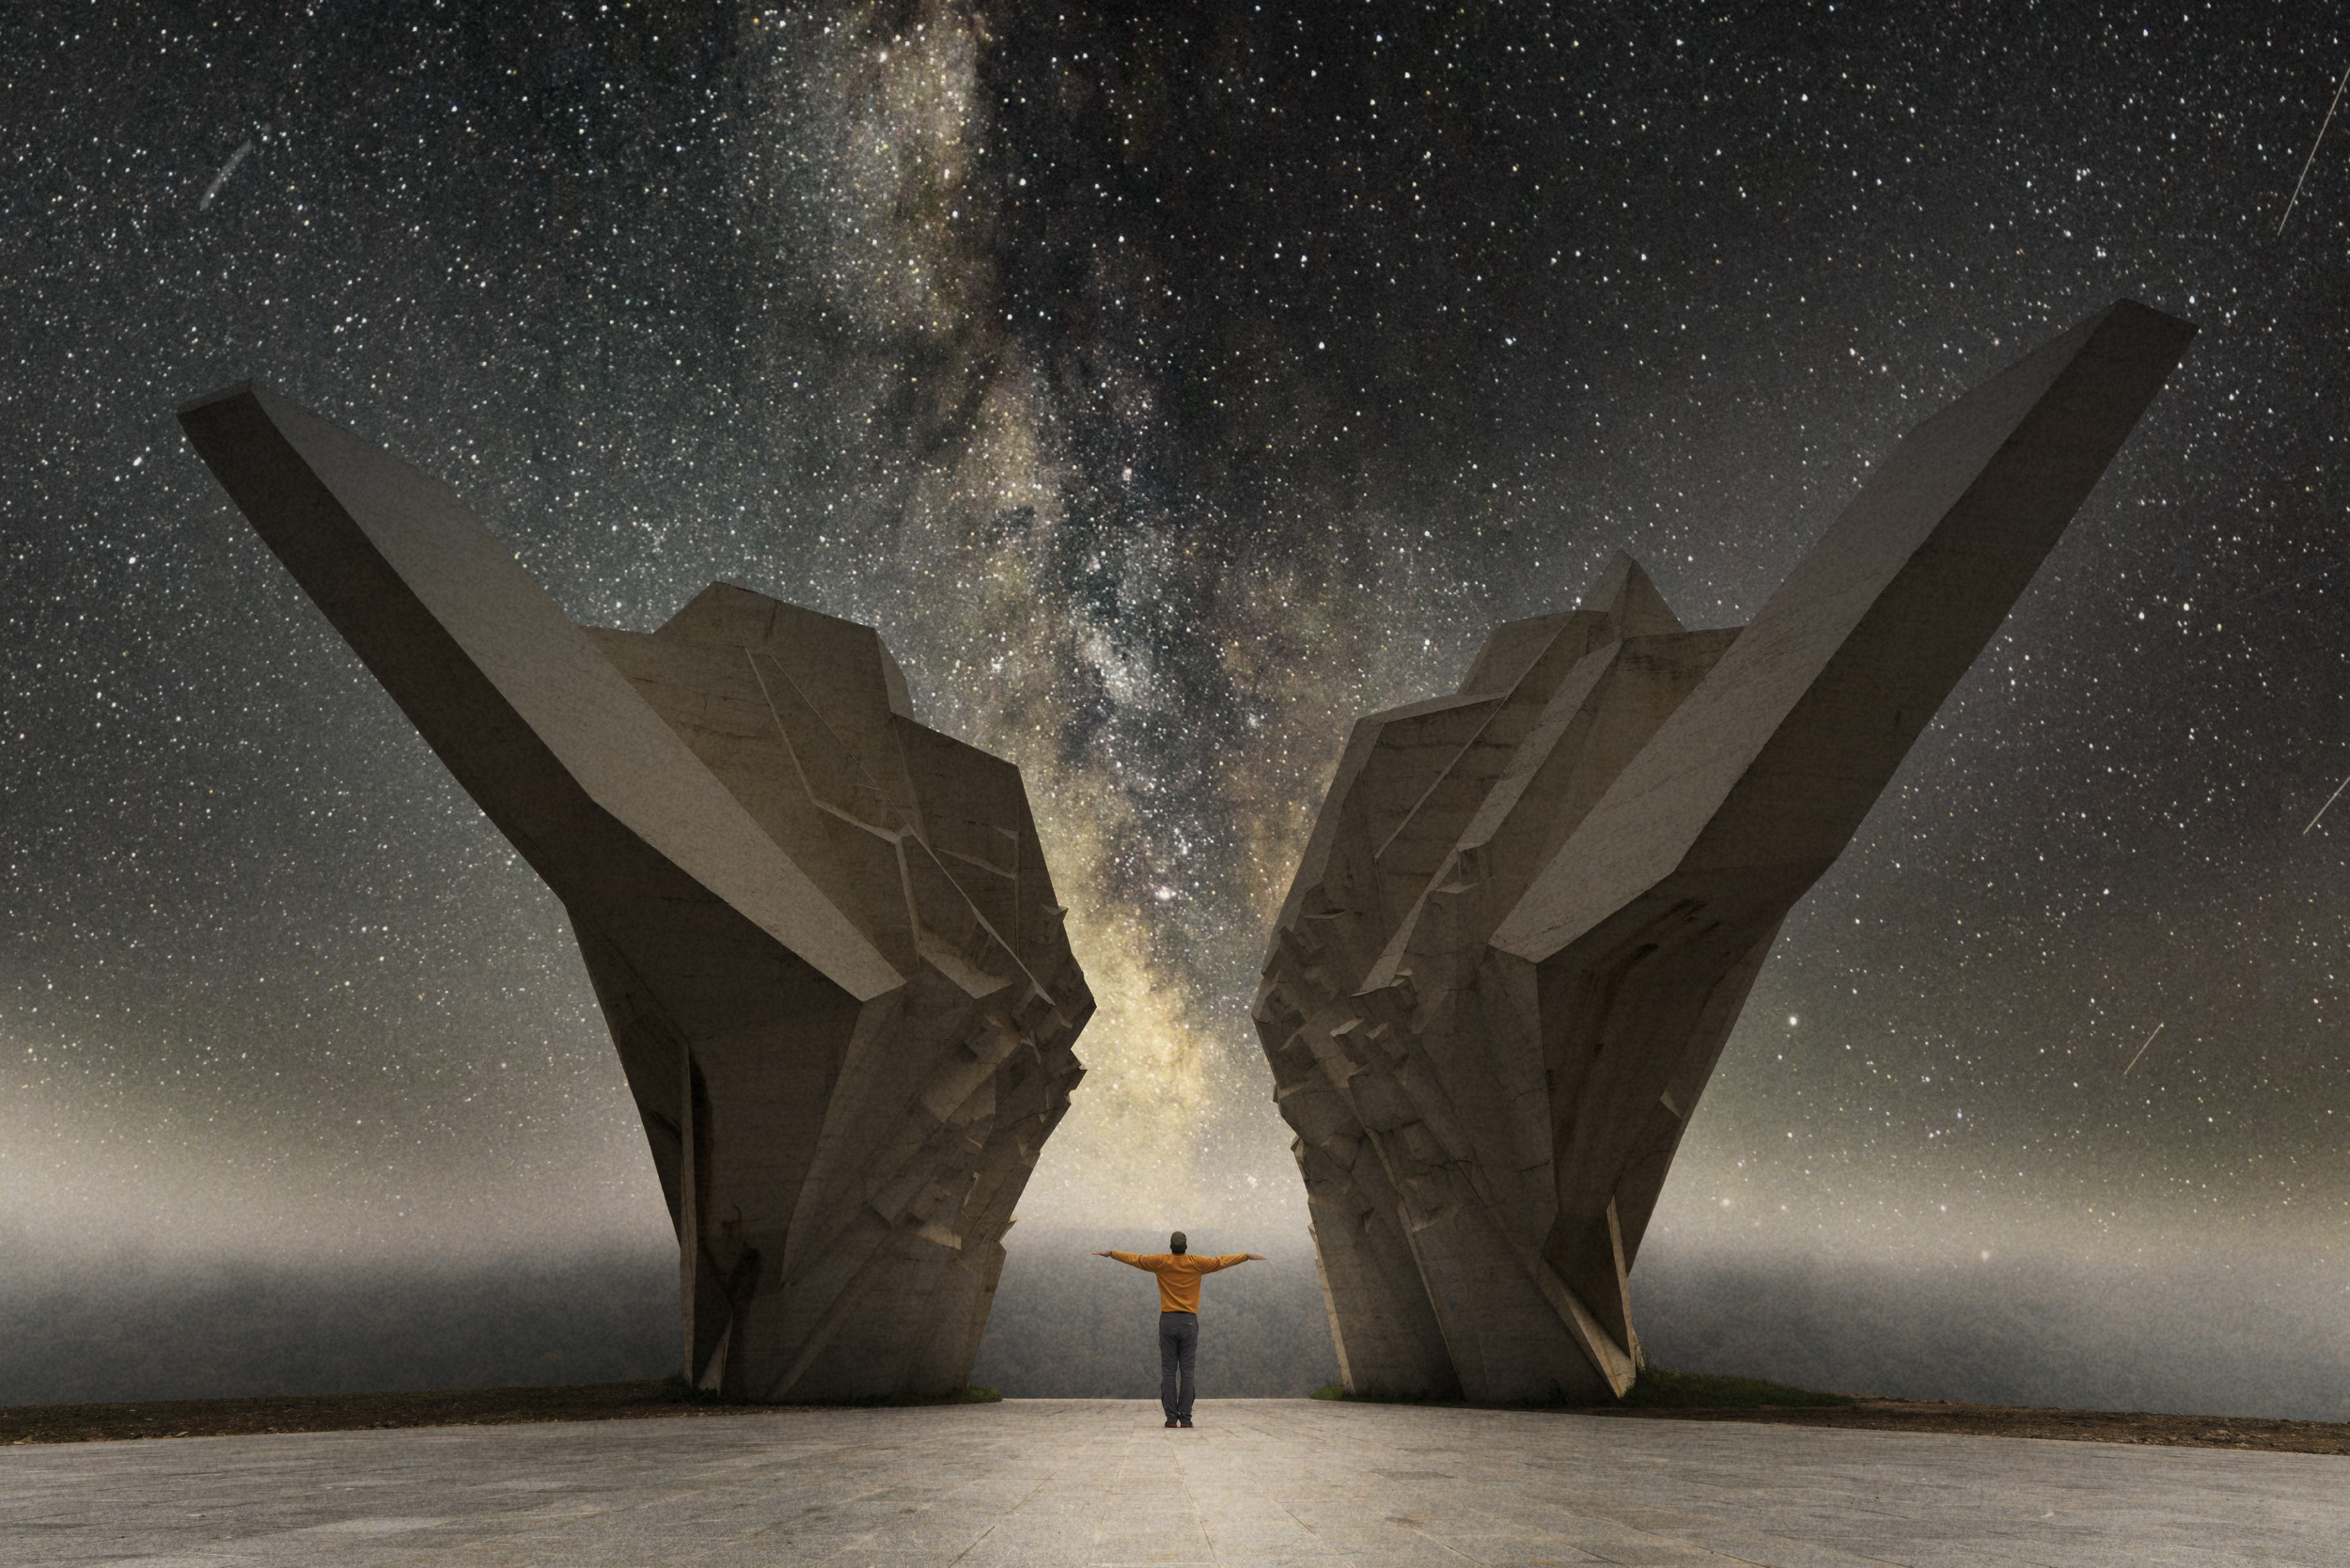
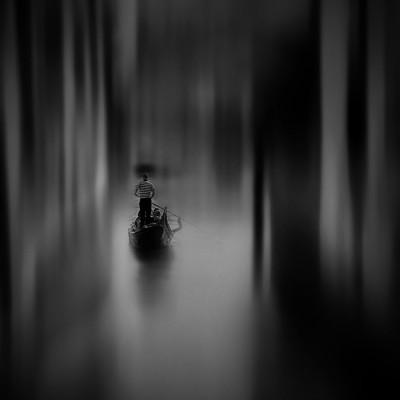
'Friendship' by Chao Feng
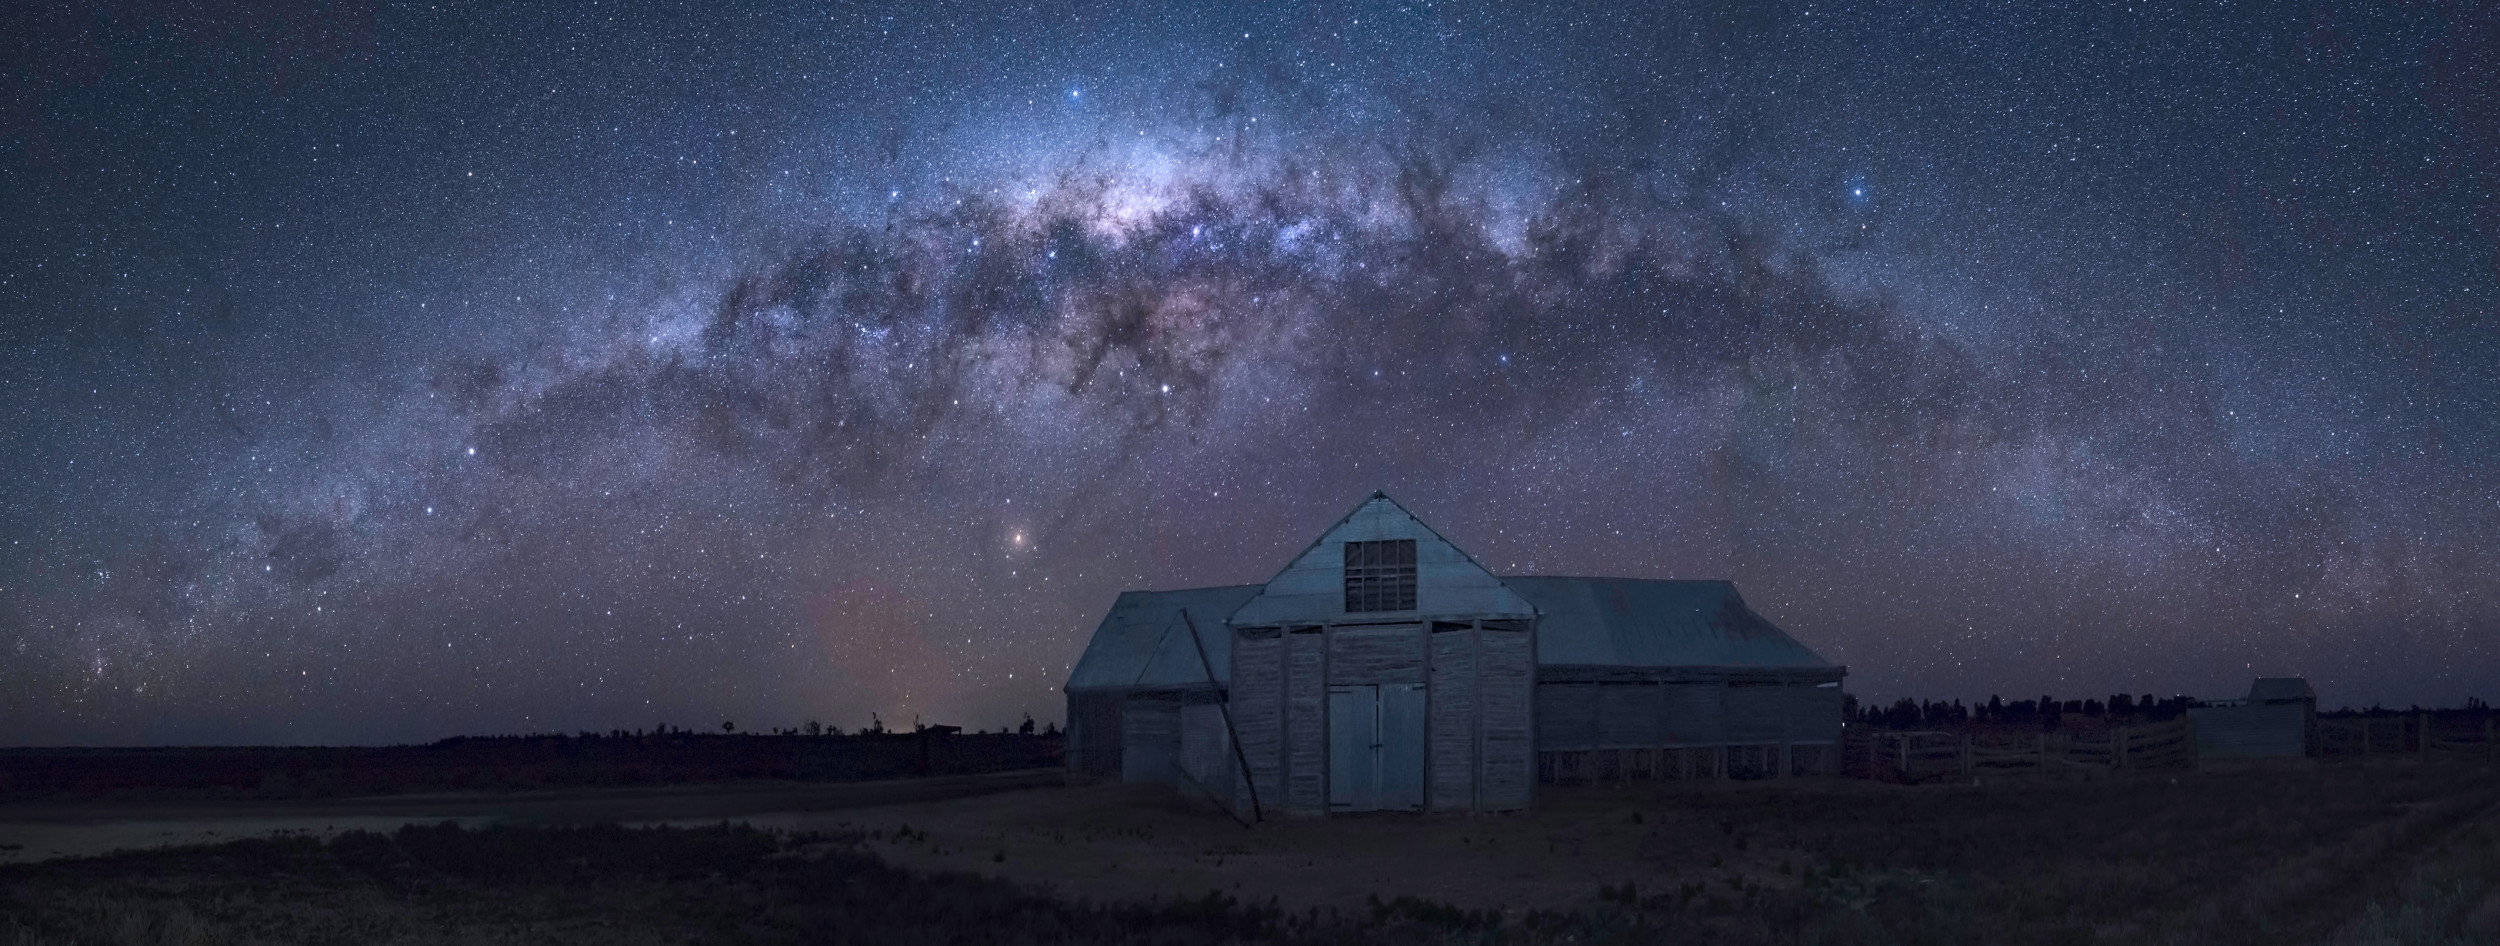
'The cottage' by Jingshu Zhu
The best quality of Milky Way undoubtedly comes with use of star trackers. They are basically earth mounts so they move exactly with respect to movement of the earth so plane of camera is steady with respect to milky way. This enables us to expose for much longer time than normal 30 seconds and have much better control over noise and light. Caveat to this is that foreground will also move with respect to earth mount movement so another image with steady foreground has to be made and then blended in post processing.
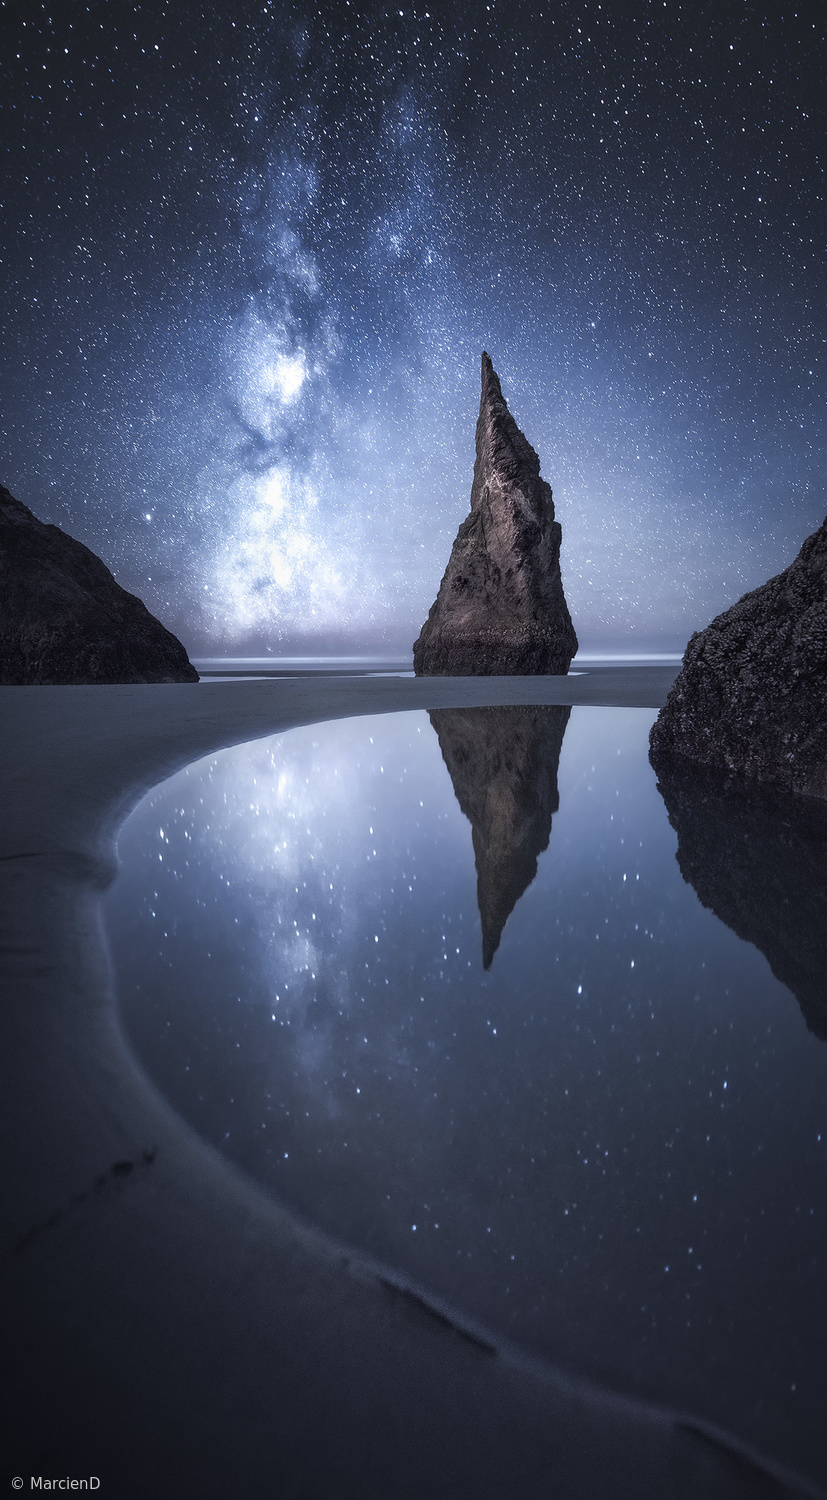
'Stars in Moon' by MarcienD
'Stars Like Dust' by Jordan Ek
Post processing involves a lot of nitty-gritties as camera will create a low contrast image of the Milky Way and many adjustments have to be made. Adjusting contrast and exposure are first steps followed by selection of white balance that enhances mood in the image. Also adjusting foreground exposure using graduated exposure adjustment can be necessary. Increasing highlights and decreasing shadows is a key for good contrast in an image, but at the same time one must check for clippings so details in both highlights and shadows is maintained. Finally if blending two images is involved then simply open images in Photoshop as layers and using black brush paint over the part of image you want to hide. This method is error prone so this has to be done carefully.
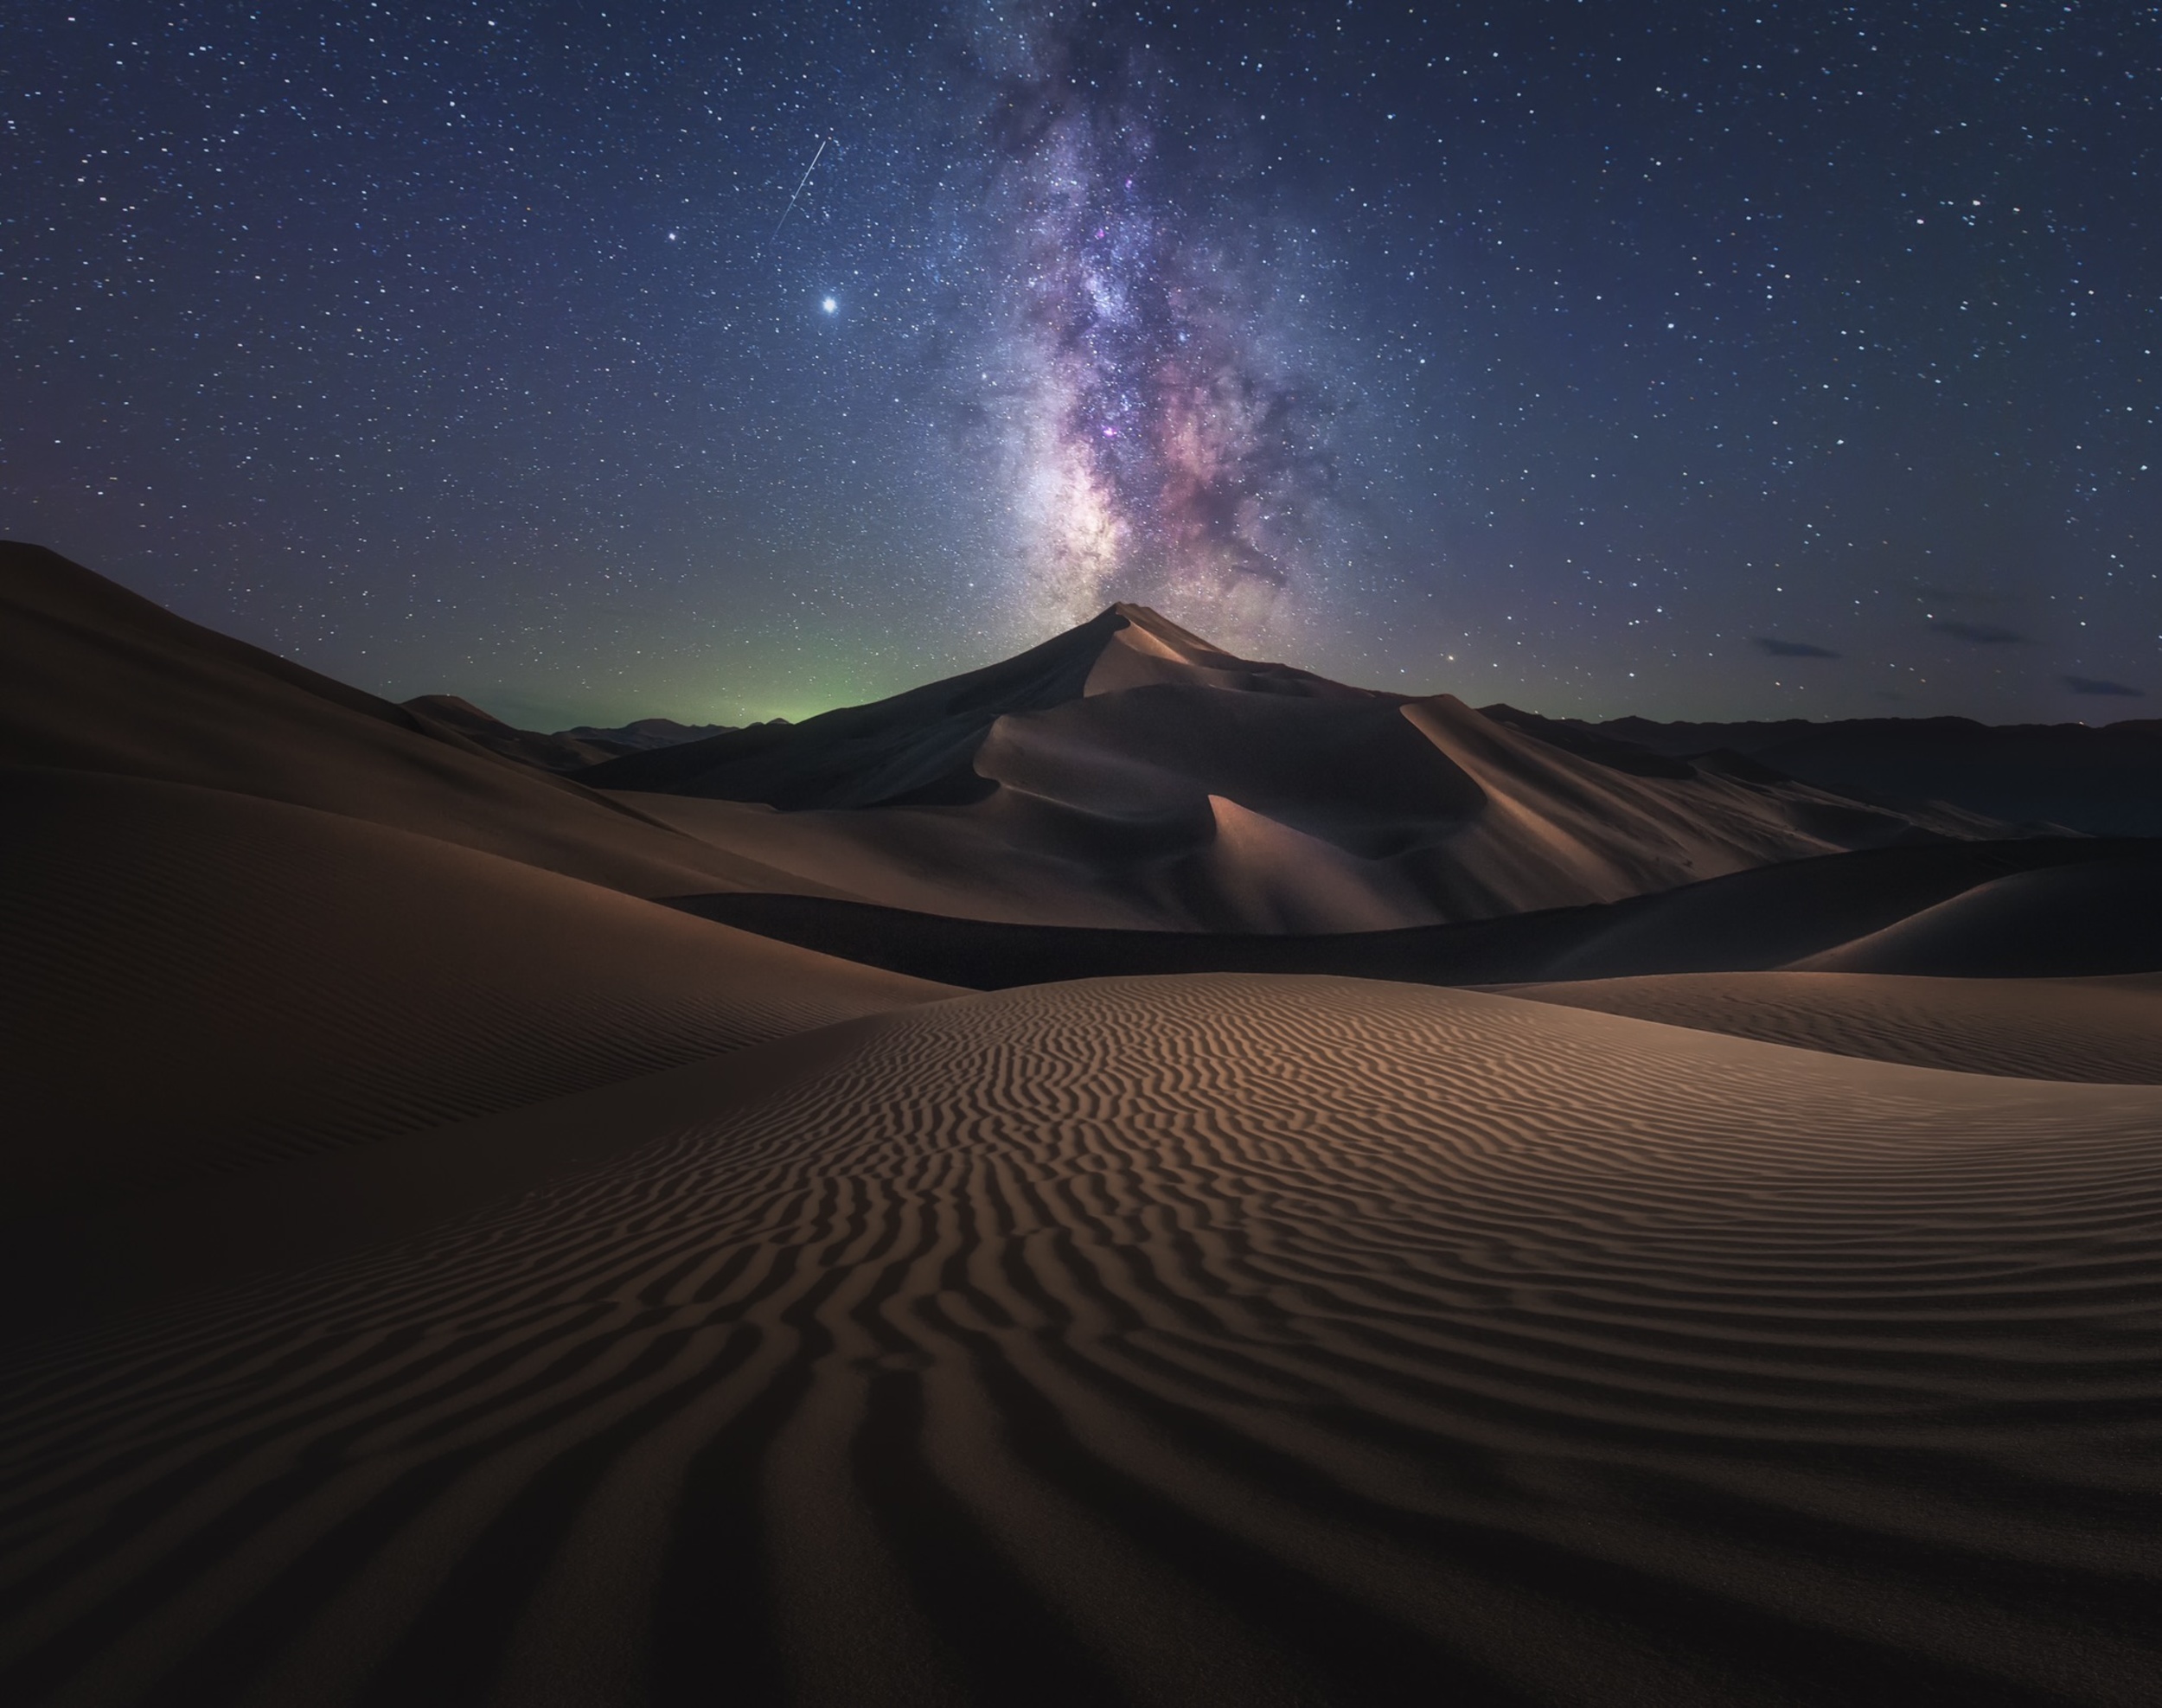
'Milky Way of the Desert Everest' by Mengyao
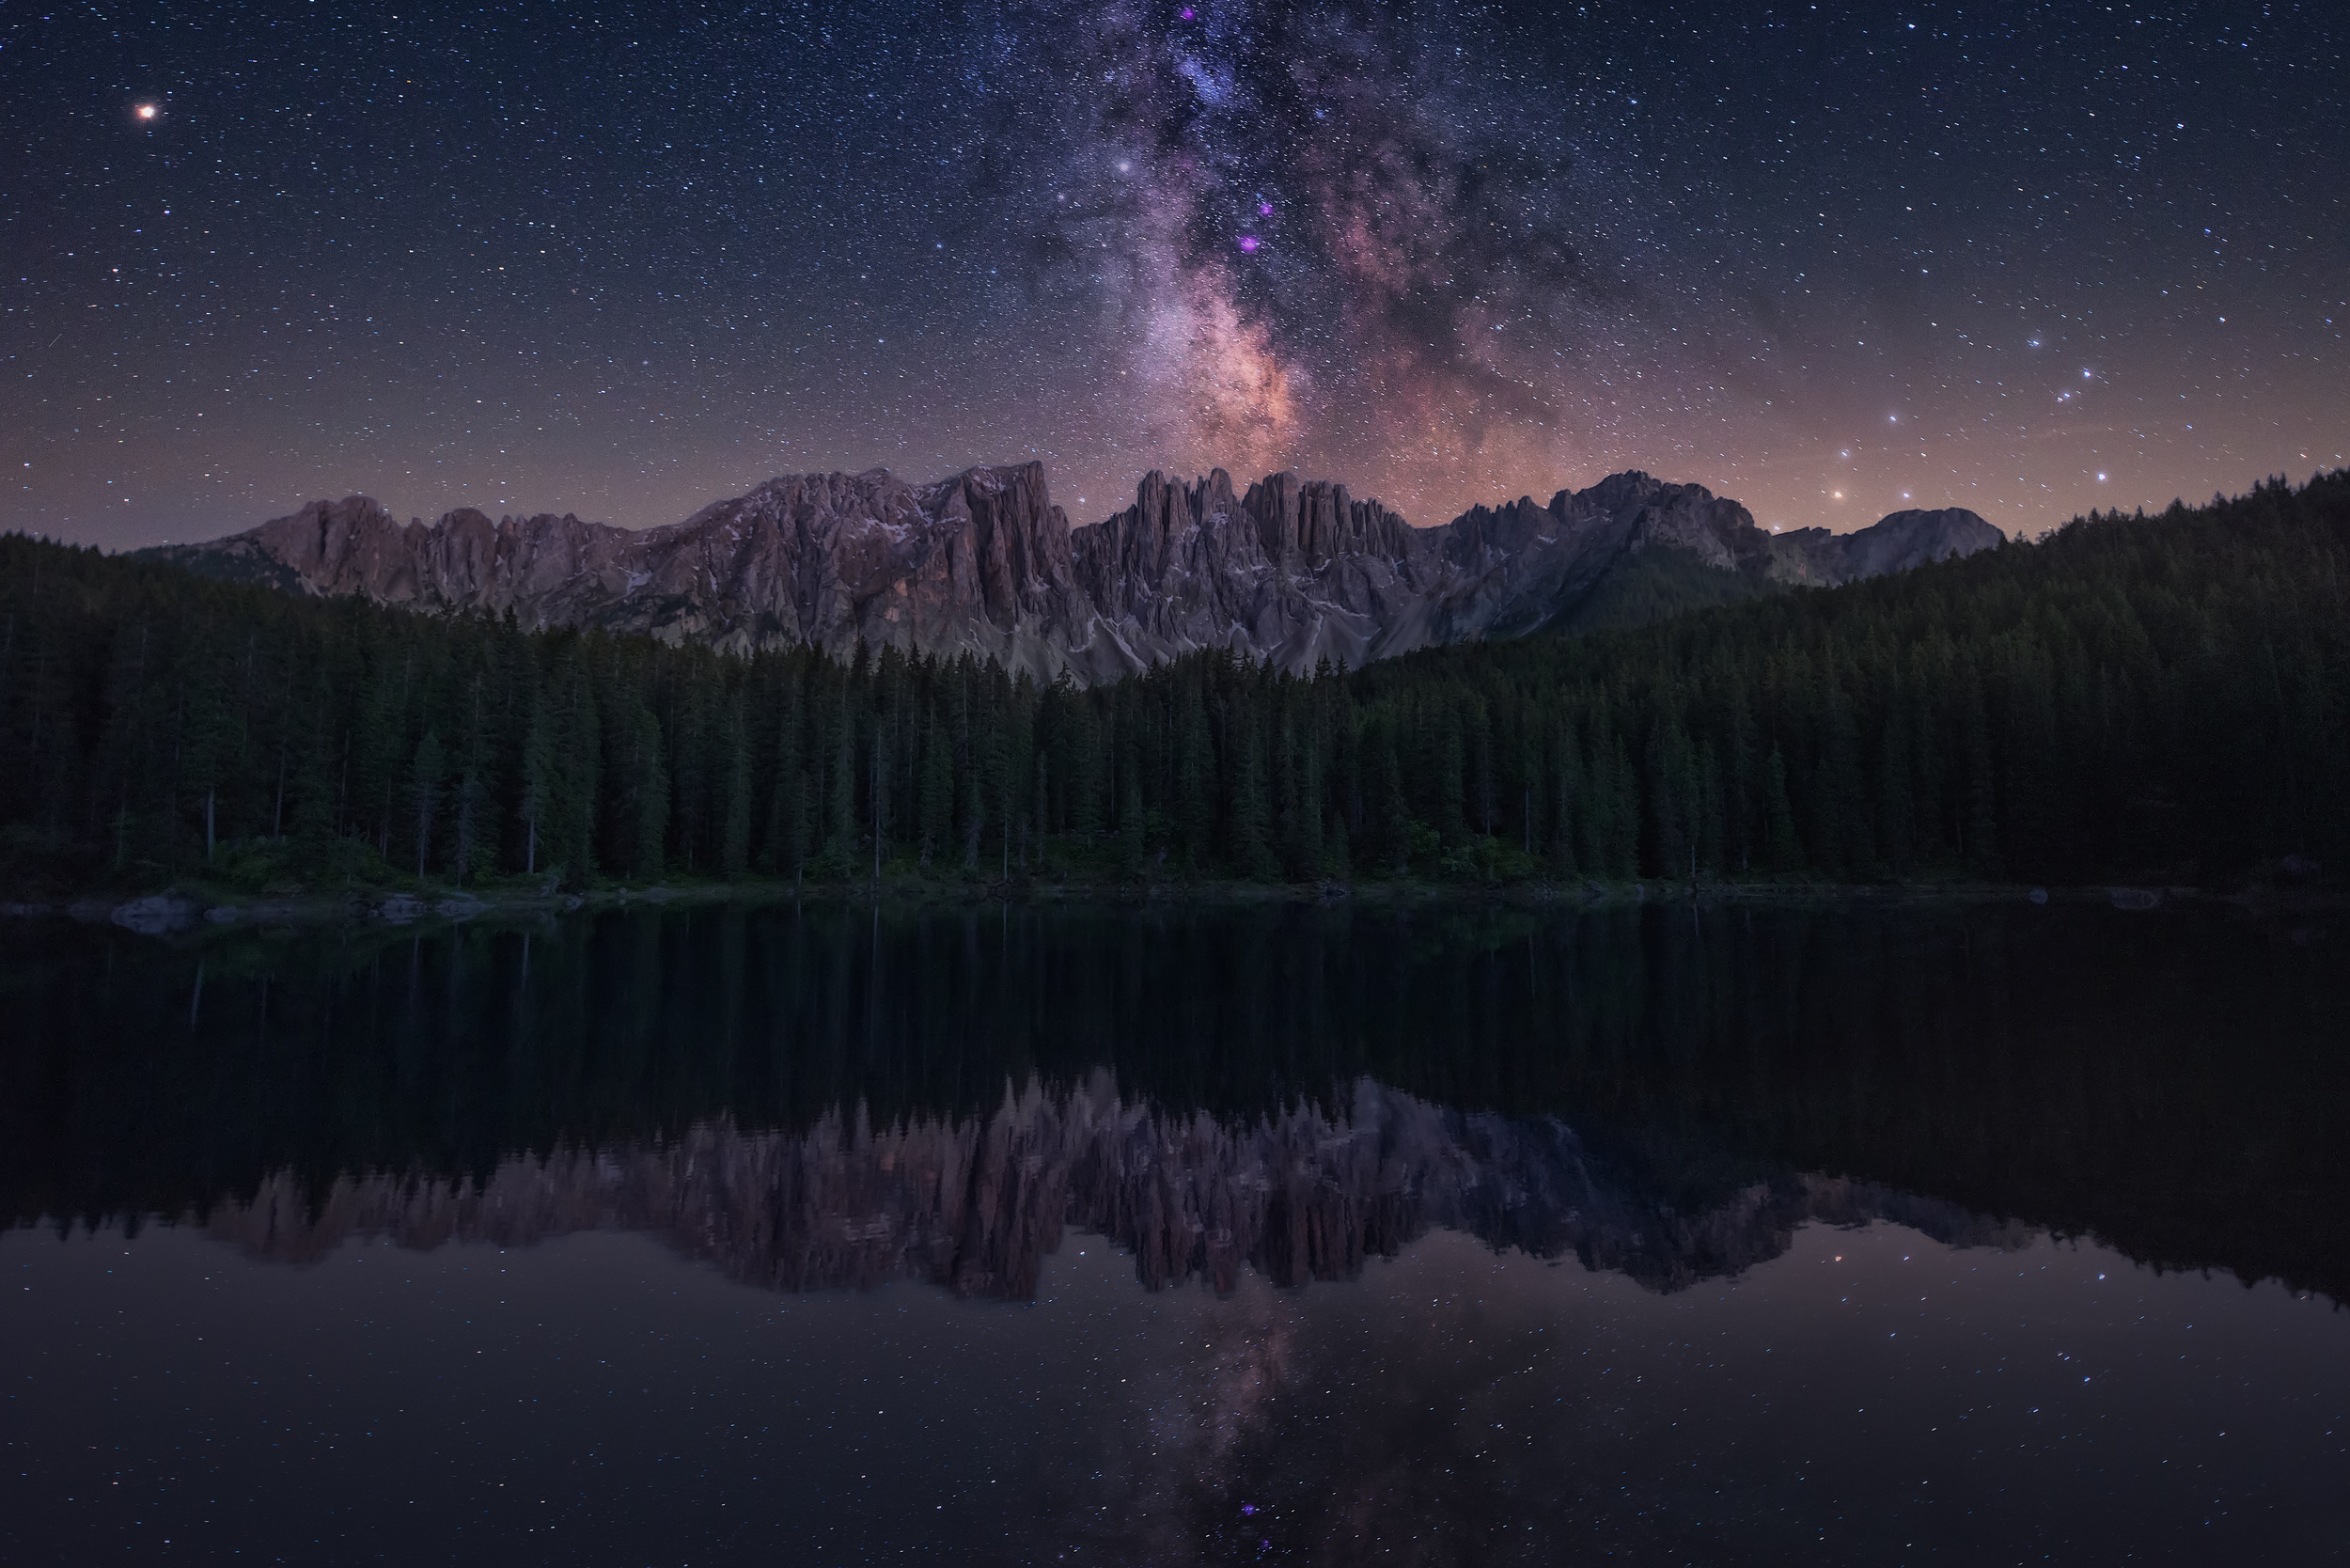
'Milky Carezza' by Jose Parejo
This article is just a starter reference to Milky Way shooting and a lot of deep study and practice is involved. Apps like star tracker and photopills give an amazing insight into when to plan milky way shoot.Their night augmented reality feature can help you plan images as per your composition since it tells you the exact times of milky way rising and setting time and also the moon presence times so you know when you will be able to view milky way at its best.
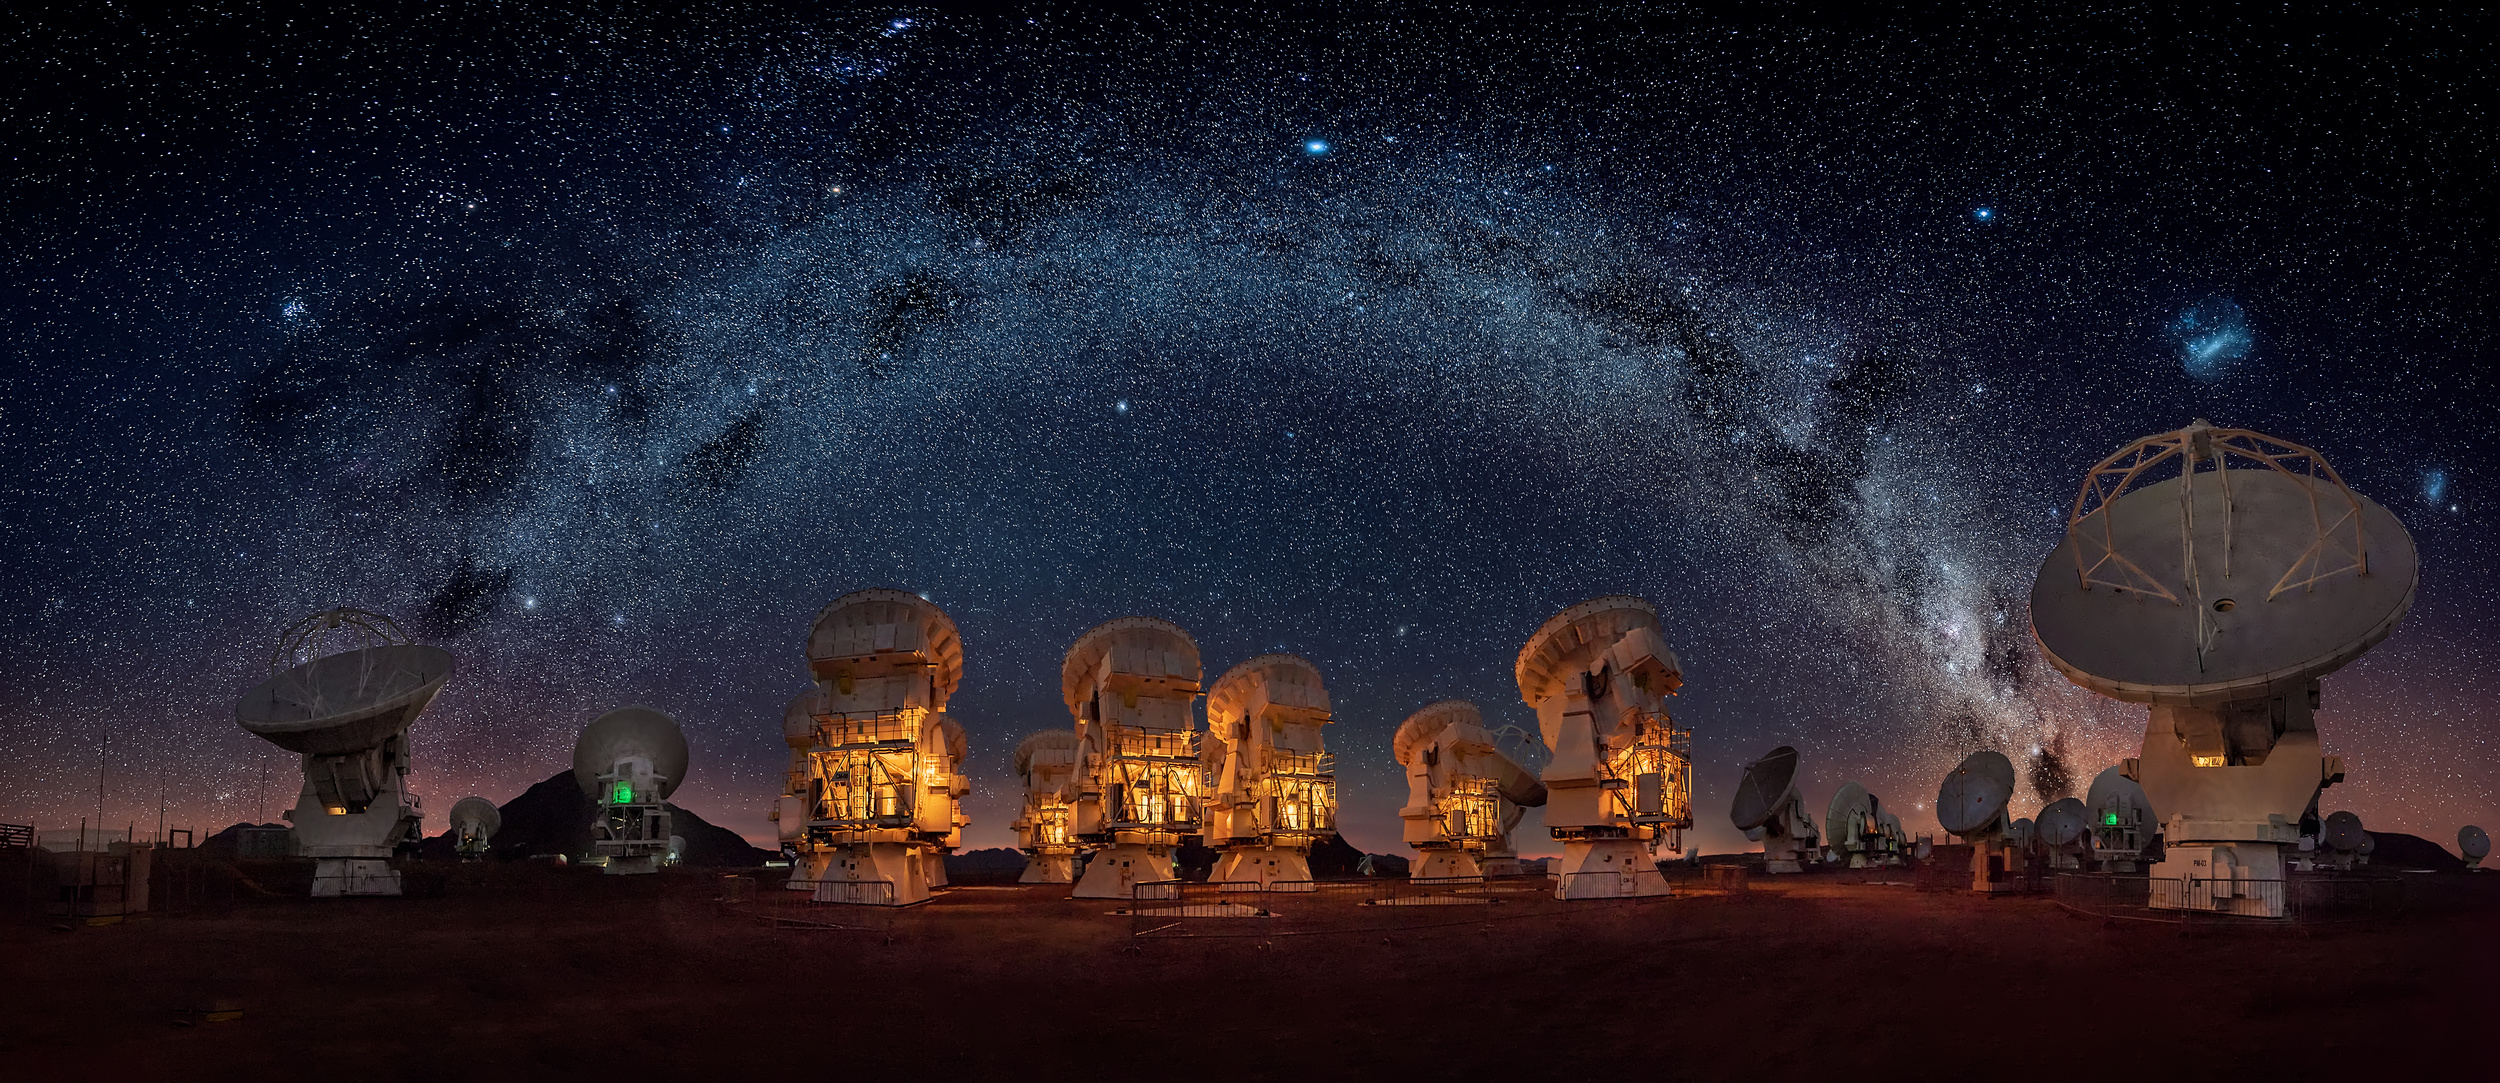
'ALMA Observatory' by Hernan Calderon Velasco
'Another world' by Phillip Chang
The last point simply is practice makes man perfect and there is no escape from this fact. You cannot expect that in you first shoot of Milky Way you will be able to shoot crisp clear images even if you have the best of gear at your disposal. Focusing, composing , viewing through viewfinder are things that require special attention at night and through trials and errors you will master the art of photographing the beautiful night sky just like our amazing 1x photographers show through their brilliant work as shown in following images.
 'The Milky Way shining in the night sky of Aso' by Awakari
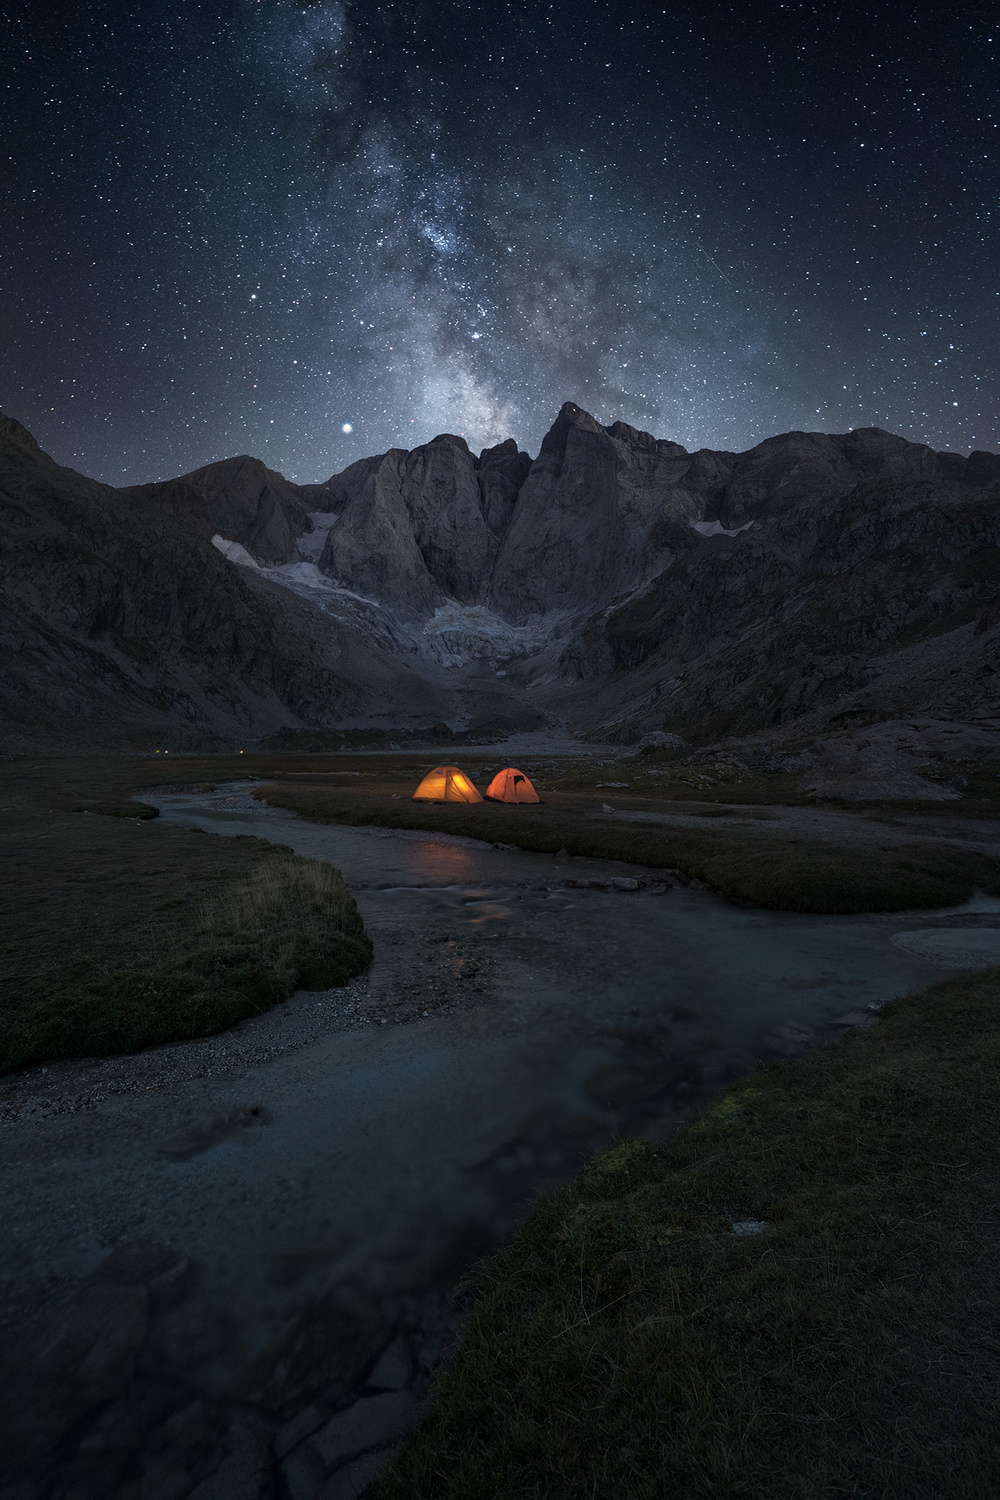
'vignemale' by Carlos Gonzalez

'Alien Grotto' by Blake Randall

'Mountain Lake' by David Martín Castán
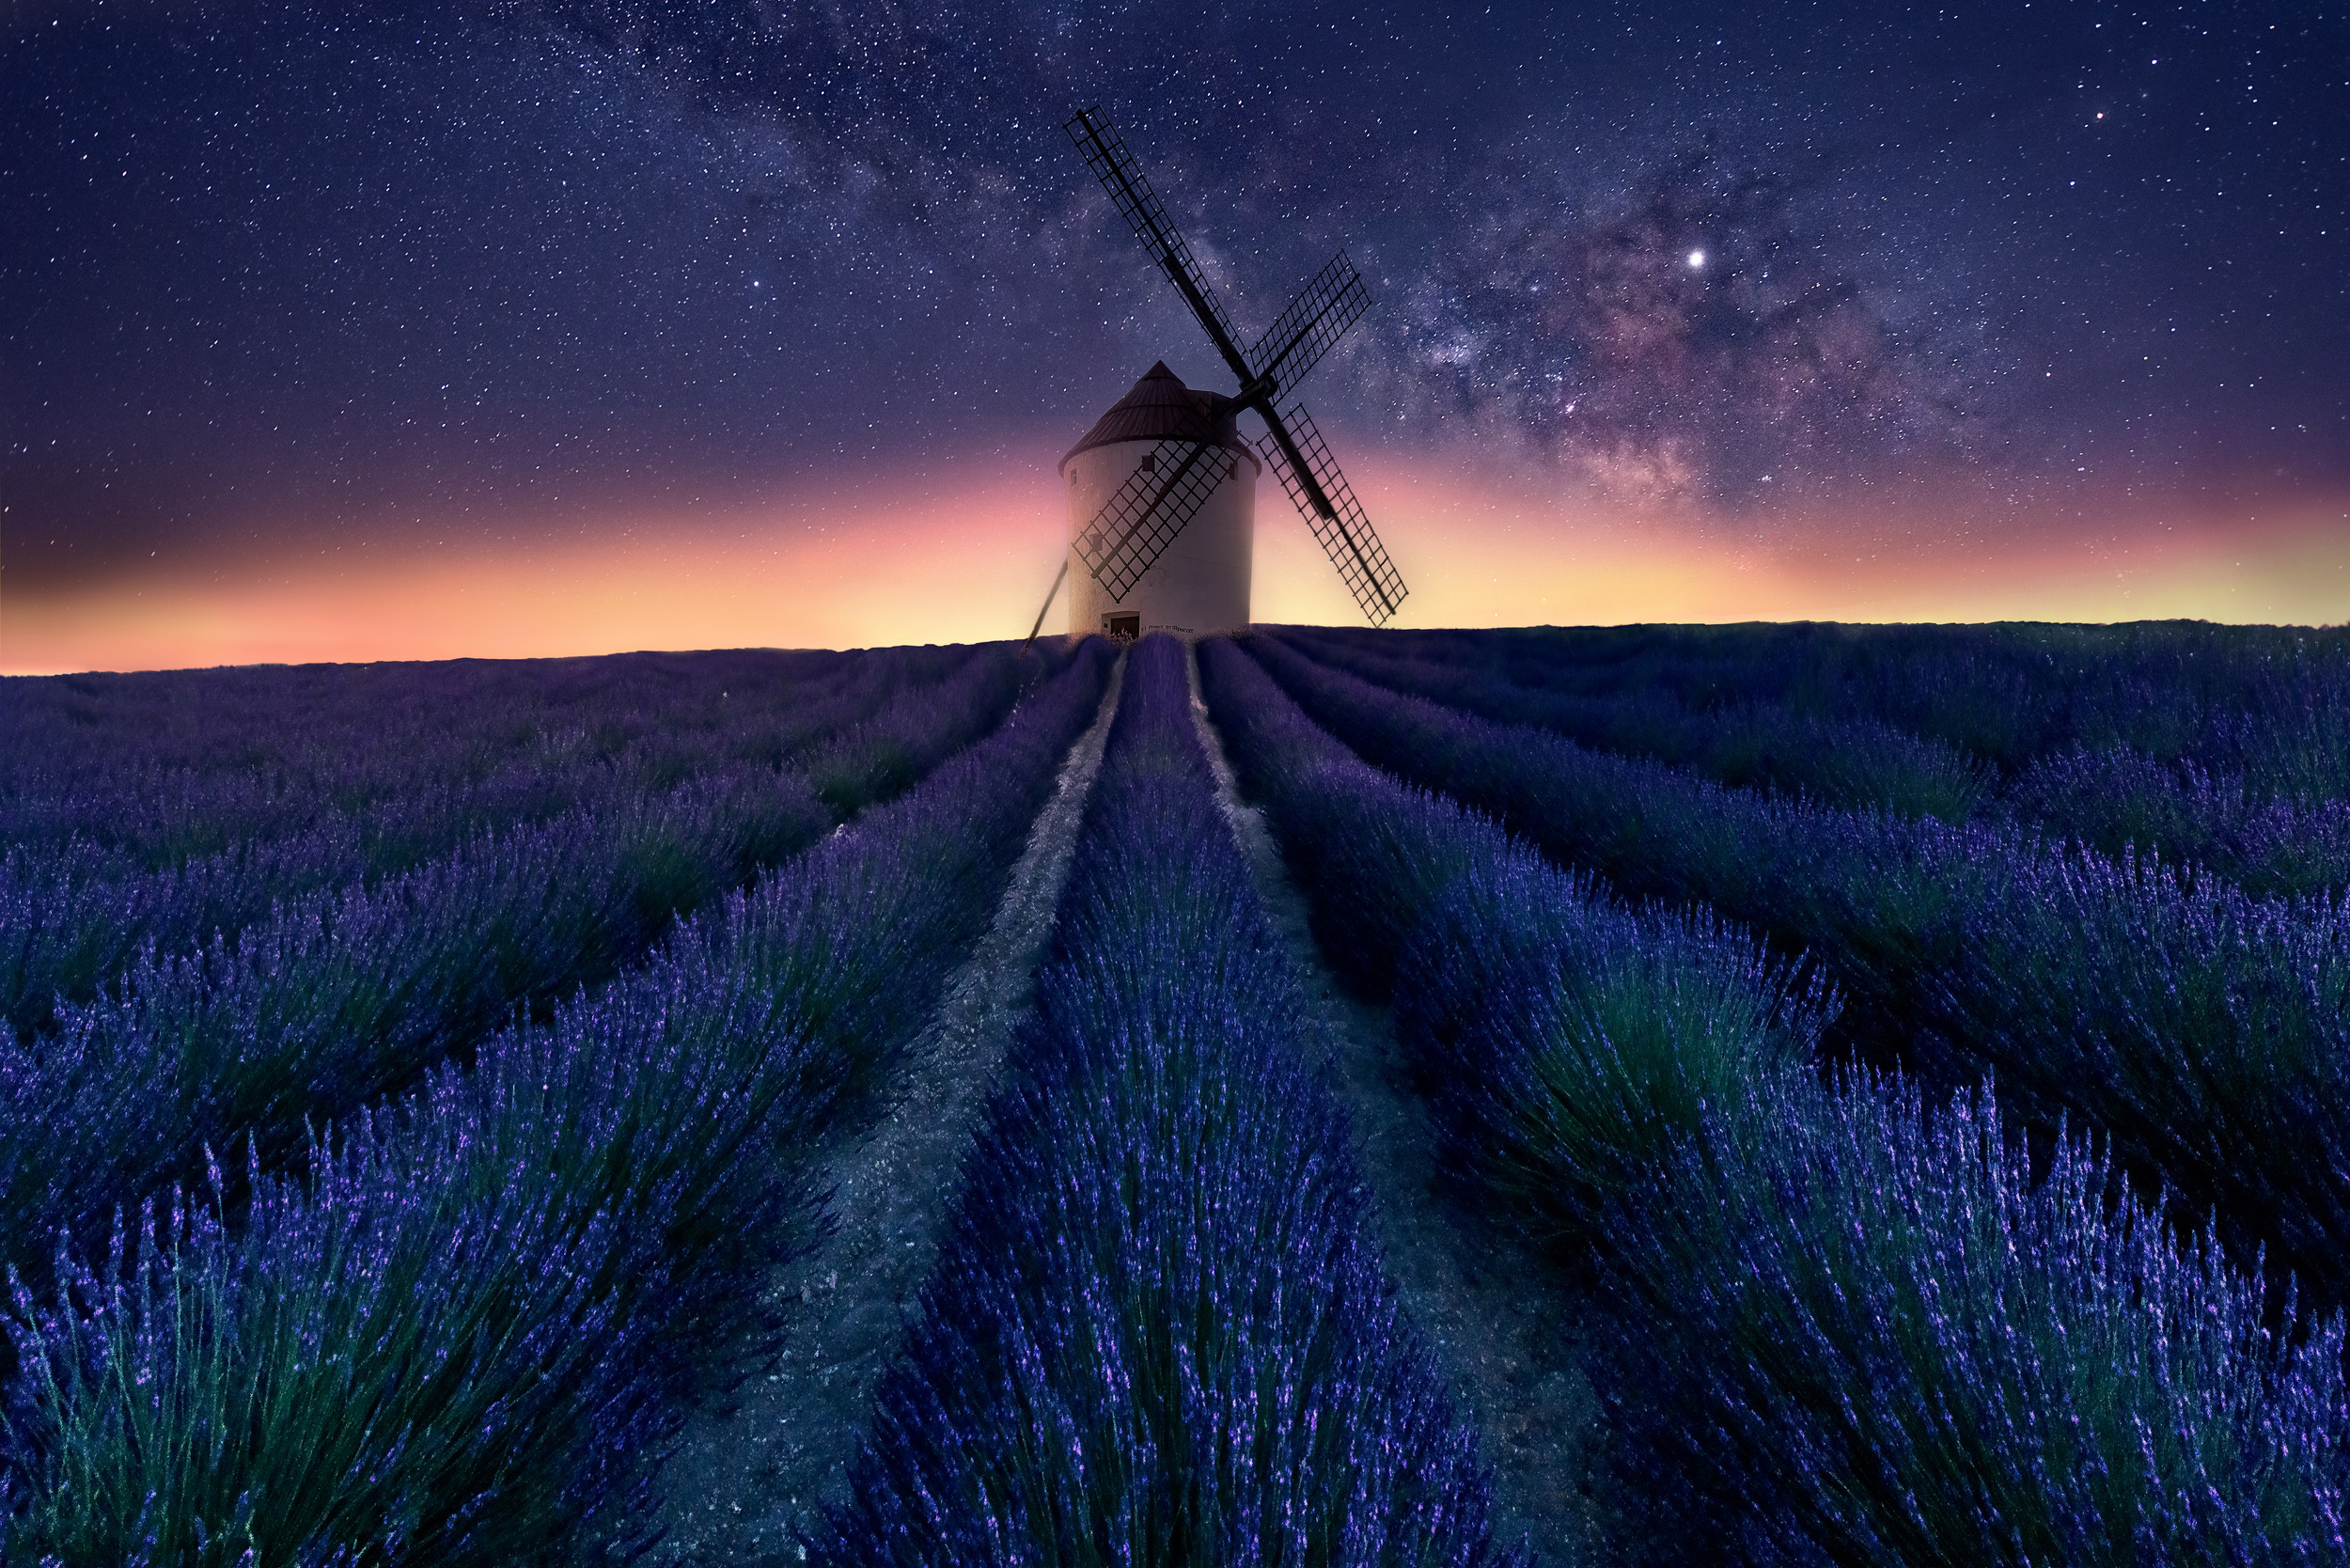 'Lavender night' by Jose Antonio Triviño Sanchez

'The Sentinel' by Margaret Halaby
 | Write |
 | David Martin Castan PRO Nice collection !! Thank you Yvette |
 | Phillip Chang CREW Great collection! Thank you for including my image. |
 | Anita Singh PRO Absolutely stunning images |
 | David Ilkovic EP AFIAP Breathtaking!!! |
 | Ludmila Shumilova PRO Breathtaking images! Congratulations for the article and admiration for the photographers! |
 | Giorgio Pizzocaro Truly amazing all the images ... some are spectacular! |
 | Francesca Ferrari Immagini stupende e articolo molto interessante. Grazie |
 | Margit Lisa Pinggera PRO Amazing! |
 | Mei Xu PRO Beautiful images and articles. Thank Swapnil for including my image in this detailed article. |
 | Yanyan Gong PRO Fascinating images! |
 | Wanghan Li PRO Sehr Schön!!! |
 | Photography Espressive belle immagini e interessante articolo |
 | Izak Katz PRO Nice article and great images .
|