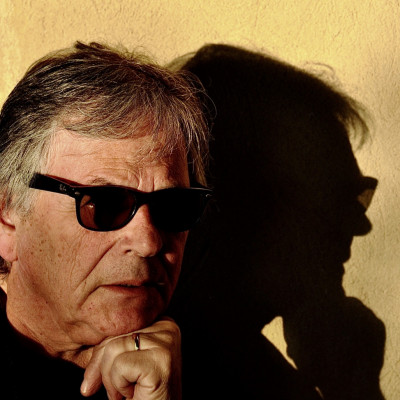
by Wayne Pearson
Published the 18th of February 2021
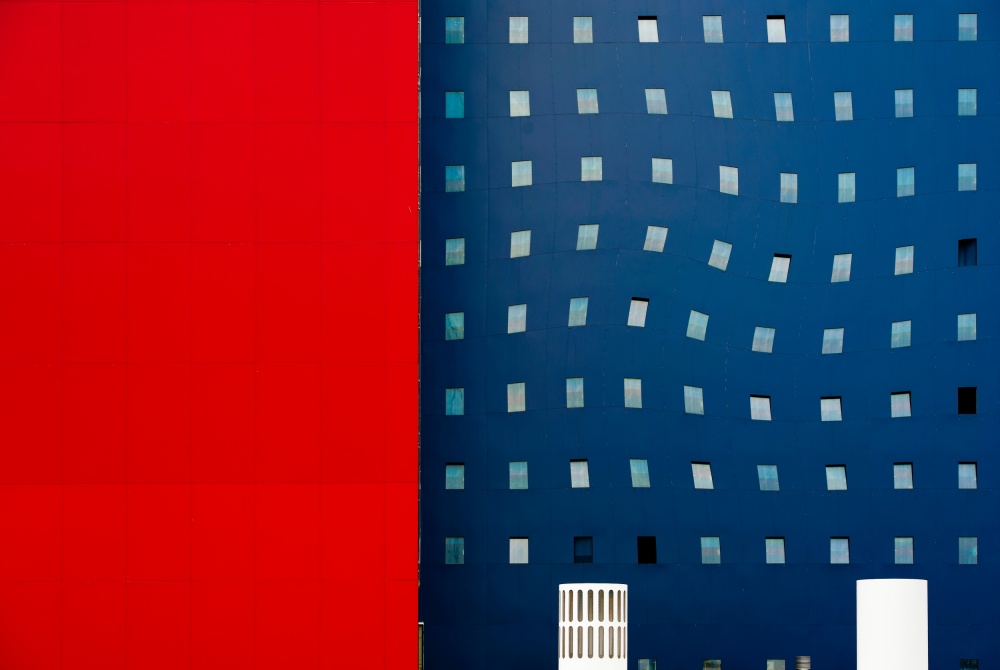
Minimalism and bold colors come together and create a fascinating image. Still, it just needed that extra bit of zing to pull it all together. Experimenting with the tools and filters in Photoshop can completely transform a photo.
Nikon D7000 . Nikkor 70-200mmf/2.8 . f/6.3
This image was taken in Copenhagen, Denmark, June 25, 2013. I was hunting for a suitable building to photograph near our hotel not far from the international airport. I love architectural photographs, especially those with modern design. I look for shape, color, texture and complementary light. I try to photograph early morning or late afternoon, but it just depends on the situation.
"I also noticed the white tanks in the foreground, and I thought that they would be an ideal contrast to the red and blue walls of the buildings behind them."
On this particular day it was around 8:00 a.m., and I noticed the buildings pictured. The day was dull and very cloudy, so the light was flat against the buildings and did not do them the justice that they deserved. I like a minimalist effect and could imagine the colors coming to life with a bit of post-processing. I also noticed the white tanks in the foreground, and I thought that they would be an ideal contrast to the red and blue walls of the buildings behind them.I took quite a few shots of the scene, mostly vertical, but at least two horizontal. I really liked what I had taken, but I knew I would need to correct some lens distortion in the buildings and probably would have to do some some cropping too.I photograph all of my images in RAW format and usually set the camera to Aperture Priority mode, unless I choose to shoot in Manual or if I am shooting sports. I use Adobe Camera Raw and Photoshop CS5 for all of my processing. I also use DxO ViewPoint plugin to correct architectural distortions; I love this tool and highly recommend it.
1) My first step is to select the best photograph in Camera Raw. I always zoom to 100% to check for sharpness and to search for any spots of dirt that may have found their way onto the lens. I use the White Balance tool first and then the Spot Removal tool if necessary. I always try the Auto button, just to see what it can do, and then I apply my own adjustments. In this case the Auto settings worked nicely, bringing out the light and contrast of the darker buildings against the white tanks.
2) Then I went to the HSL/Grayscale tab. This allows you to play around with the Luminance and Saturation settings of individual colors. I love this feature, and it works beautifully on most images. On this image I increased both Luminance and Saturation in the red and white channels since they were still a little dull. When I am happy with what I see, I hold the Option key and click on Open Image, which allows me to instead open a copy of the image. This way I can always come back to the original RAW file.
3) I then saved the image in TIFF format, and opened it with the DxO ViewPoint plugin to adjust any vertical and horizontal distortions; there are always some adjustments to be made. I then save the image as a Tiff in DxO, and it goes back to Adobe Bridge in Photoshop.
4) Before I make any major changes in Photoshop, I always duplicate the original background layer, protecting the original image from any destructive adjustments I may make, so there are often many layers in one file.
5) I isolated each building with the Rectangular Marquee tool, which is now very accurate because of the corrections previously made in DxO. I then played around with each individual building, experimenting with bringing the blue and the red to their full potential by lightening, darkening, and adding saturation or contrast. To do this, I applied Curves, Brightness/Contrast and Vibrance adjustment layers and simply played around until the desired result was achieved.
6) Then I looked at the image and noticed that it needed more zing. So I isolated all of the windows in the blue building using the Rectangular Marque tool. I then selected Image > Mode and converted the image from 16-bit to 8-bit, to allow me to make some adjustments in the Filter menu, and then selected Filter > Distort > Twirl and set the Angle to 50%. This created the twist in the windows and added the zing I was looking for.
7) I then went to Select > Color Range, clicked on the chosen color and then adjusted yet again. This is an excellent tool for isolating sections or complete panels of a building to enhance color.
8) When I was happy with the effect, I selected Filter > Sharpen > Unsharp Mask, and set Amount to 125%, Radius to 1.0 pixels and Threshold to 3 levels.
9) Next I went to Edit > Fade Unsharp Mask, which opens a window containing a drop-down menu with many options to choose from. I selected 100% Opacity and Luminosity in the drop-down menu. I suggest to also try the Soft Light option and adjust the Opacity slider to see the effect it has on the image. Sometimes this is brilliant for adding that extra pop to the photo.
1) Looking through the viewfinder at different angles and heights is important. I always look for a better perspective, a better angle, a wider angle or a close-up. I try them all.
2) I mainly use my Nikkor 70–200mm f/2.8 lens, but I really love my Nikkor 14–24mm f/2.8 lens too.
3) I spend up to three or four hours a day playing with photographs — you could say I am obsessed. I love making photographs, and I love post-processing them.
I live in Adelaide, Australia. My beautiful wife and I have been very happily married and we have two children and one incredible grandson. My wife supports my passion and is my best critic. We have traveled extensively around the world, which has been a great opportunity to learn about and experience different cultures, and of course take photographs of the people and surroundings.
I hope that you have gained some insight and at least one point from this tutorial. It was a pleasure writing it for other like-minded passionate photographers.