Did you know that there really is a place on Earth that scientists say may closely resemble Mars? Follow the photographer’s thought process and step-by-step post-processing technique as he completely transforms his original image into a brilliant abstract interpretation of his experience there.
Río Tinto, Spanish for “Red River,” runs through Huelva province located in the southwest region of Andalucía, Spain. Since 3000 BC, a site along the river has been mined for copper, gold, silver and other minerals. The water’s reddish hue is caused by iron dissolved in the water, and the ochre hues of the rocks and riverbanks are due to the high content of sulphates in the area. The river is very acidic (pH 2) — possibly the result of the on-and-off mining efforts that spanned over 5,000 years, but possibly caused by the numerous microorganisms that adapted to this extreme habitat and feed only on the minerals.
"It was an incredibly eerie experience to walk around this alien terrain, but exciting at the same time — it felt like I was standing on Mars!"
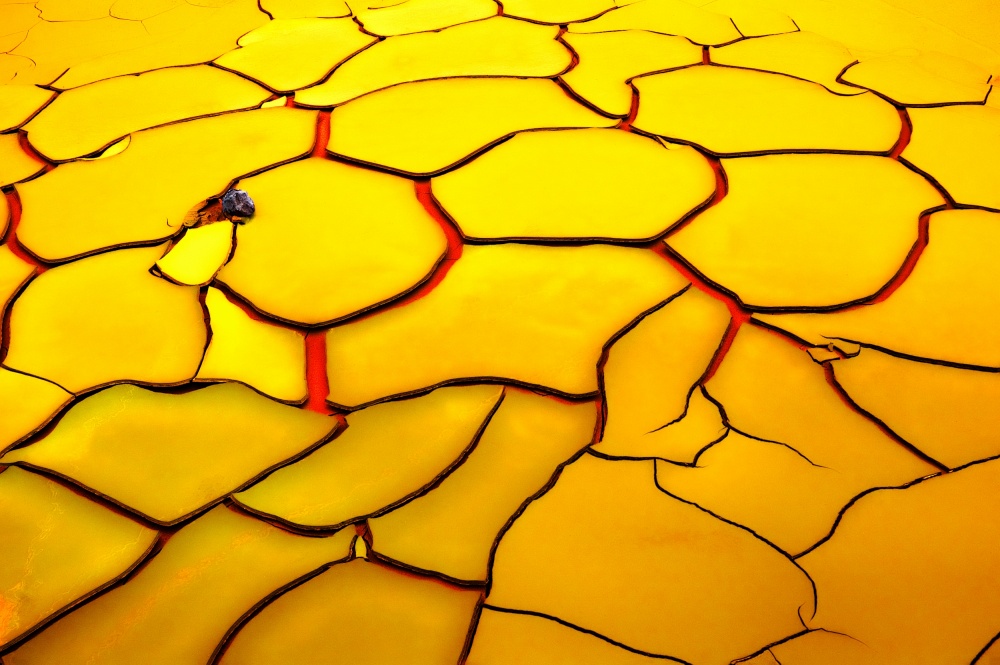
The mining site’s topography is peculiar and strangely beautiful, and quite simply, it’s a photographer’s paradise. Even though much of the water is red, in some areas it may be green or yellow depending on the type of mineral deposits in the riverbed. There are old mining pools, once used to wash materials extracted from the soil, that reflect the colorful landscape, including the glowing yellow-orange acid rock formations. Other areas, such as the one in the photo, are barren, arid patches of cracked earth that create stunning textured patterns across the ground. A pungent odor of sulfur permeates the air: a reminder of the ever-present acid rock drainage of this highly acidic environment. There is even a defunct railroad from the old mining days nearby — deserted railroad cars, oxidized metal debris and many abandoned buildings stand in ruin. All in all, it was an incredibly eerie experience to walk around this alien terrain, but exciting at the same time — it felt like I was standing on Mars!
"I composed the shot by positioning the small stone as a counterbalance to break the overall uniformity of the image."
When I came across this cracked patch of land, the textured grid of the hardened earth intrigued me, and I immediately set up my camera to photograph it. I composed the shot by positioning the small stone as a counterbalance to break the overall uniformity of the image. I decided to create an abstract image of an indeterminate place, and to do that, I moved close enough to the ground so that no identifiable parts of the surrounding Río Tinto scenery appeared in my frame. I knew as soon as I took this photo that my goal in post-processing would be to emphasize the textures and somehow enhance the color, thereby creating my abstract interpretation of the extraordinary Río Tinto.
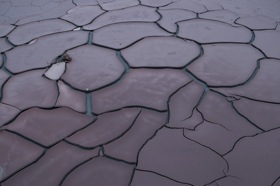
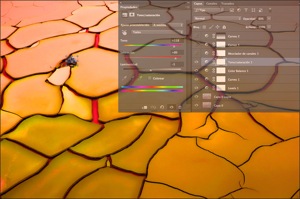
The first, basic adjustments were made in Adobe Camera Raw and then the image was exported to Photoshop for final adjustments. I also used the Imagenomic Portraiture® plugin. This is the original image.
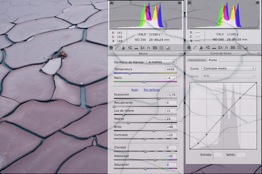
1) These are the basic adjustments made in Adobe Camera Raw.
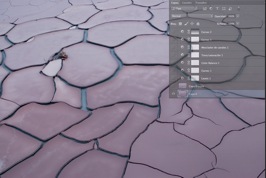
2) The image was exported to Photoshop. The first step was to remove the imperfections on the original layer with the Clone Stamp tool.
3) The original layer was copied (Menu > Layer > Duplicate Layer). To smooth out the rough texture, the Imagenomic Portraiture® plugin, set to its default values, was applied to the new layer copy (Menu > Filter > Imagenomic > Portraiture).
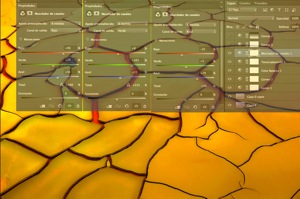
4) I created a Levels adjustment layer to add contrast, brightness and to boost the color (Menu > Layer > New Adjustment Layer > Levels).
5) On the Levels adjustment layer, the Brush was used to paint a couple bright areas, preventing them from being overexposed.
6) I created a Curves adjustment layer to make further adjustments to the contrast, brightness and colors (Menu > Layer > New Adjustment Layer > Curves).
7) On the Curves adjustment layer, the Brush was used to paint the small stone black. This blocked the Curves adjustments from affecting that area and prevented it from becoming too dark.
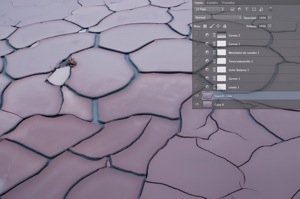
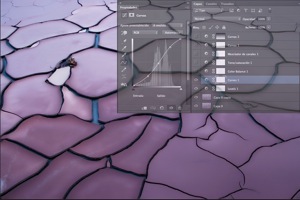
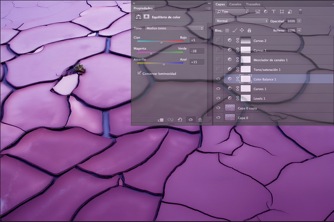
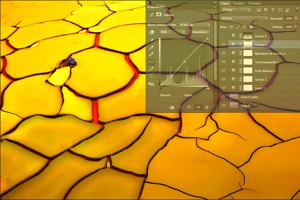
8) I created a Color Balance adjustment layer to change the overall appearance to a more intense purplish hue (Menu > Layer > New Adjustment Layer > Color Balance). At this stage of my processing, this was the mood I wanted, so I settled on this as my final version.
9) I later changed my mind regarding the overall color. I was looking for something more representative of the vibrant, warmer hues that I observed at Río Tinto. So I created a Hue and Saturation layer and drastically altered the colors (Menu > Layer > New Adjustment Layer > Hue/Saturation).
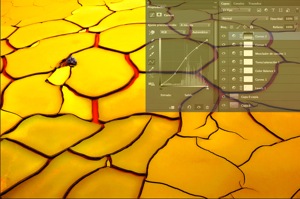
10) I created a Channel Mixer layer to enhance the yellow tone and to remove some reddish hues (Menu > Layer > New Adjustment Layer > Channel Mixer).
11) Satisfied that this second version was now yellow, I created a new Curves adjustment layer to boost the contrast and to add bit more clarity.
12) The lower half of the image did not respond to the new Curves adjustment layer as well as the top half did. So I applied a black-to-white Gradient to the new Curves adjustment layer to further boost the contrast and to add even more clarity to the lower half, giving the photo a more uniform appearance.
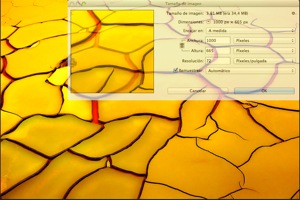
13) With the processing finished, the image was downsized for online viewing (Menu > Image > Image Size).
14) As always, the last step was to sharpen the photo using the Unsharp Mask filter (Menu > Filter > Unsharp > Unsharp Mask).
1) Use cloudy, overcast weather to your advantage. It provides a consistent, unvarying light, which can be optimal in post-processing since there are no harsh shadows or overly bright areas to manage.
2) Pay attention to your histogram on your camera’s LCD while you are shooting. Underexposing slightly, while avoiding extreme spikes in the shadows (the far left side of the histogram), will preserve the actual colors and produce a file with good latitude for easier processing.
3) Use side-light by positioning your light source to one side of the subject. This will create dramatic shadows and emphasize texture details.
4) Use a tripod whenever possible.
5) Once your camera is set up, cover all your bases by bracketing your exposure, and by that I mean shoot a wide range of aperture settings with their corresponding shutter speeds. This way you have every option available to you when you are editing your photos.
I am 44 years old, and I live in southern Spain. Professionally speaking, I am a computer specialist, but I have been an amateur photographer since 2006. I enjoy landscape, portrait, abstract, night and long exposure photography.