


|
|
|
|
(or: never trust a slider in PS before you found the disadvantage of pulling it to the right)
by Mike Kreiten
It’s not about giving you a fine method for sharpening on hand, I’m just lazy. Some of you will know me from the “Critique” forum. My name is Mike Kreiten, and I was invited to join the Senior Critic team when I felt I had to pay my dues for receiving awesome feedback on my work. Actually I enjoyed writing critiques and still do very much. Since I gladly accepted the role as SC, I try to help. Whether you want to know if your photograph “works”, how it is perceived for foreign eyes, what you can do to make it “stronger”, how to fight a problem, or also how to do better next time, we try help out. A good photographer must be convinced his/her best shot is the one he or she does tomorrow, so nobody is perfect ever yet.
We are a team of 22 people of all nationalities, different skills and preferences. I would categorise myself as more on the processing side of critique. I concentrate on what can be done with the “material” mostly, but I also like discussions about e.g. the intention and whether a photographer achieved what he set himself/herself as goal with the work presented.
Photoshop is a beast; most of us will know just a fraction of what it can do. Including me, there is so much more to discover when digging deep. But I consider myself as somewhat knowledgeable. We see many photographs in “Critique”, and sometimes I come across motives with very fine details that really contribute to the theme. So I frequently describe this procedure, in future I can simply send artists to this tutorial. That’s why I said I’m just lazy in the beginning. This method can take shots to a bizarre level of sharpness, without many disadvantages, once you have a feeling how hard you can push it.
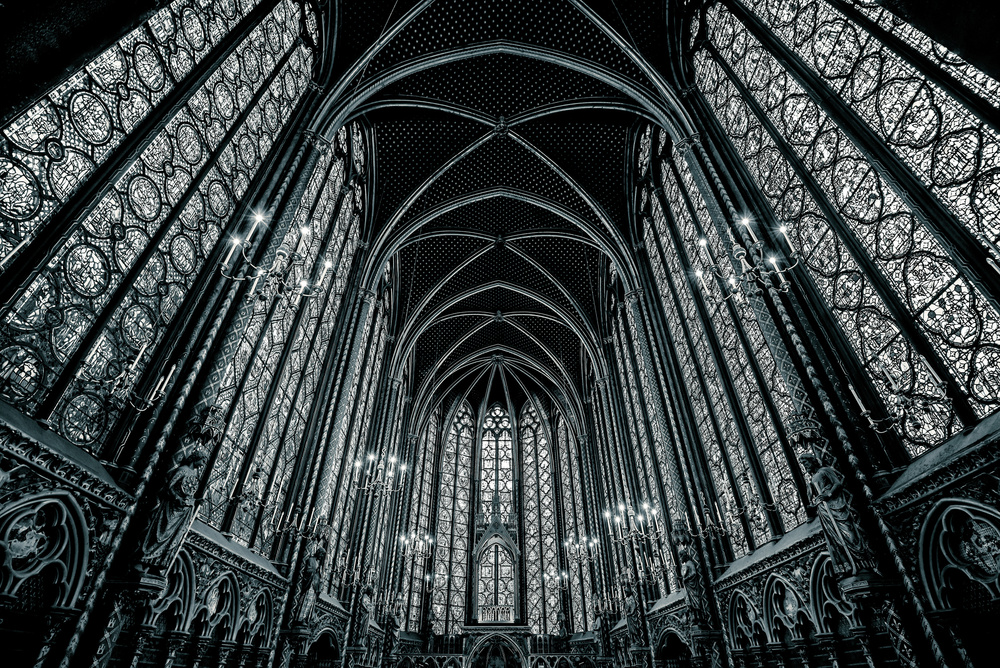
My perfect example is Saint Chapelle, Paris, often referred to as “Gem of Gothic”. It was built in 1208 and it has incredible windows, which were restored quite a few times during the last 800 years. I wanted to have them as a picture, and arranged myself a business trip to Paris, staying over the weekend. The first day sun was shining, exactly what I did not need. I wanted ambient light outside, for equally lit sides, so I had to wait. On my third day, it was raining, just perfect! The challenge with Saint Chapelle is that you can’t use a tripod inside and it’s not very bright, So this shot is ISO 1000, f/8 only, but I use a 16-35mm f/4 Nikkor, according to Ken R. the sharpest Ultra-wide available. My method does not generate sharpness very well, it has to be a crisp shot for amazing results.
Everybody will have his workflow, and probably one of the last steps is sharpening. There are many methods to sharpen, most popular is probably using the unsharp mask. But sharpening can also screw a picture, grain may increase, halos can occur at over-sharpened edges. So there is always a limit of what you can do. And I wanted it to go extreme with this motive, as you will understand.
The method I’d like to describe comes close to sharpening by a highpass layer. I’m convinced it works even better, though it’s very similar in fact. Maybe it’s a bit like for HiFi enthusiasts, the more is done manually and analogue, the better the result is perceived. I will compare later on to prove my point.
So what is sharpening in fact? An edge is a border where brighter meets darker. Sharpening is in actually darkening the dark and light up the bright side of an edge in close by pixels. Most sharpening techniques don’t just consider one pixel but let us choose how many pixels or pixel fractions are used to influence the contrasts of an edge. Which explains halos, when too many pixels of the bright side are lit, it becomes visible and a bright strip occurs along the border.
A good sharpening routine only works on the edges, and the very close by. The method I will describe gives all options to determine how much pixels around an edge become affected. I have a bad memory, so it helps me to remember if I once understood what I’m doing. Which can be an exhausting way to learn, but simply do A, do B, etc. doesn’t stick to my synapses very well. So please accept my apologies if you just want to know what to do, I want to leave the similar kind of learners a chance. The whole process takes just a minute when you did it a few times.
Step1: Copy your layer twice.
Step2: Invert the upper copy
Step 3: Set the blending mode of your second copy to vivid light.
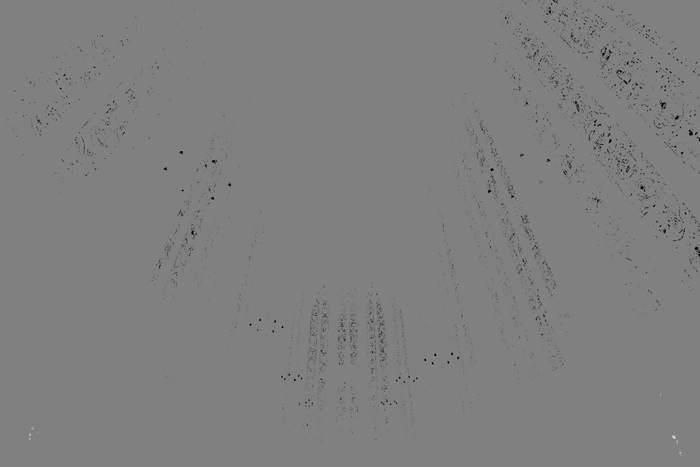
The result is a 50% grey for the combined layers. The picture plus its opposite blended in one leaves no detail anymore, this “nothing” in Photoshop is 50% grey. Depending on your source picture, sometimes a few details are hardly, but still visible. Inaccuracies, but never mind, it would look like this:
Now comes the step where you need to get a feeling for. But none of the steps is destructing anything, so you have infinite trials. Use a Gaussian blur on the upper / active layer. A blur smooths edges, in fact it smears dark and bright side of your edges together. How can that help to sharpen? Well, we work just on one “half” of the picture, both layers together result in “nothing but grey”. So in fact you are operating the edges only, because you smear the opposite / counterpart of your actual picture. Like if you had two foils on each other and pulled the lower one out a bit to modify it. A good level for the pixels involved in your Gaussian blur is something between 0.6 and 1.5. I go for a 0.8 to 1.0 most. The result looks like this:
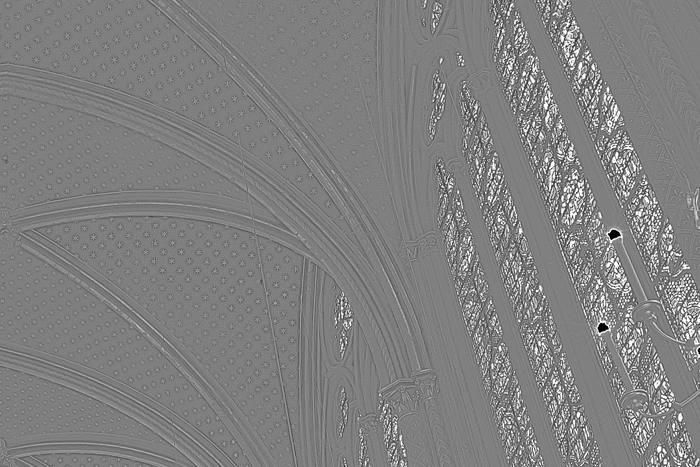
Experienced Photoshoppers may say, well that looks like a high pass, I can have that with a few clicks only… But it’s not the same method behind it. A high pass works like a first derivative in mathematical terms. No change in luminance from pixel to neighbour pixel becomes a grey, and when there is a high difference between the pixels on an edge, both sides of the virtual line representing your edge become affected. In my “DIY”(Do it Yourself) sharpening it’s rather one side of your edge that becomes amplified, I tried to explain with the foils earlier. The DIY-method let’s you push a bit harder for these modifications and bright parts become much brighter. Here’s the same section as high-pass, pay attention to the little bright segments of the window and the stars on the ceiling above when comparing:

Last two steps, then you’re equipped with some “magic”…
Step 4: Merge down this layer with the first copied layer.
The reason is that the modified layer is only half the picture we see. Merging it with the layer below creates one layer representing our current view, the positive and the negative so to say.
Step 5: set the blending mode to overlay (like you would do with high pass sharpening).
The 50%grey leaves the pixels in your picture as is, brighter ones light them up etc. Your edges become re-shaped.
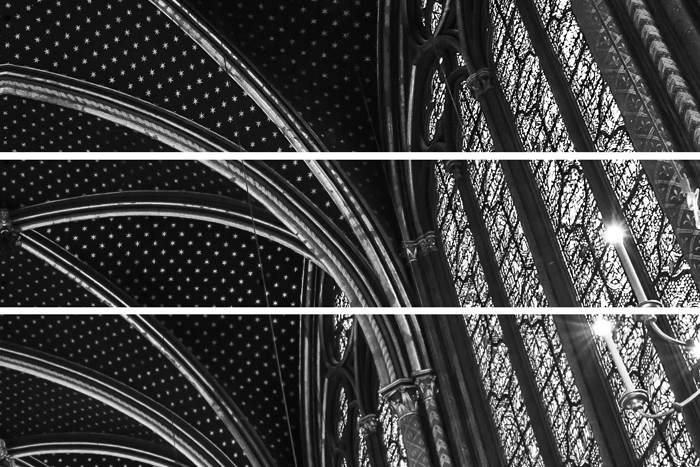
The result should be a very sharp picture, with tiny details like in my Saint Chapelle, bizarre sharpness no lens would produce SOOC. Here’s a comparison of original and the two methods in one picture. Top down: DIY, high pass, original:
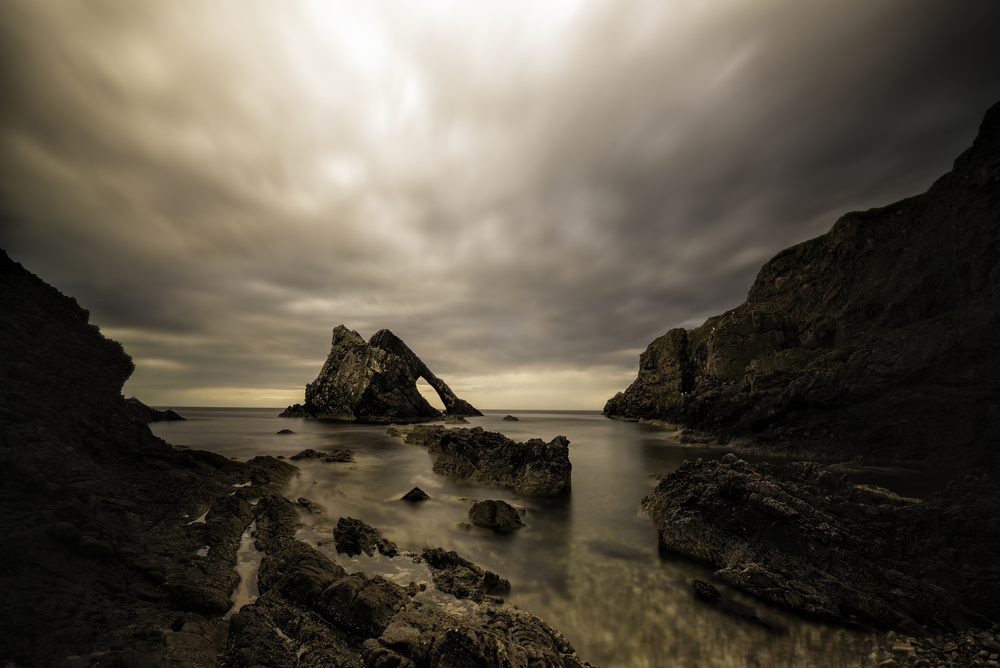
I don’t do this with every picture, usually sharpening methods in Photoshop are easier to handle and do a decent job, or Dfine in NIK/Google Suite and other plug-ins. But if sharpness is a crucial element in my work, I only trust this method for ultimate results. Maybe you'll do it in future too, just try it! If it works well with your main subjects, but is simply too much for other elements, simply take a grey brush and paint it away where not needed. It needs to fit the subject, though. To give you an idea what kind of photographs can take advantage, let me show you a few other pictures I used it on in my portfolio as an example:

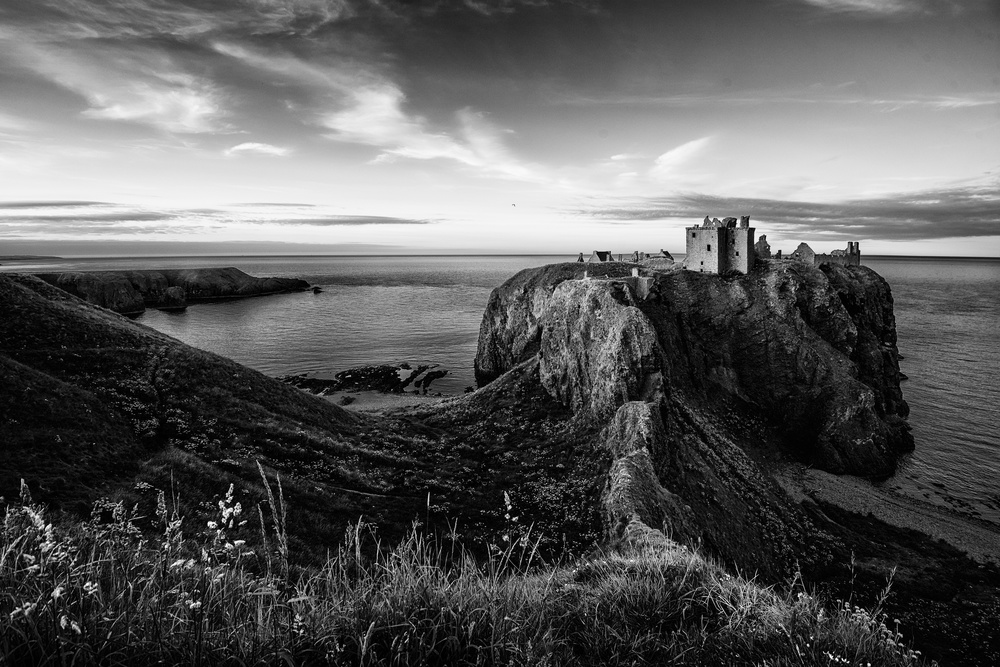
And it works with landscapes, too, of course:
 | Write |
 | Martin Zalba I am testing it and I hope to know how to do it well. Thank you very much Mike for this great tutorial! It will come very well to use it. |
 | Rob Li CREW Thank you, Mike. Will try this way! |
 | Dominic Schroeyers Very interesting, Mike. I will try it on one of my next images. Yes, normally I always use the high pass sharpening technique. |
 | Mike Kreiten CREW Well, would be interesting whether you notice a difference! Depend a bit on the motive, if details are bright, it should be far better. Thank you very much, Dominic!
|
 | Wayne Pearson PRO Thank you very much Mike, I appreciate you sharing your knowledge and experience with us.
Cheers,
Wayne Pearson |
| Mike Kreiten CREW Thank you very much, Wayne! Actually I like sharing knowledge, the reason I beacme a senior critic probably. |
 | Theo Luycx CREW Nice work and very interesting Mike, like Always. Thank you. |
| Mike Kreiten CREW Many thanks, Theo, a pleasure... |
 | Peet van den Berg Great! Thank you! |
| Mike Kreiten CREW A pleasure, Peet. I hope you tried it... |
 | Yvette Depaepe CREW Thanks for revealing one of your "secrets", Mike. Good stuff to help our members and fine reference to the Senior Critic team. Cheers, Yvette |
| Mike Kreiten CREW You made my life easier, Yvette. As said in the article, should I want to recommend sharpening on a work in Critique, I can now simply point to this tutorial :-) Thank you! |