


|
|
|
|
Photographing Airshows: Techniques
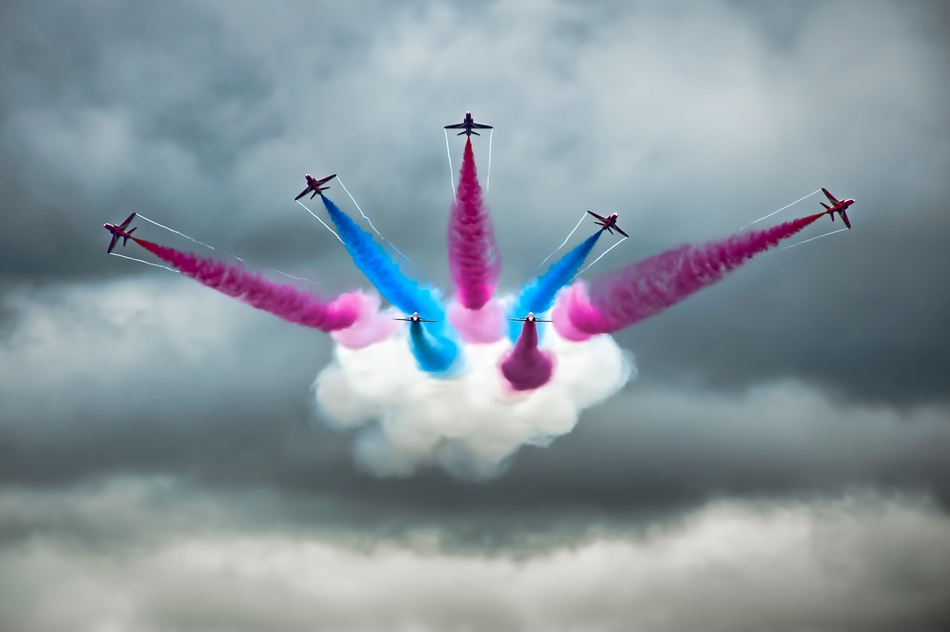
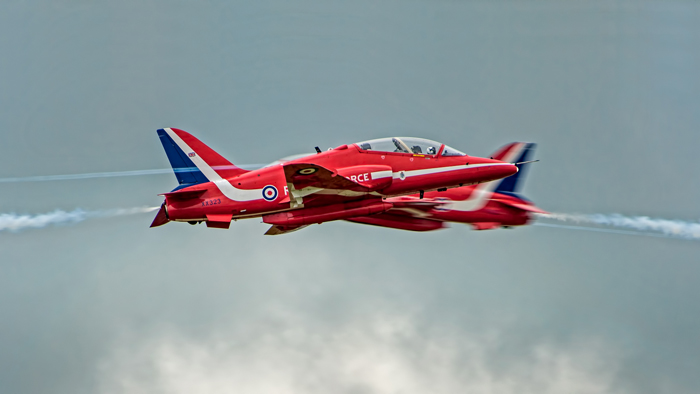
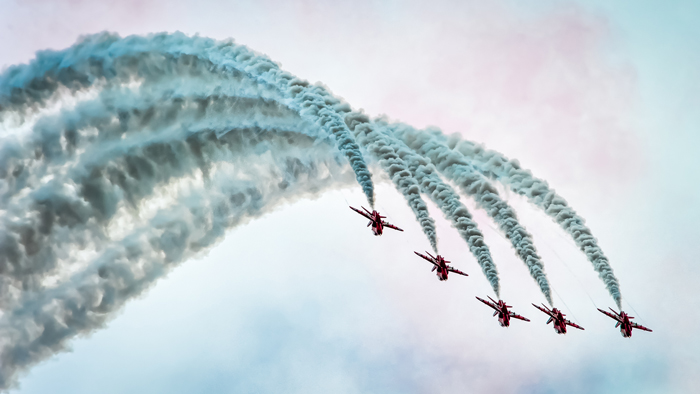
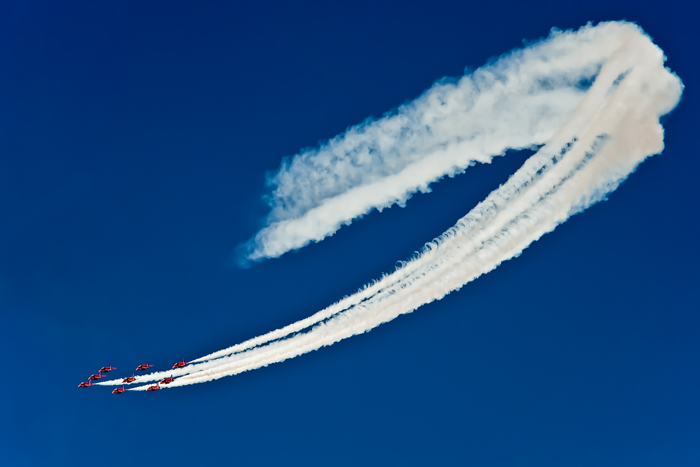
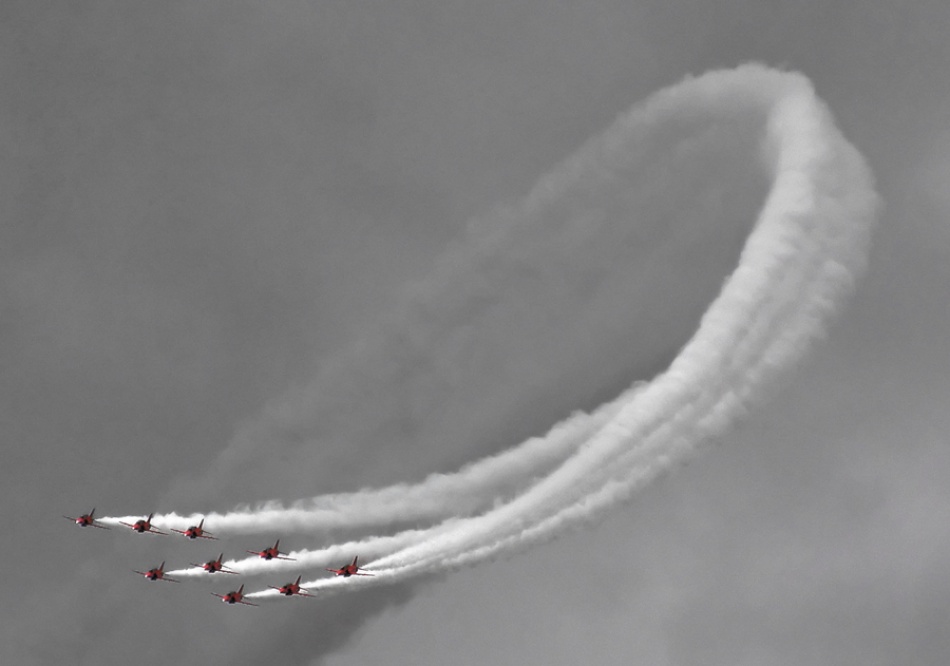
At least in the northern hemisphere, airshow season will soon be upon us again. But Airshows are not the easiest subjects and environments to work with, particularly if the aim is to produce something more than a standard technical shot. For a start, your location relative to the display is important and the key is to get there early, get to the crowd line and stake out your space with a folding chair. The centre of the runway is a good location. Most display routines will perform to a crowd in an official grandstand and that means that they will be coming straight towards you at right angles to the runway, so look for those grandstand locations. The Red Arrows ‘break’ is a good example.
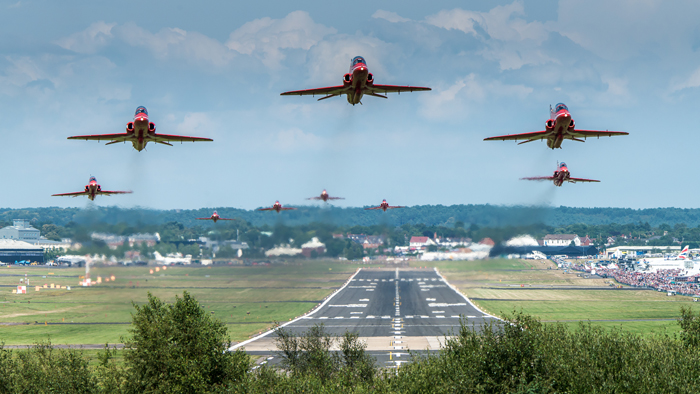
Alternatively position yourself either 1/3 of the way down the runway to get landing shots or (better in my opinion) 2/3 of the way down the runway to get take-off shots. I’ve also seen some good pictures from the end of the runway, though the aircraft will be overhead and past very quickly from this position.
For aircraft close-ups, you’ll need at least a 300mm focal length and longer if possible.

For larger areas of sky filled with smoke trails, a wide-angle zoom is required and unless you have 2 bodies or a superzoom lens, for any given aircraft routine, you have to decide whether to do ‘big sky’ or close-up in advance since lens changing under pressure usually means missing some of the sequence and increased risk of dropping the lens.
Sharpness is critical. Shoot with at least 1/1000s on shutter priority if your panning technique is good, and preferably closer to 1/2000s. Aperture isn’t too critical and I aim for a couple of stops down from wide open which is around f8 on my Nikkor 80-400 zoom but on a dull day, you may need to push the ISO up to 800 if you are struggling for light. It is tempting to use a tripod for greater camera stability but I find that they slow you down too much and you can’t track fast aircraft movements. Occasionally I use a monopod where the aircraft type is slower and where you need a slower shutter speed for propeller blur but in general, effective panning is the way to go.
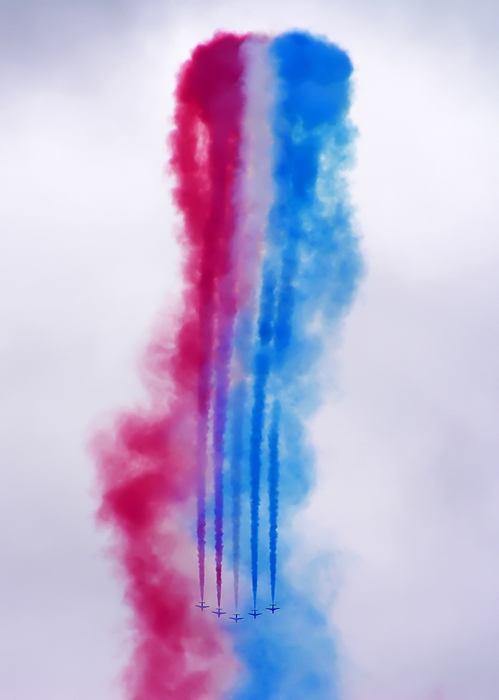
With a high-end DSLR pre-visualisation of the image will allow you to set the spot focus point roughly where you want the aircraft to appear in the picture. So, if you want the aircraft at the top of a vertical smoke trail, you’ll already have turned the camera to a portrait orientation and selected the top-most focus point in the frame.
You’ll usually only have a few seconds to do this. Effective panning is the real key to bringing it all together. Use your favourite grip method such as digging the elbows into the ribcage and pivot about the waist. Start tracking the aircraft as early in the routine as possible and if you are trying to co-ordinate the timing with other picture elements like clouds, smoke or other aircraft you have to develop the technique of looking through the viewfinder with one eye and monitoring the other objects out of the corner of the other eye!
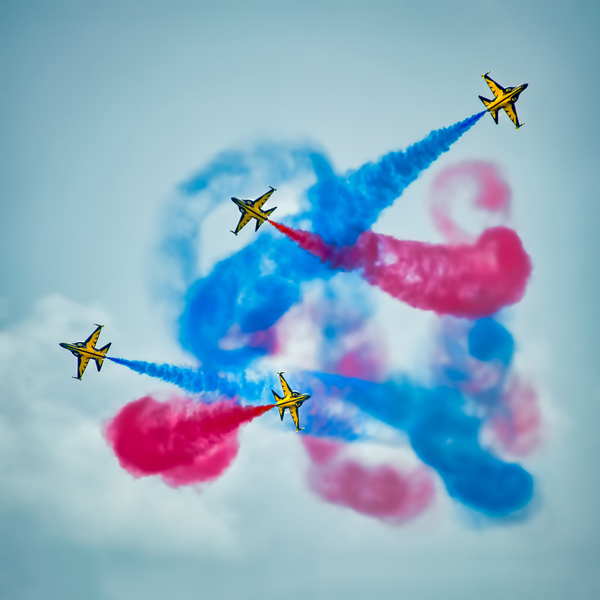
For capturing those split second parts of the routine like 2 jets crossing in opposite directions, don’t be afraid to use a continuous high-speed shutter release, panning one aircraft and starting the sequence using the ‘corner of the eye’ technique as the other approaches. But there’s still a lot of luck involved as even with 1/8s between frames, that’s a lot of aircraft movement at a closing speeds of 1000mph!
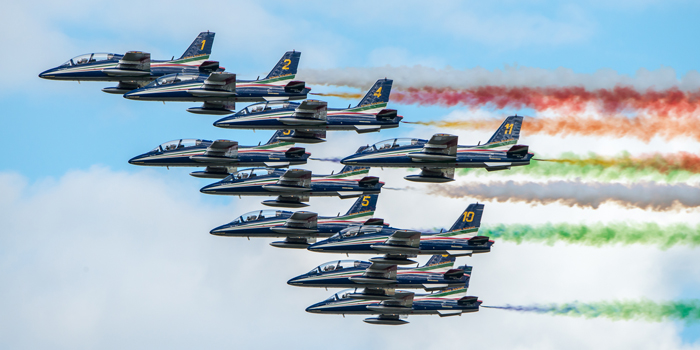
Focus can be either single servo lock just before you take the picture when the aircraft is in the right position or continuous servo. For group aircraft formations, chose one of the leading aircraft to focus on.
Whilst it may be logical to use continuous servo, if the manoeuvre is particularly fast or erratic, continuous servo can lose the target and with a slow focus lens like the Nikkor 80-400mm zoom, you can miss the picture. For the same reason, I don’t tend to use the tracking modes. I generally use centre-weighted exposure control rather than spot metering because with a fast moving subject, you can never be too sure which part of the aircraft or sky you’ll end up with and the result is too haphazard. As the sky is usually brighter than the aircraft, I tend to keep about 2/3 to 1 stop of exposure compensation applied as well, but as always check the histogram and adjust accordingly.
Propeller driven aircraft and helicopters tend to be much slower than the jets and photographs look much more dynamic when the propellers or rotors are blurred.
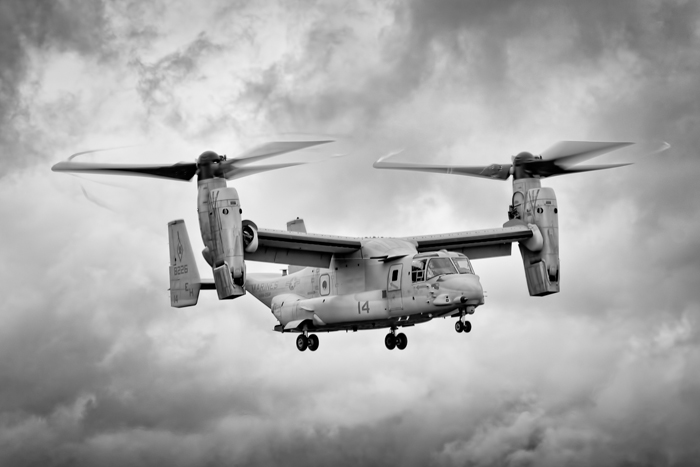
For this you need to drop the shutter speed to around 1/100s or less which then gets very tricky to hold sharp with a 300-400mm telephoto. Some combination of monopod, a firm grip, use of VR lenses and waiting until the aircraft is relatively slow moving in the frame are all useful techniques.
Photographing Airshows: Creativity
The first part of this article looked at the technical aspects of photographing airshows.
Let's look now how to produce better creative images.
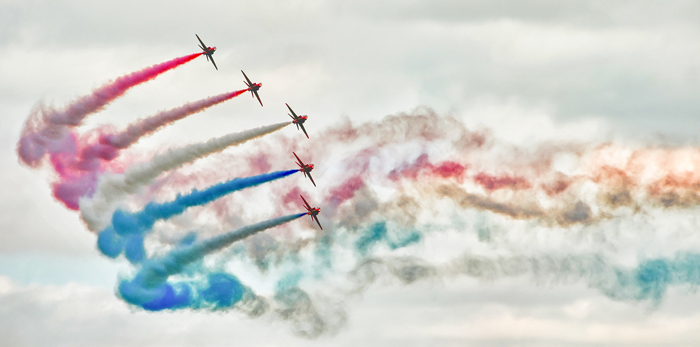
I try to look at aircraft photography as an art form where all the usual photographic elements apply: good composition, effective lead-lines (from clouds, vapour or smoke trails), space for the aircraft to move into, unusual orientations, exciting routines, dramatic skies and cloud patterns. Getting all those elements in place with good technical quality makes it a challenge.
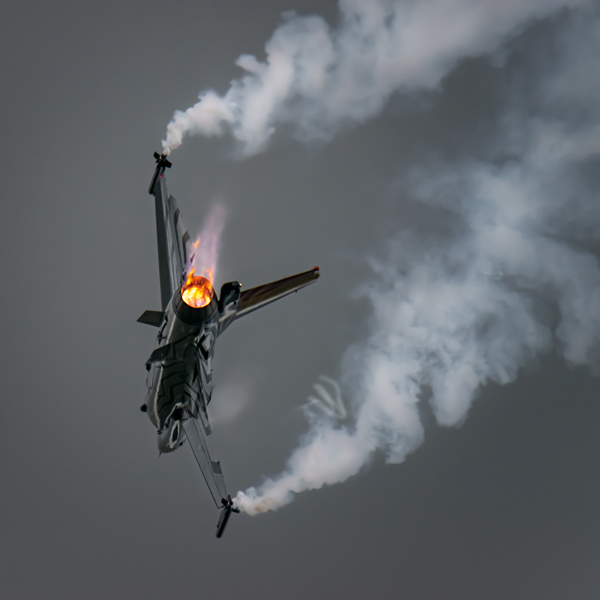
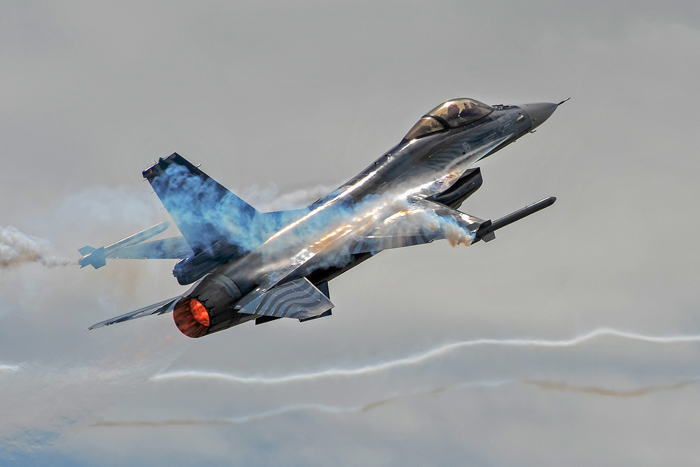
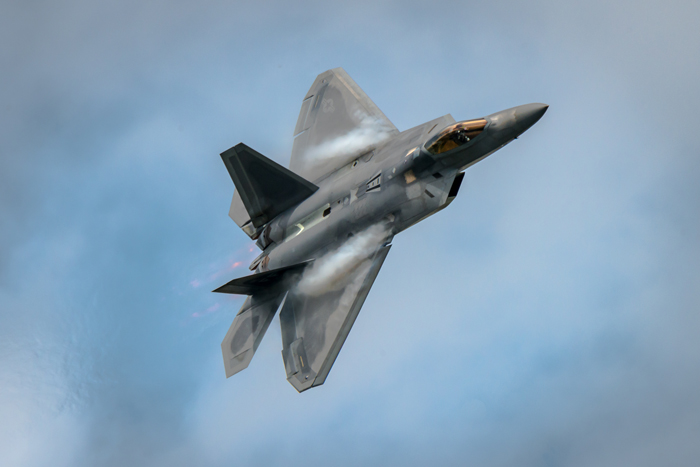
Really key to a good result is having some idea of what is coming up so keep an event programme to hand. After a few airshows, photographers will start to become familiar with the aircraft movements and will have a good idea of what they want from the picture. ‘Turn and burn’ shots are always popular where a fast jet executes a steep turn with the afterburners on pointing back to the camera.
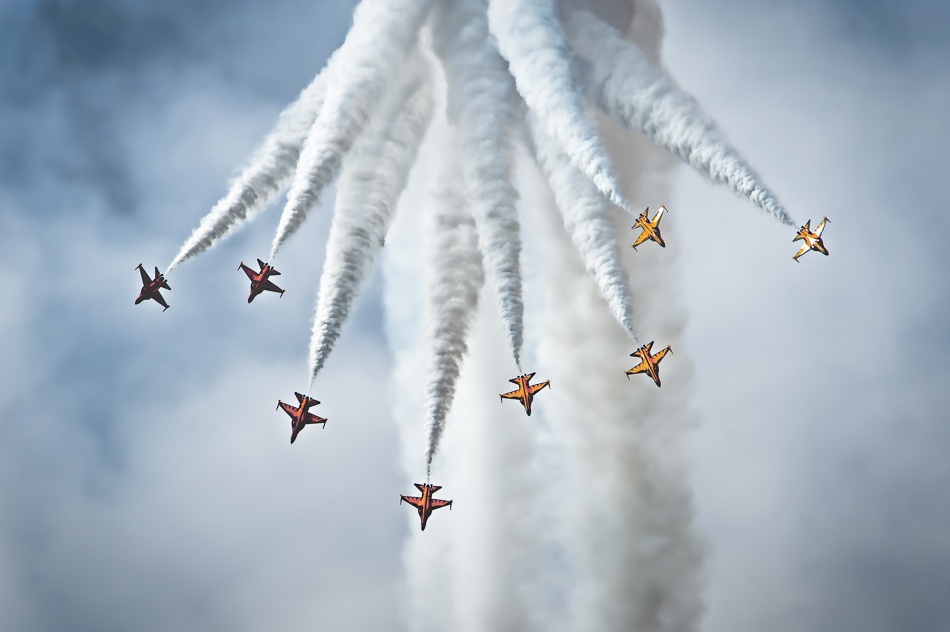
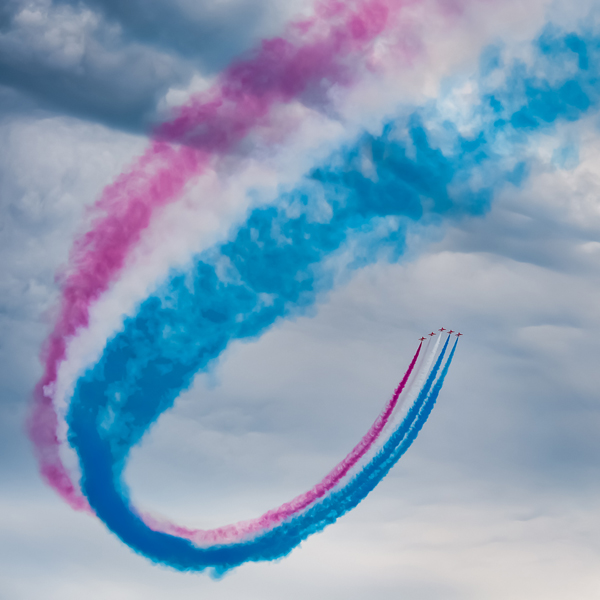
Formation manoeuvres can be dramatic and capturing multi-coloured smoke trails with the aircraft as tiny dots is different.
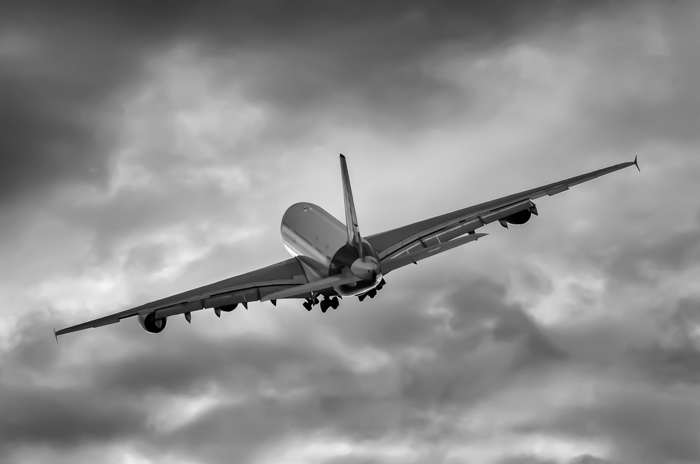
Watch out for unusual lighting or metallic reflections on the fuselage and wings from the sun which can produce dramatic highlights or diffraction stars.
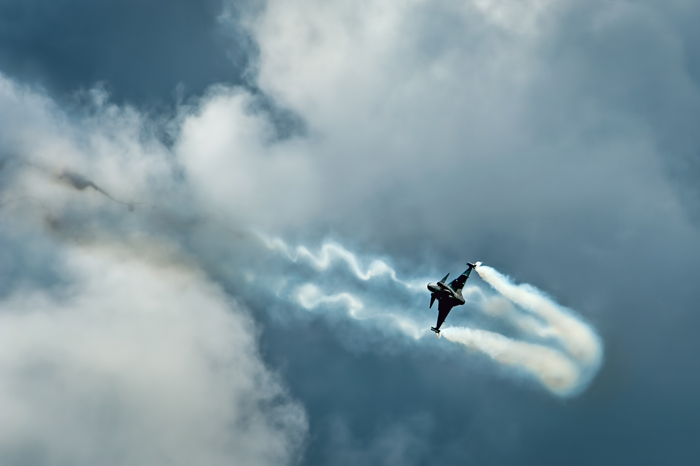
Depending on the location of your show, the weather can often be very variable and will make a huge difference to your results. Whilst a sunny day is very pleasant with a beer in the coolbag, plain blue skies are very boring, as are uniform mid-grey clouds. With blue skies, occasional use of a polarising filter to darken the background relative to the aircraft can be dramatic, though the effect is not always uniform and too much use of the polariser also becomes boring.
Don’t despair if it rains! Many of the regular display teams still fly in poor weather, the displays will be lower and rain (provided it isn’t too persistent) means that the skies are usually more dramatic and vapour trails are more likely to form at the wingtips. Cumulus clouds against a blue background are good too. In both cases, look for interesting cloud formations and wait for aircraft to move into them. You actually have more control of the picture elements than you might have thought!
A typical day’s shoot will produce around 1000 exposures and back at the computer, my first task is to reduce these to 400-500, by deleting everything which is a repeat shot or which has technical flaws e.g. insufficiently sharp or poor exposure. My usual workflow then involves initial working on the ones which stand out (perhaps 50-100), to make exposure adjustments, compositional improvements through cropping, adjustments to shadows, highlights and contrast, lens corrections and, if appropriate, a little extra colour saturation. These adjustments can usually be carried out quite quickly and at that point I’ll take a decision on whether there’s enough merit in the picture to devote more time to it. From then on, I’ll concentrate on just a few of the best shots with an export to Photoshop where I’ll refine some of the level adjustments, carry out few ‘repairs’ with the clone tool and do a little dodging or burning if required.
On one occasion I did cut off the nose of an aircraft but luckily I was able to extend the canvas and clone in a new nose from one of the following craft in the formation!At this point, I may also introduce some specialist filters such as Topaz to boost detail in the aircraft or increase drama in the sky. But what works well for aircraft doesn’t necessarily work for sky and clouds so the best way is to work on each feature as a separate layer, combining the result with layer masks.
It’s easy to overdo such effects too. Blue skies are particularly susceptible to showing luminance noise, even at low ISO settings and applying a noise filter just to the sky after all adjustments is recommended to avoid losing detail in the aircraft. Too much sharpening of the aircraft can often produce white line artefacts around the wings and fuselage and can exacerbate any chromatic aberration. If that happens it’ll be necessary to go back and re-do the effect with a lower strength, though Lightroom is pretty good at removing chromatic aberration.
With some shots you just know you’ve got what you wanted to capture as soon as you press the shutter release. With others, you can often develop the composition with selective cropping later and with airshow photography it is generally better to zoom out a little more than usual to ensure that everything has been captured than to chop off a nose-cone or part of the smoke trail. Good luck and if you miss the first ones, keep practising!
 | Write |
 | Ahmed Thabet PRO Fantastic airplane shows |
 | Yvette Depaepe CREW Glad you like this article, Ahmed. Thanks to Peter Walmsley for sharing his gorgeous tips with us. Cheers, Yvette |